Shine Bright Like a Diamond: Transform into Emma Frost with This Step-by-Step Tutorial
Follow these steps to turn into the X-Men's Ice Queen!
Greetings, fans of Emma Frost! It’s time for another at-home makeup tutorial for Halloween. I hope you’re just as big of a fan as I am of this sultry, bejeweled queen as I am! The X-Men have such great characters to cosplay, and Emma is definitely a glamorous favorite.
This look has two different sides as I tried to emulate the diamond skin transforming over Emma’s regular skin. You will notice that one of my eyes has regular beauty makeup while the other is the diamond side.
Here's what you'll need:
Tools:
Flat blending brush
Rounded blending brush
Flat eyeshadow brush
Fluffy brush
Small, flat shader brush
Kabuki brush
Pointed synthetic brush
Palette paper
Stippling brush
Mixing medium
Large eyeshadow brush
Large blending brush
Large blush brush
Makeup:
Cool, gray/blue eyeshadow palette OR the following shades:
Light gray
Dark gray
Pink/beige
Black
Shimmery dark blue
Light gray shimmer
Dark gray shimmer
White
Black liquid eyeliner
Mascara
White eyeliner pencil
Water-based silver body paint
Silver pigment
Silver glitter (fine and chunkier)
Iridescent, pearly-green pigment
Prismatic glitter
False eyelashes
Dark blue lipstick
Accessories:
Blue or grey contact lenses
Blonde wig
White top
White gloves
Faux fur and a white cape
A chilling air of majesty
Here's how to do it!
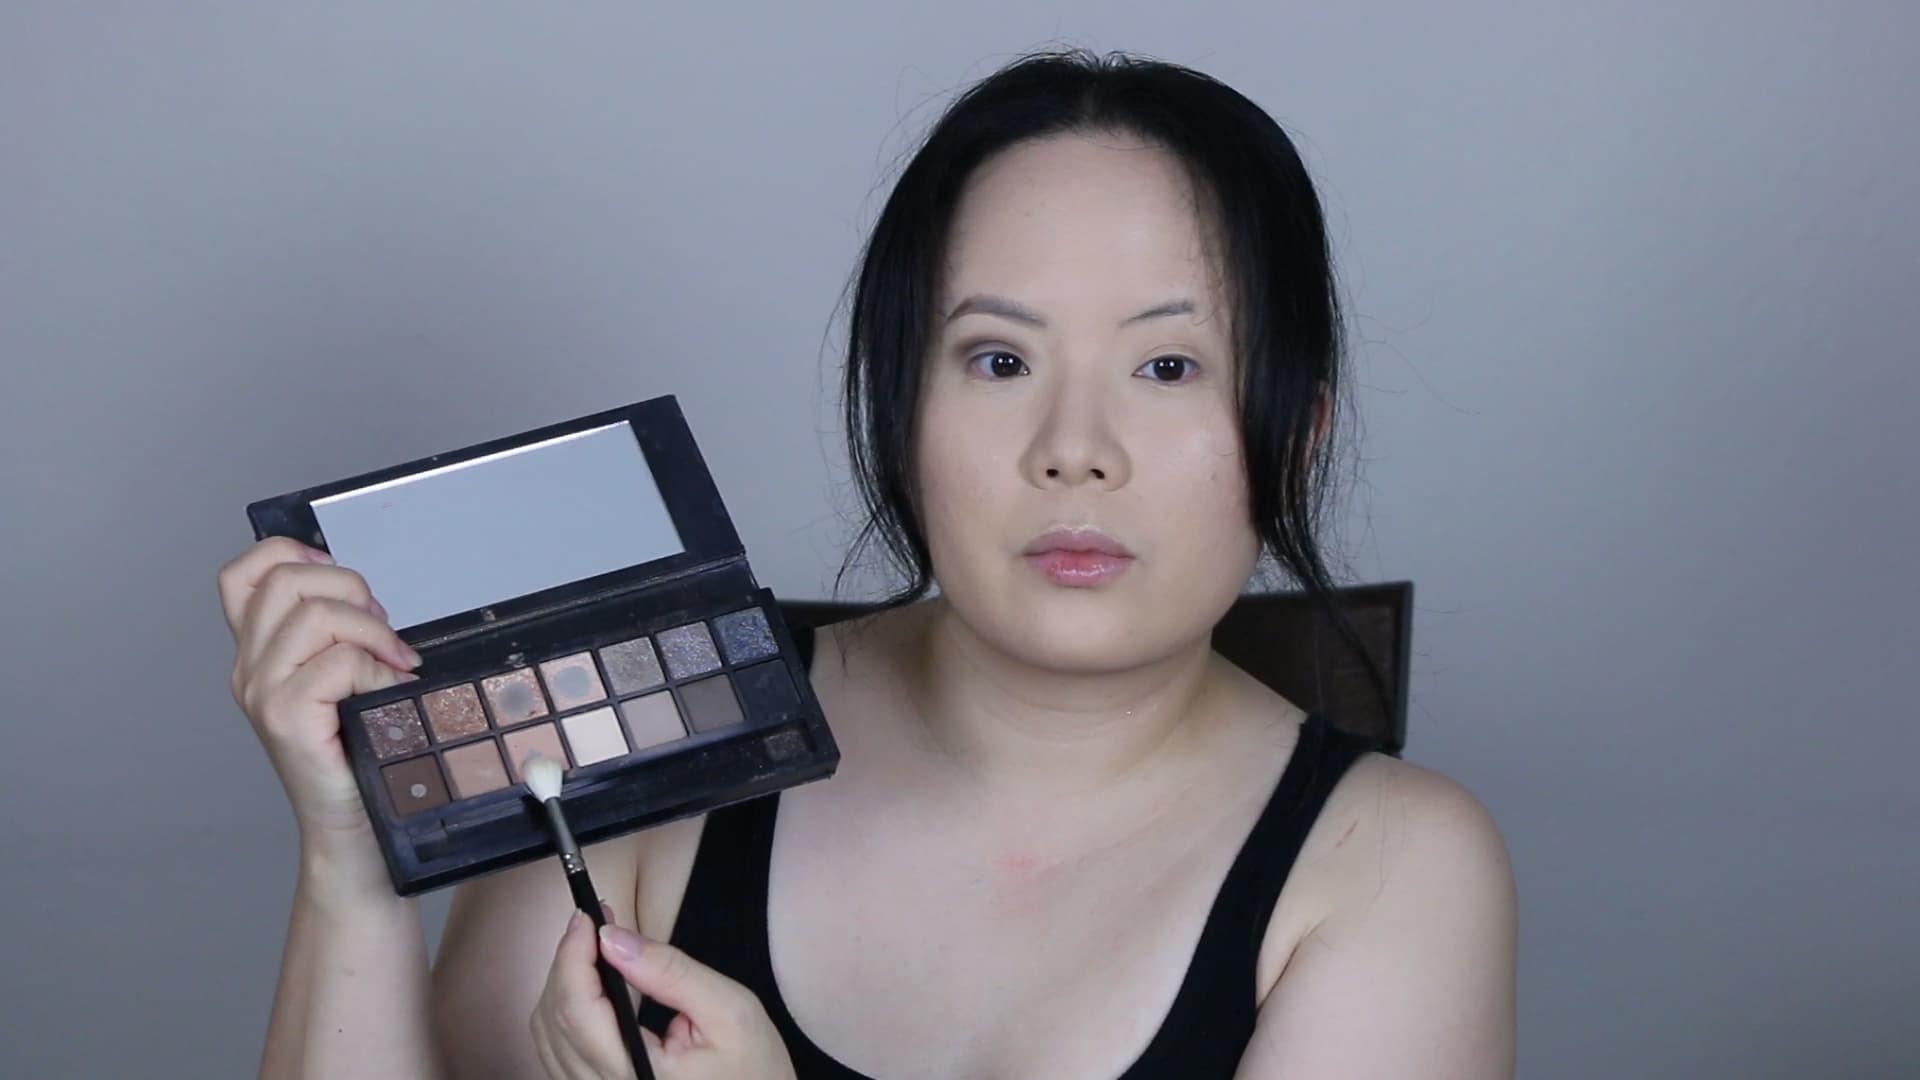
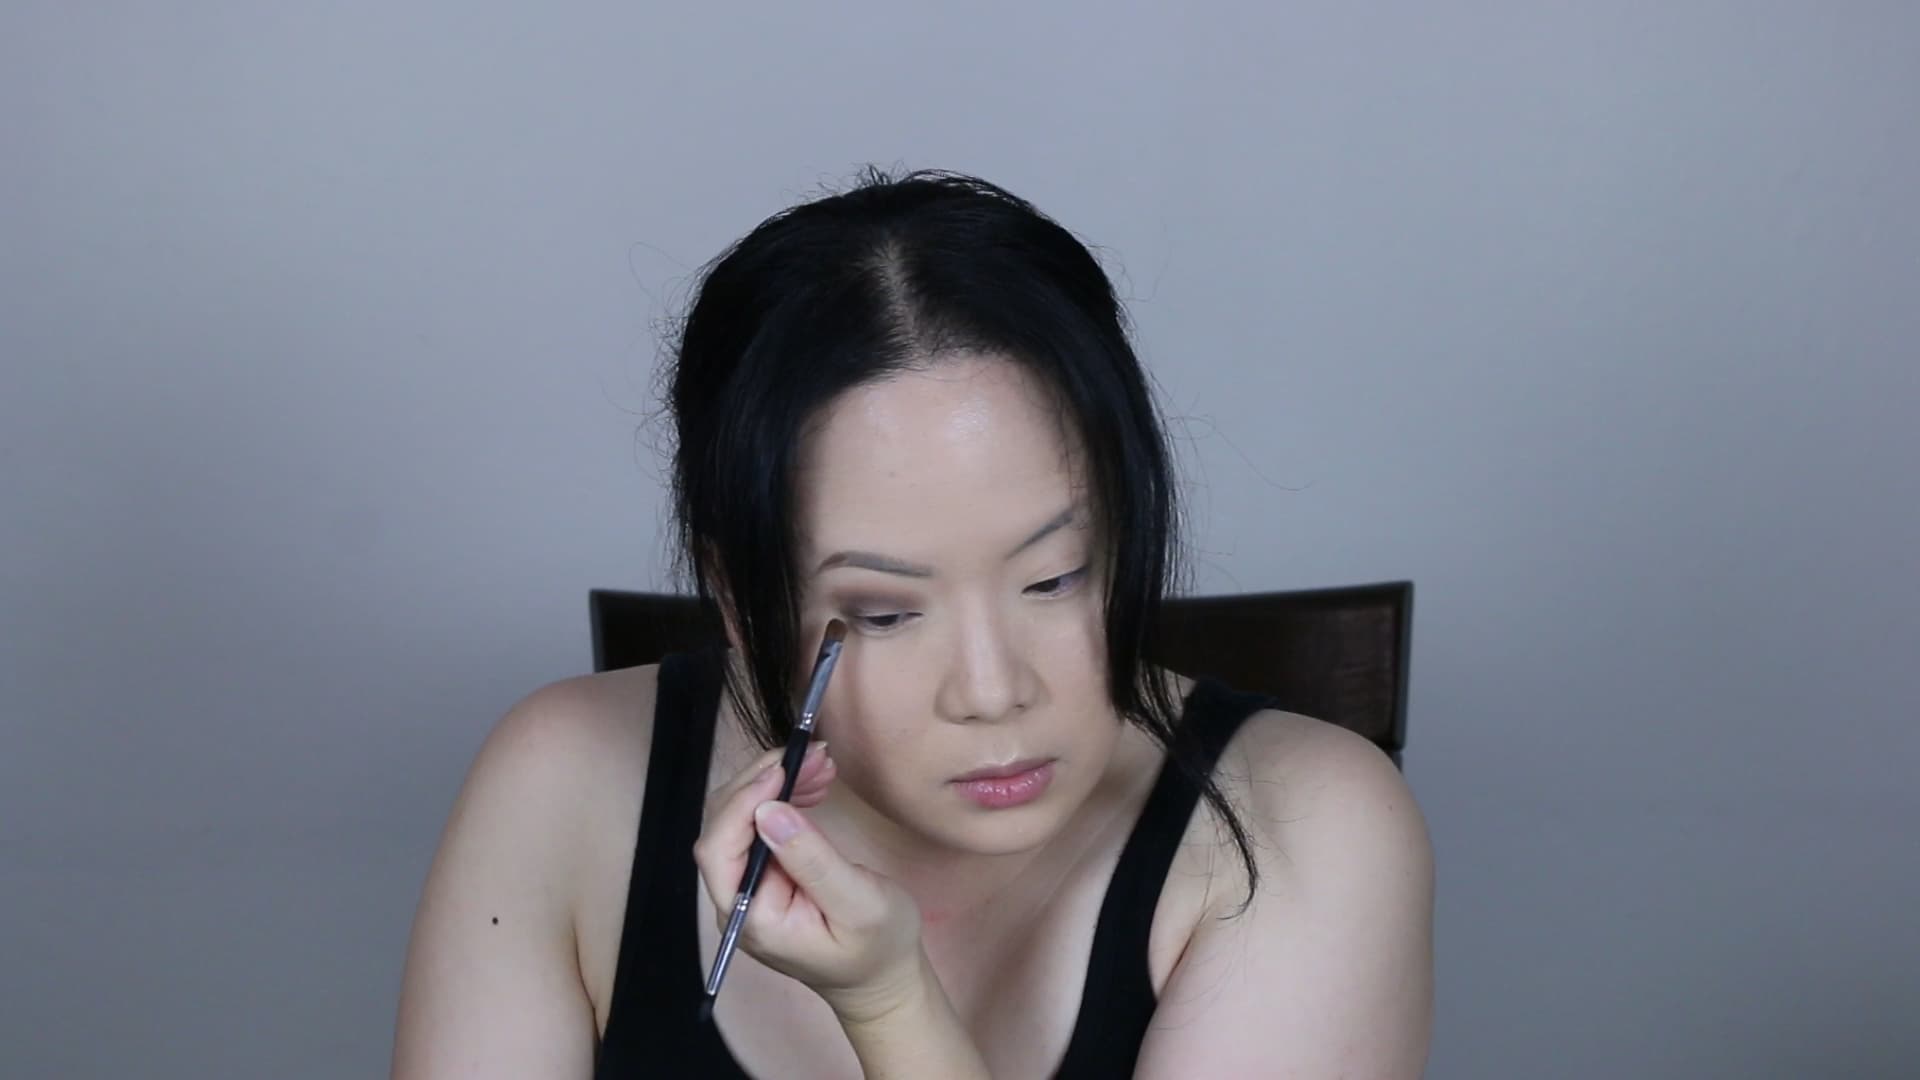
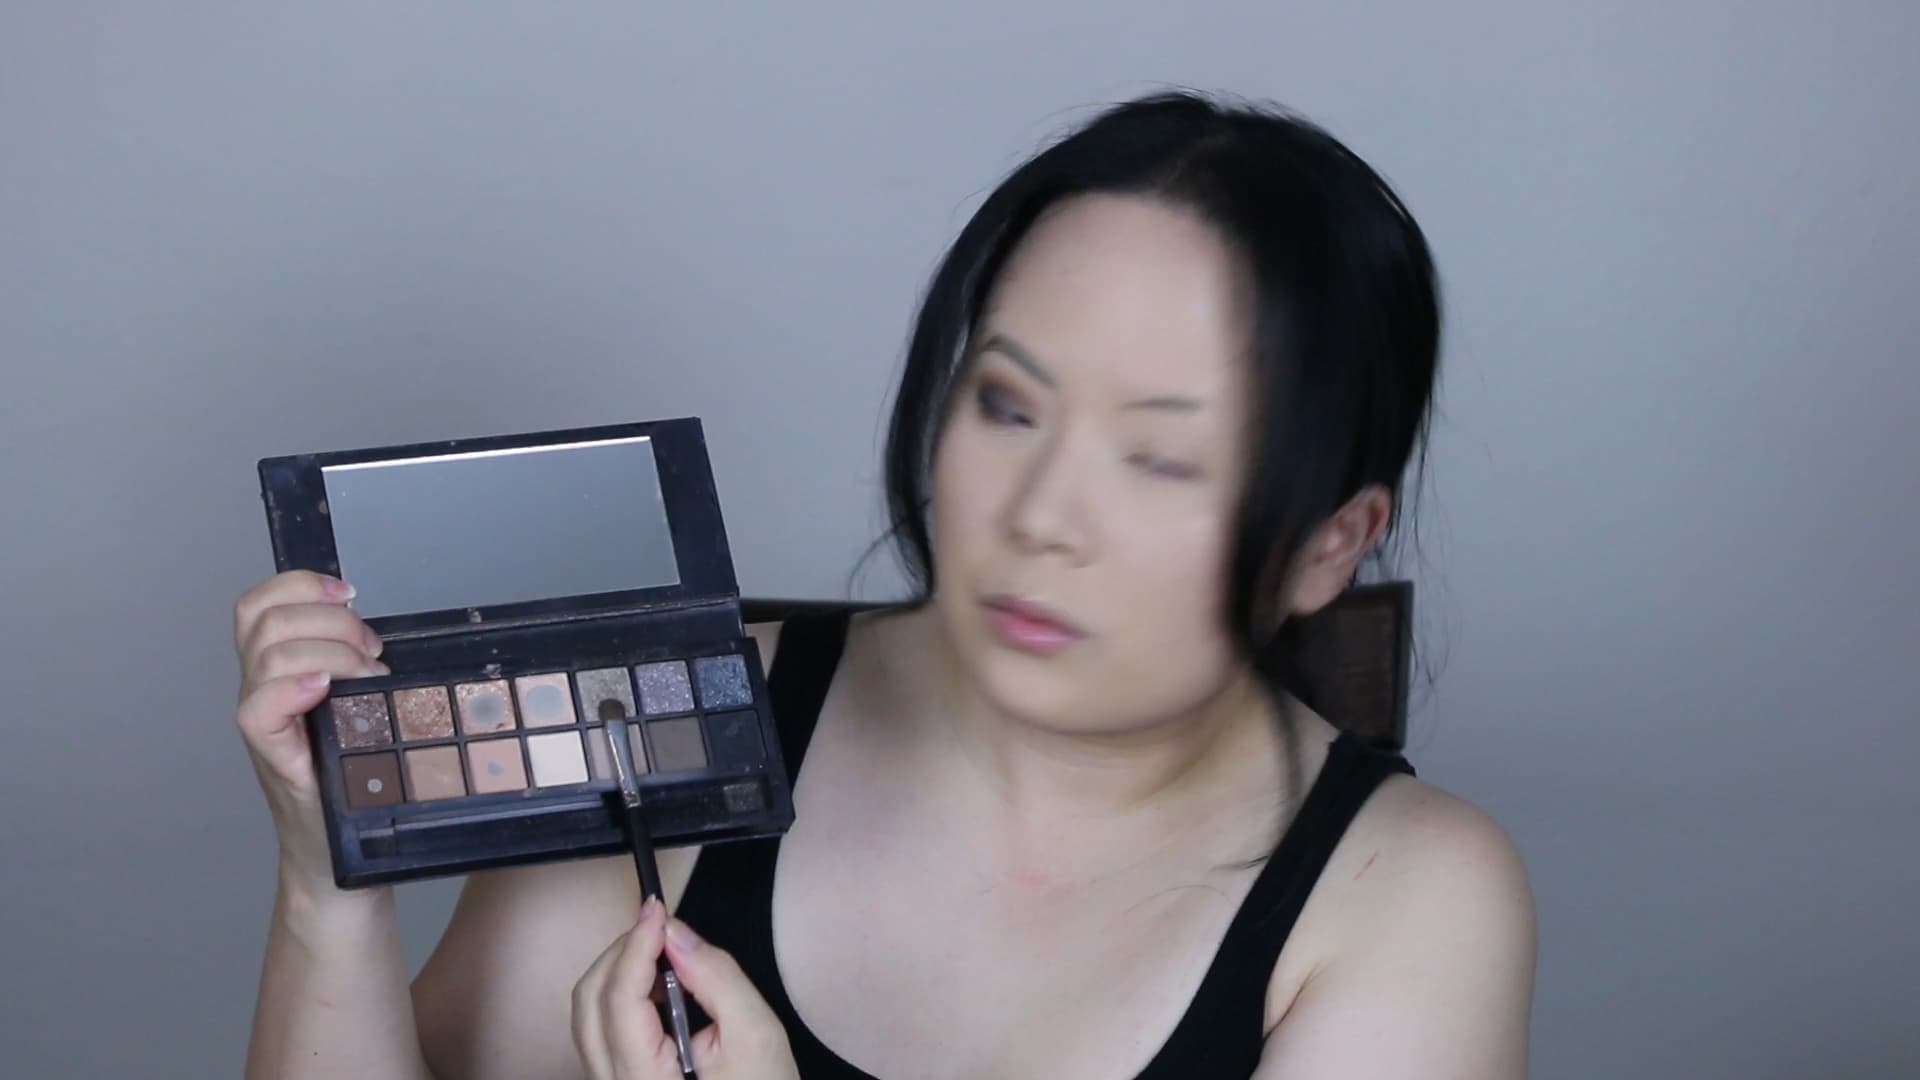
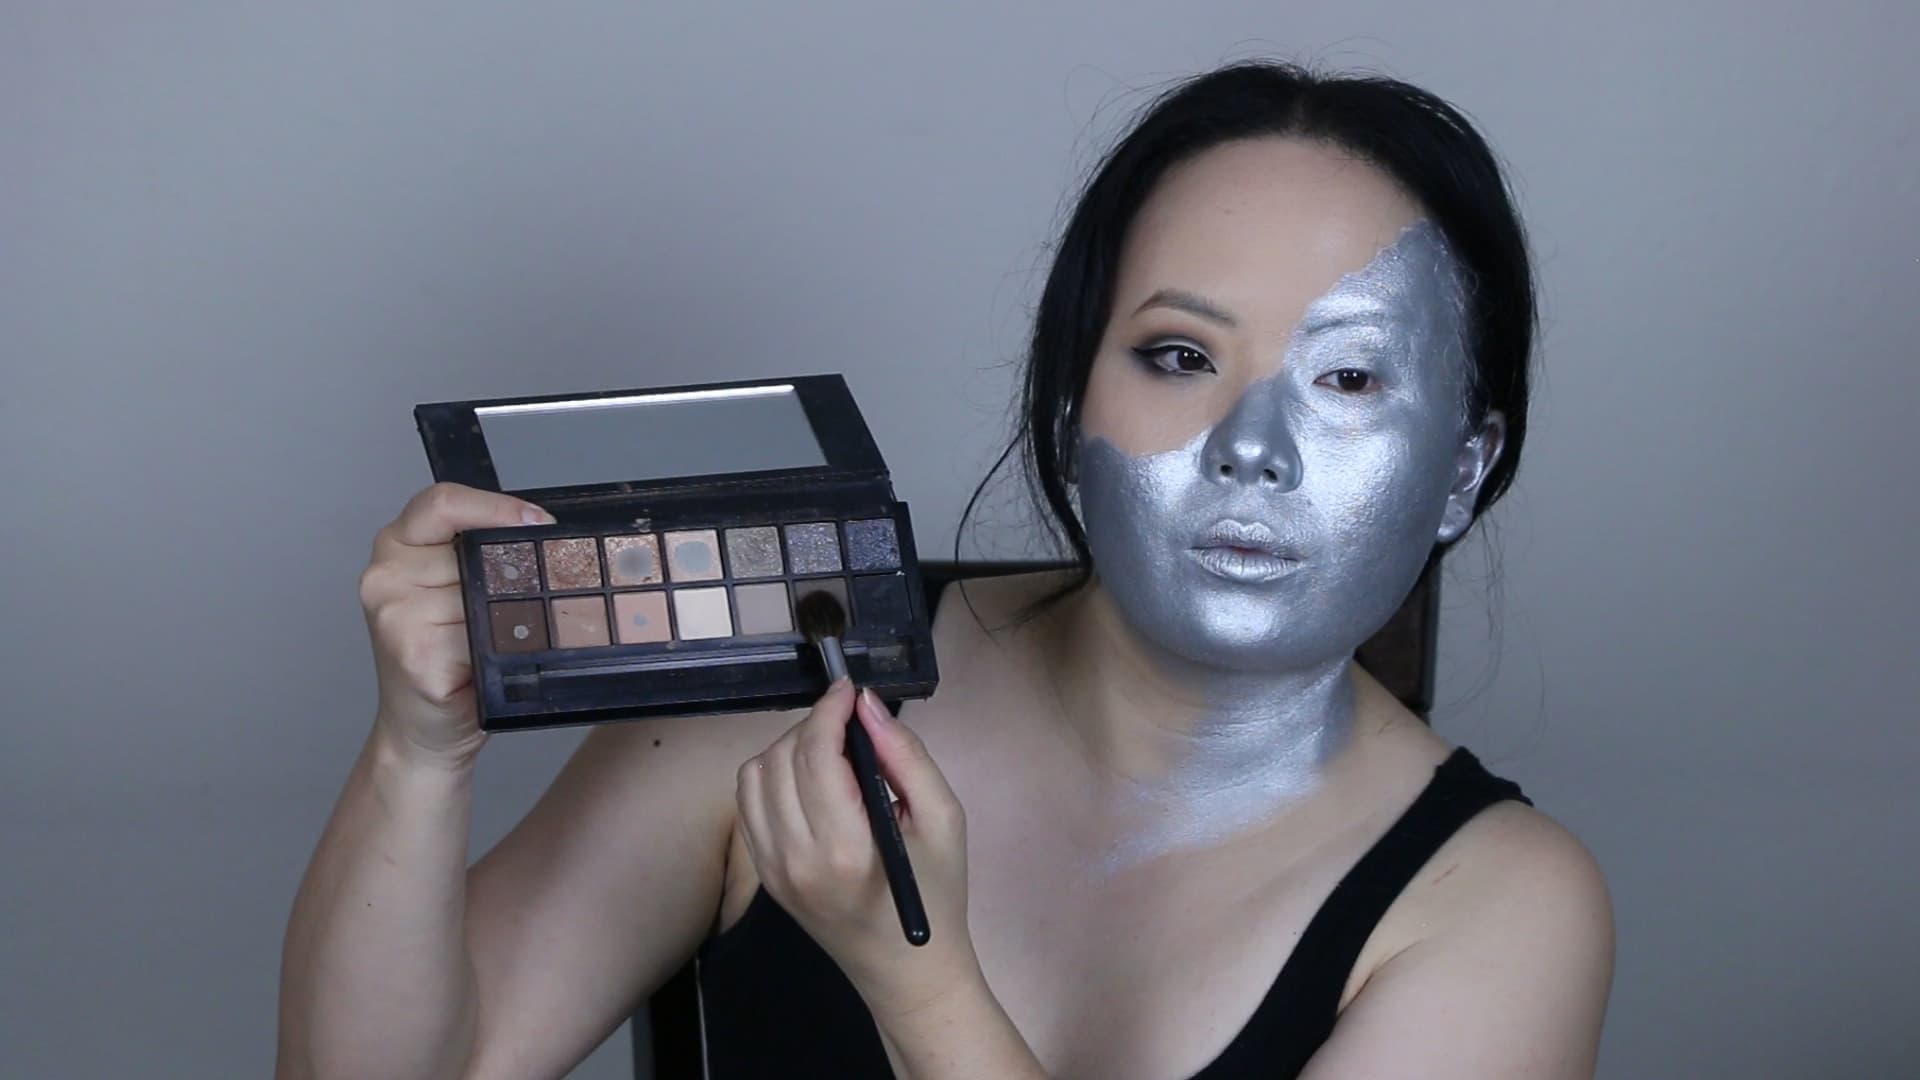
1. I started with the beauty makeup first which was just the eye makeup. You will see that I used a lot of cool, gray/blue tones because Emma gives off that icy, bright-toned vibe. Once you have your base makeup on, pick one side of your face, and start with a light gray eyeshadow and a flat, blending brush and swipe the shadow back and forth along the crease of your eye. Build up the intensity of the crease with a dark gray eyeshadow and swipe back and forth along the crease. To blend out the gray, I use a pink/beige eyeshadow and a rounded blending brush to blend upwards and soften the edges.
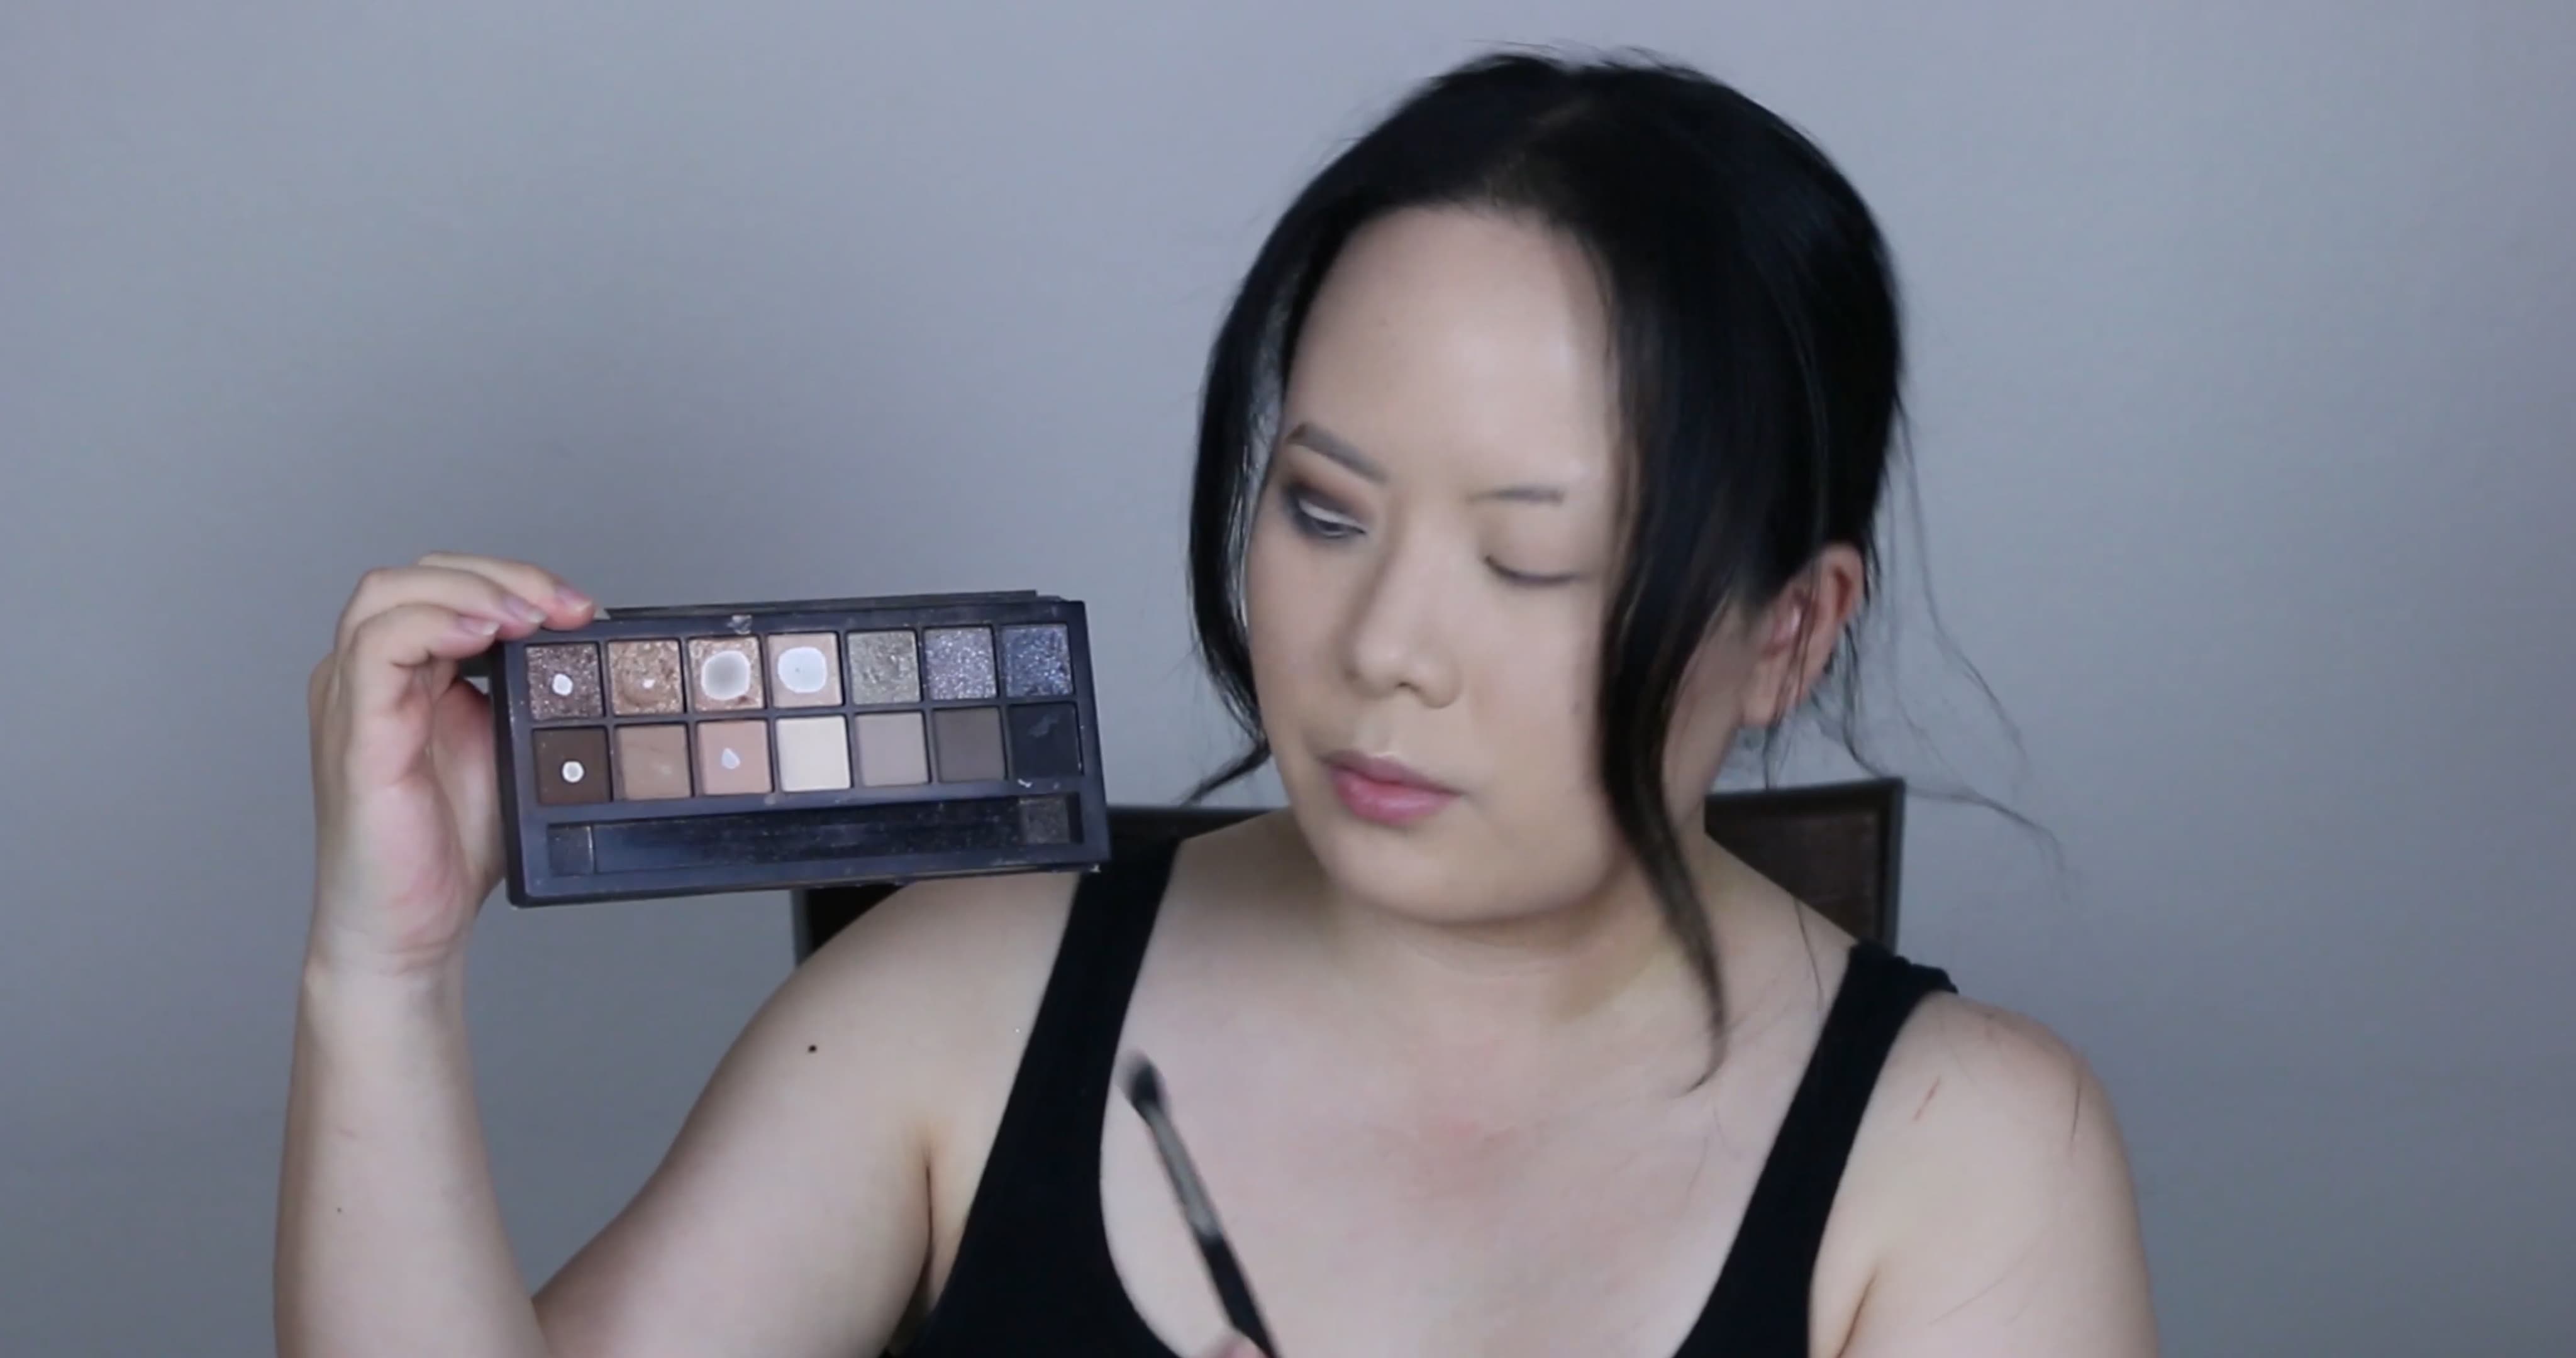
2. With a flat eyeshadow brush, take the same dark gray eyeshadow and use it to shade the outer corner of the eye in a “V” shape. Take some black eyeshadow and go over the dark gray in the same “V” shape to deepen and smoke out the eye.
3. Next, take a shimmery, dark blue eyeshadow and start to blend into that dark outer corner of the eye to the middle of the eyelid. Start to gradiate with a dark gray shimmer shadow and a light gray shimmer shadow towards the inner corner of the eyelid.
4. For the lower lashline, you will want to place the colors similarly, from lightest (on the inner corner) to darkest (outer corner) in the same manner as you applied the shadow on your upper eyelid.
5. Use a light, skin-toned or white eyeshadow and a fluffy brush to highlight under the brow.
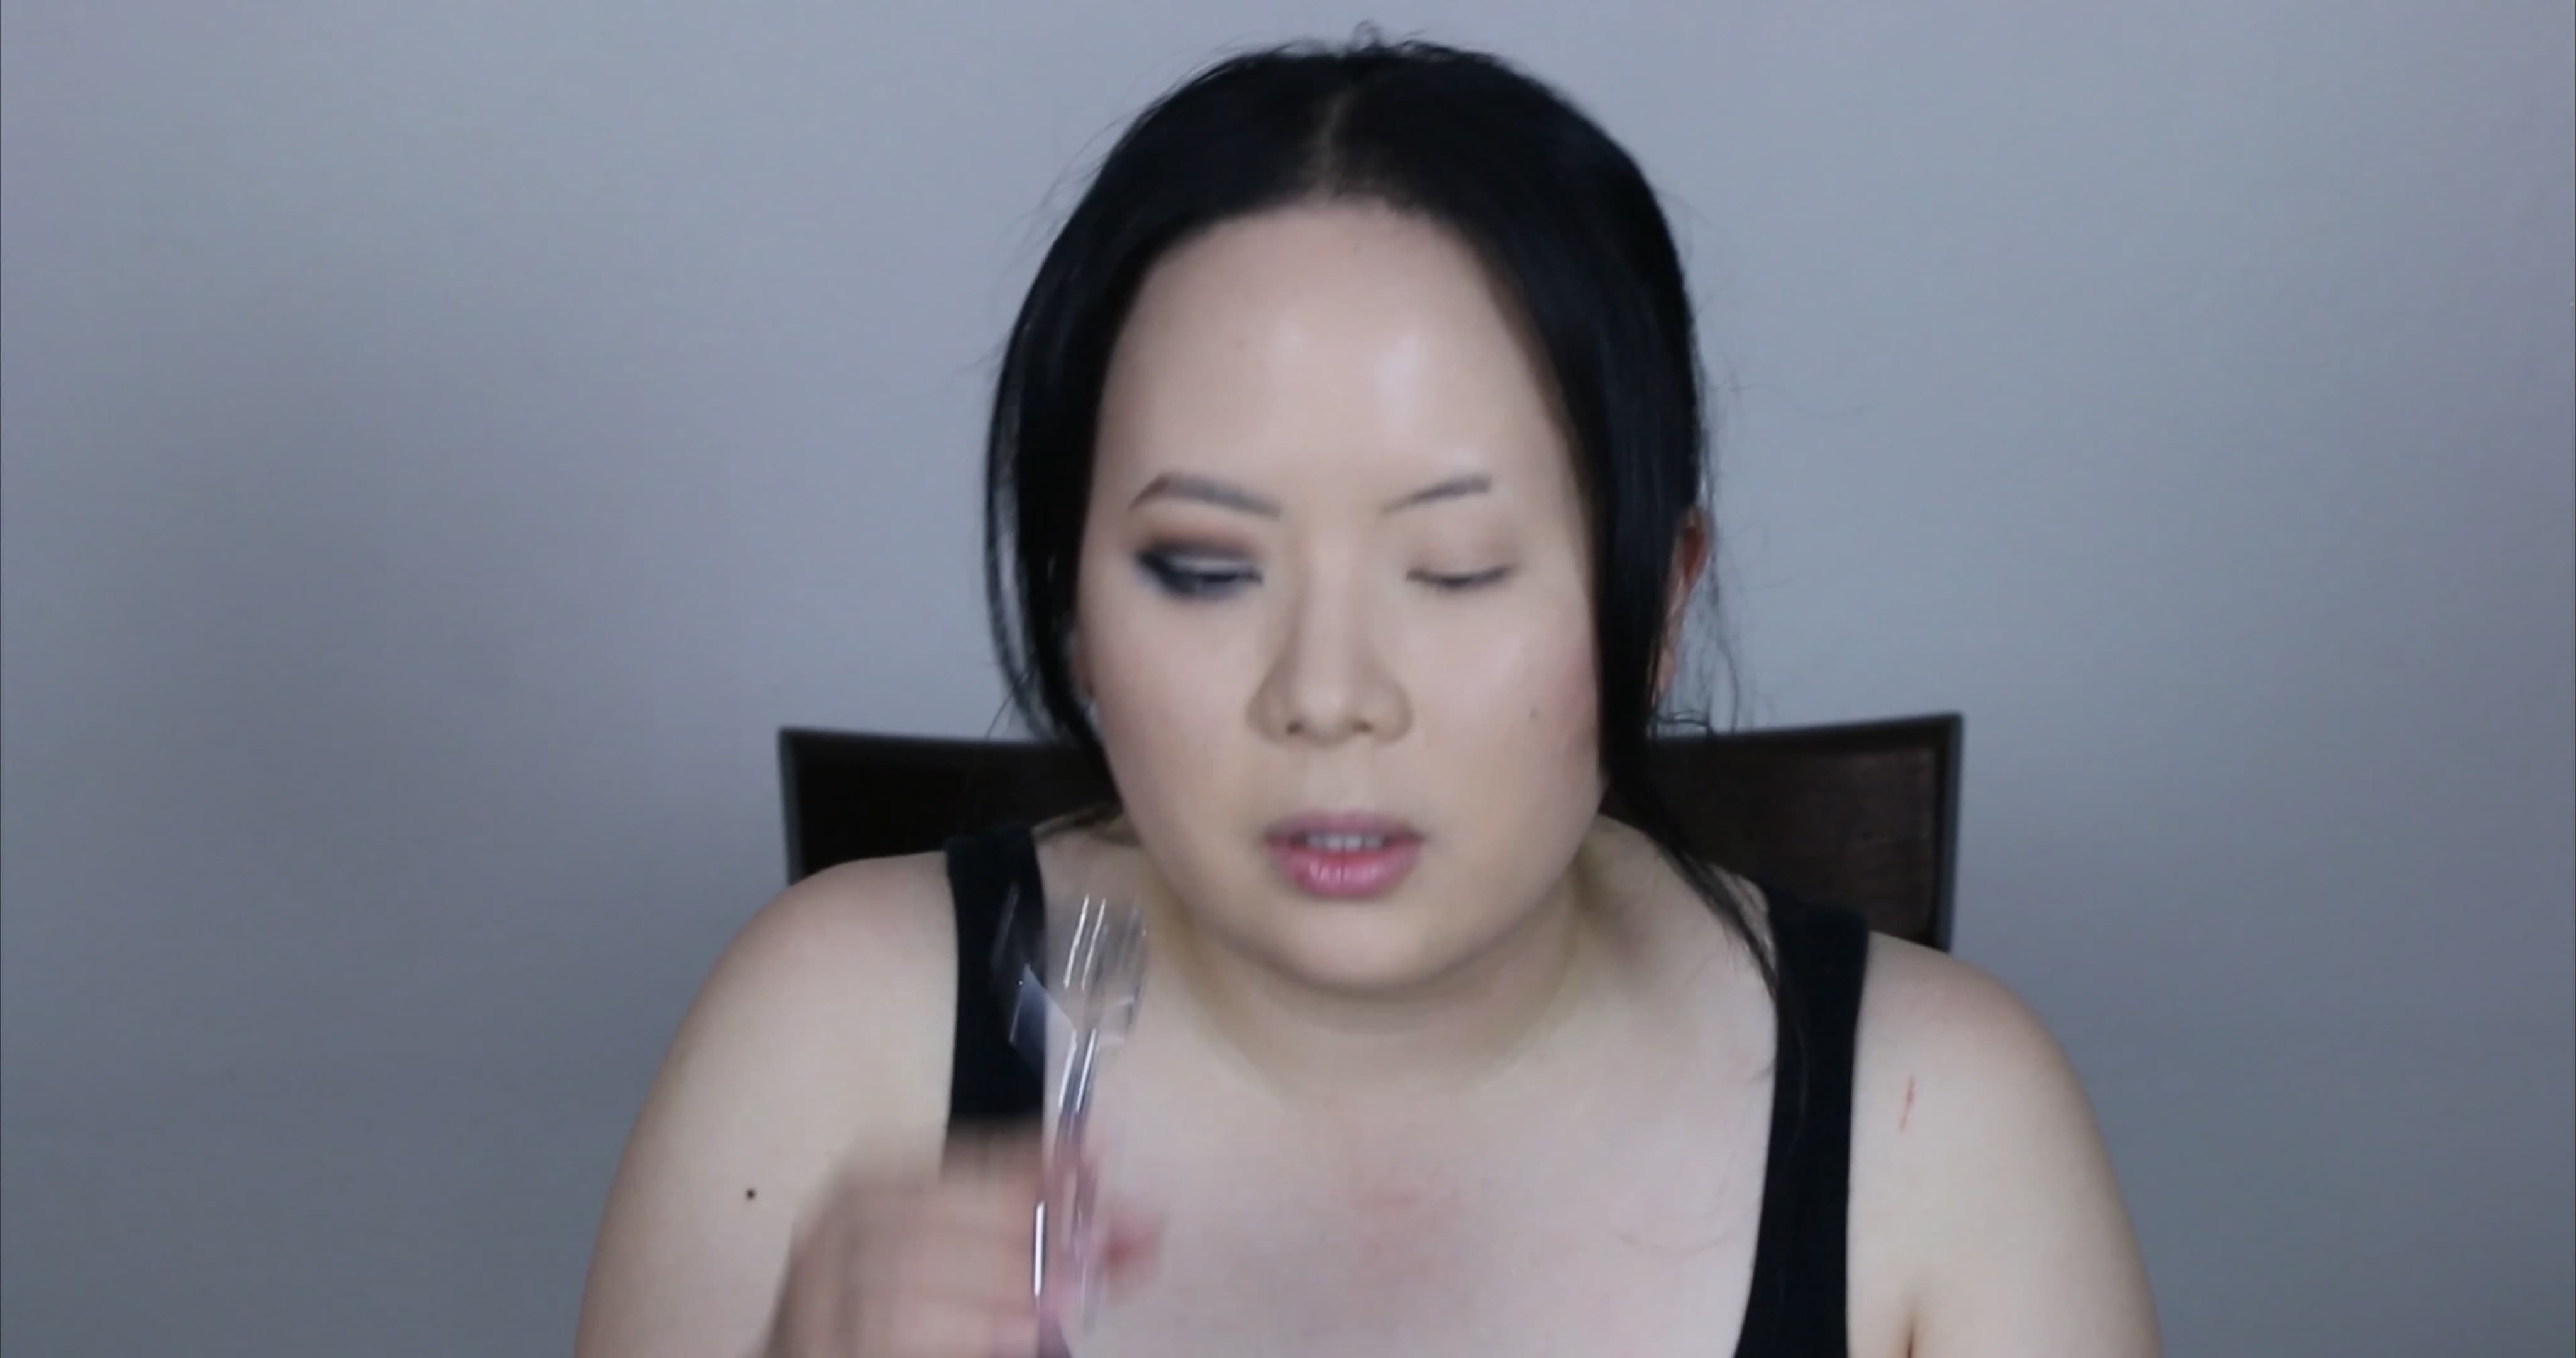
6. Line the upper lashline with a black liquid eyeliner. I gave myself a cat eye for a more dramatic effect, and for my lower lashline, I used black eyeshadow and a small, flat, shader brush. Don’t forget to curl your eyelashes and coat with some mascara!
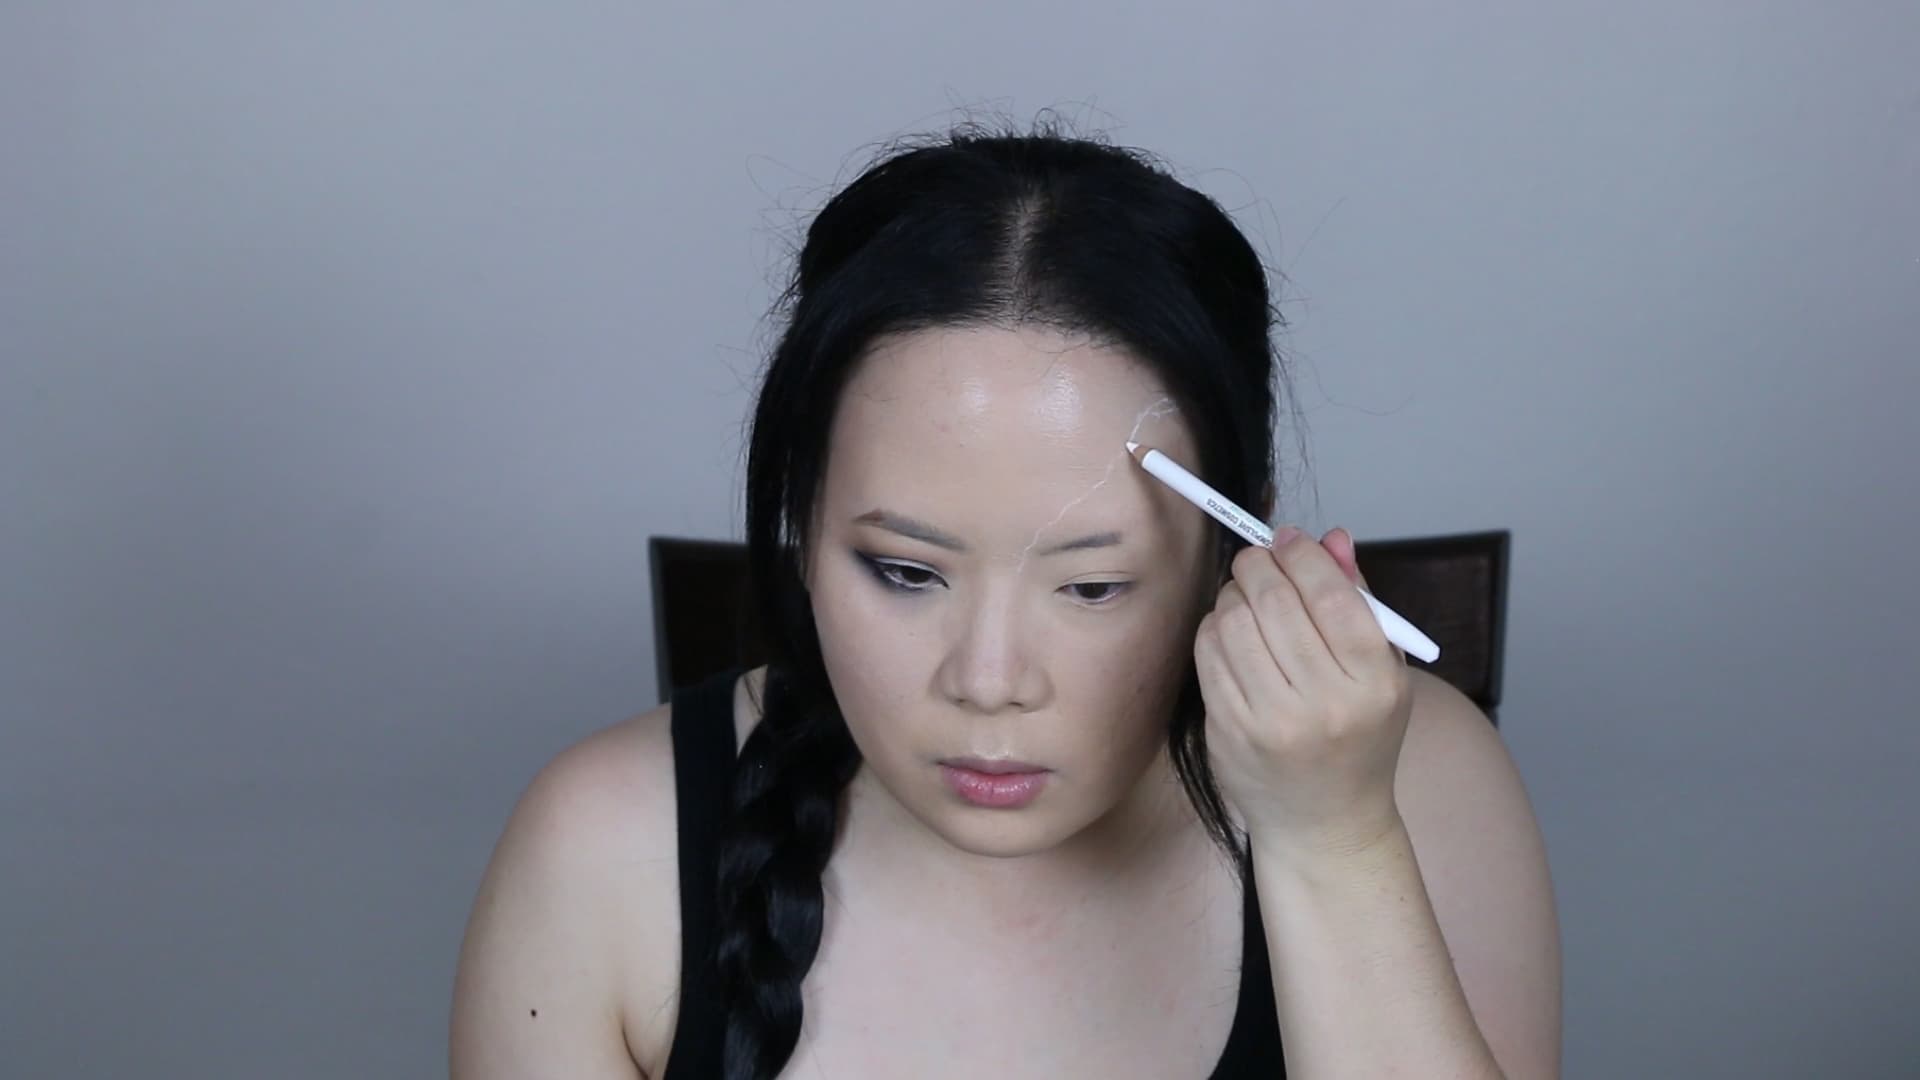
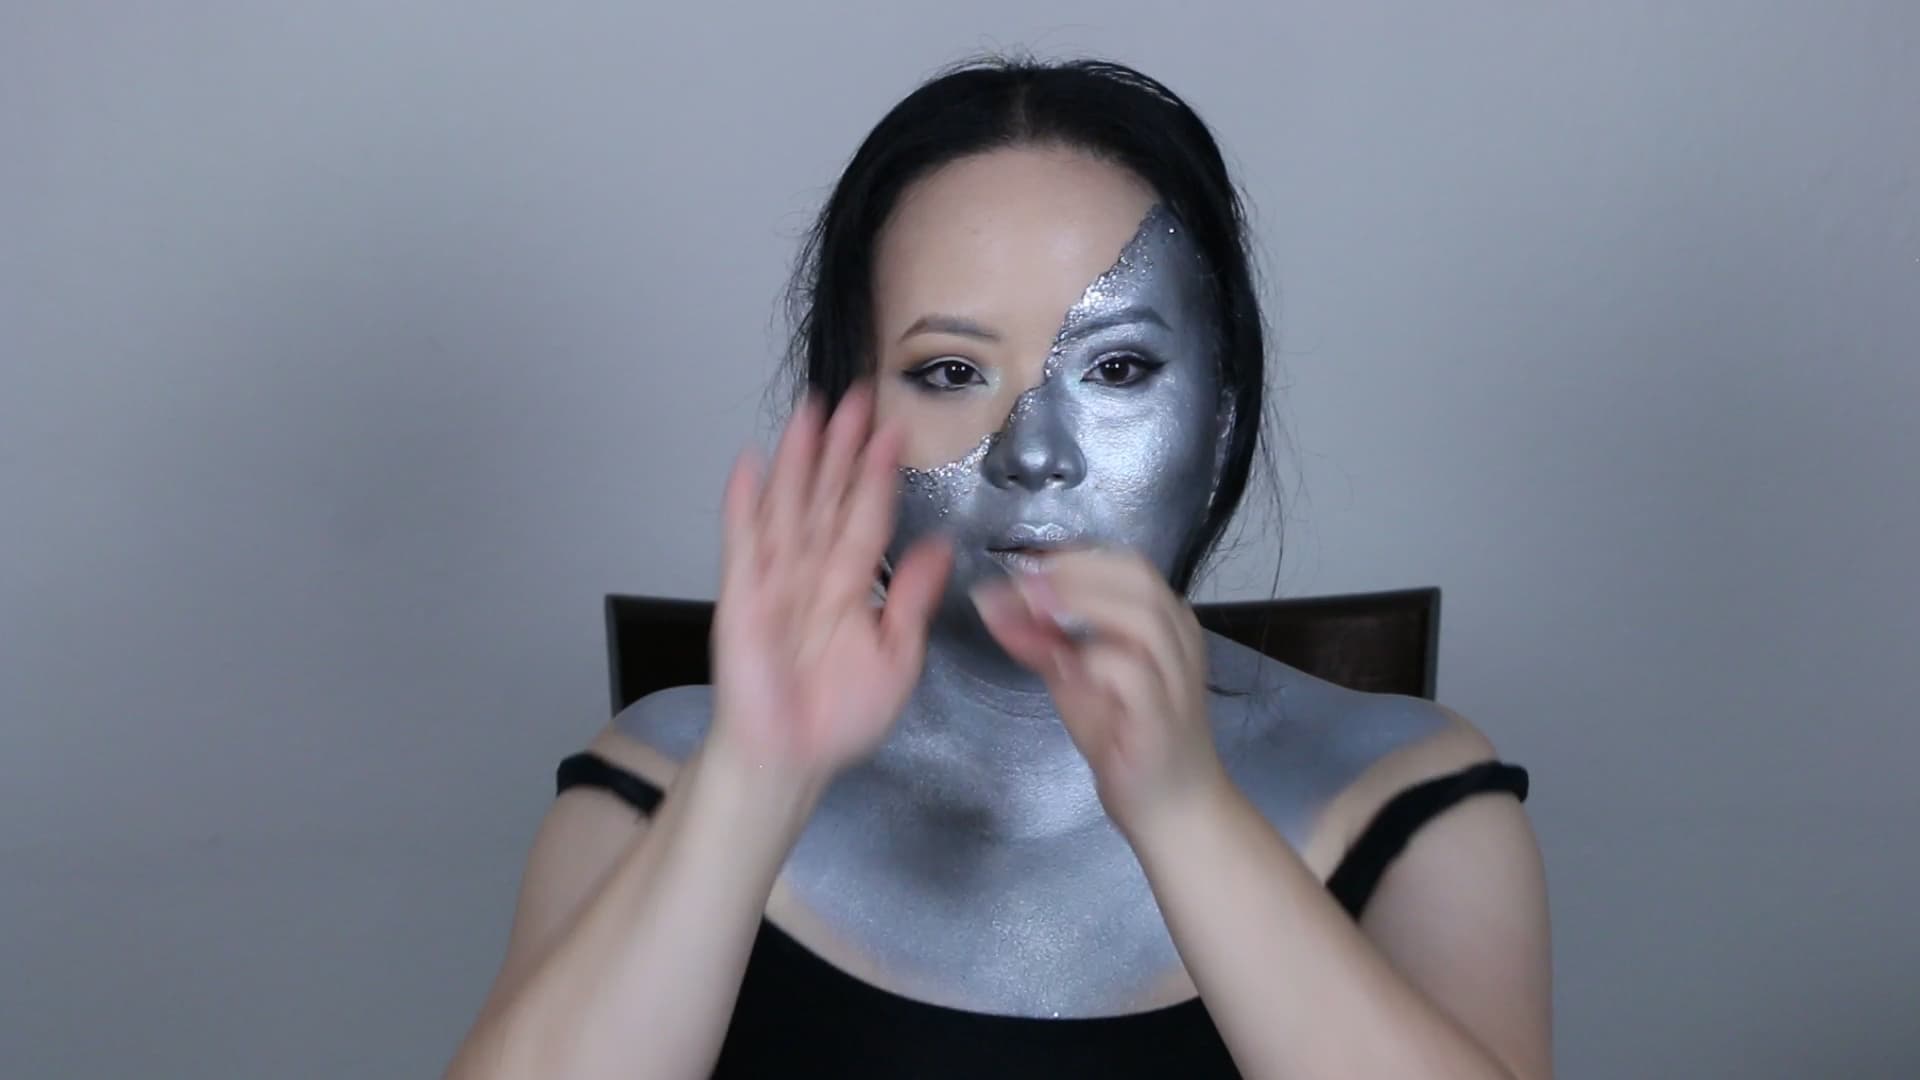
7. Next, we will start with the diamond skin side. Use a white eyeliner pencil to trace the outline of where your skin tone is going to transition into the diamond skin. I used a white eyeliner pencil because it’s easier to smudge out the liner with your finger or a brush if you need to adjust the shape or design you are tracing. You can do this transition in any kind of shape that you like. I just liked the idea of the diamond skin crawling over and a little asymmetry in design instead of a perfect half-and-half face transition. The asymmetry will make the look feel a little bit more organic.
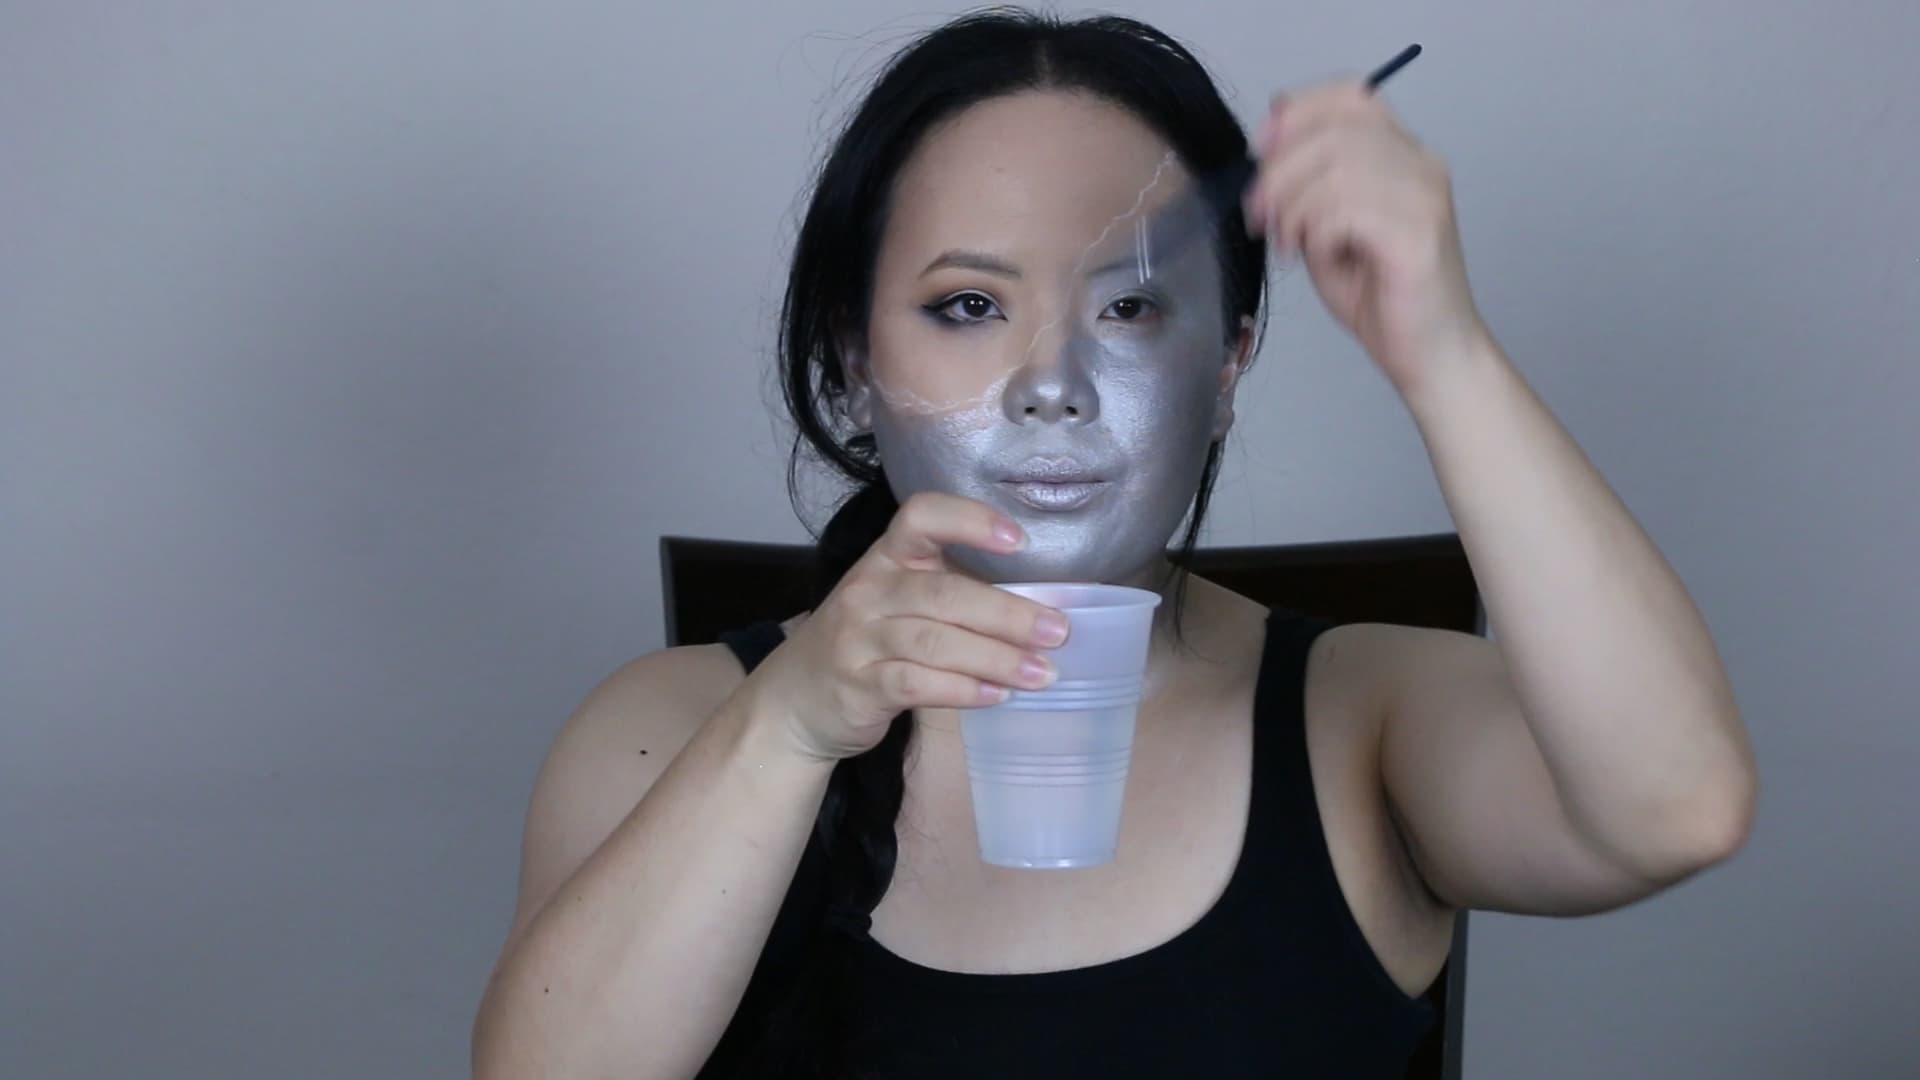
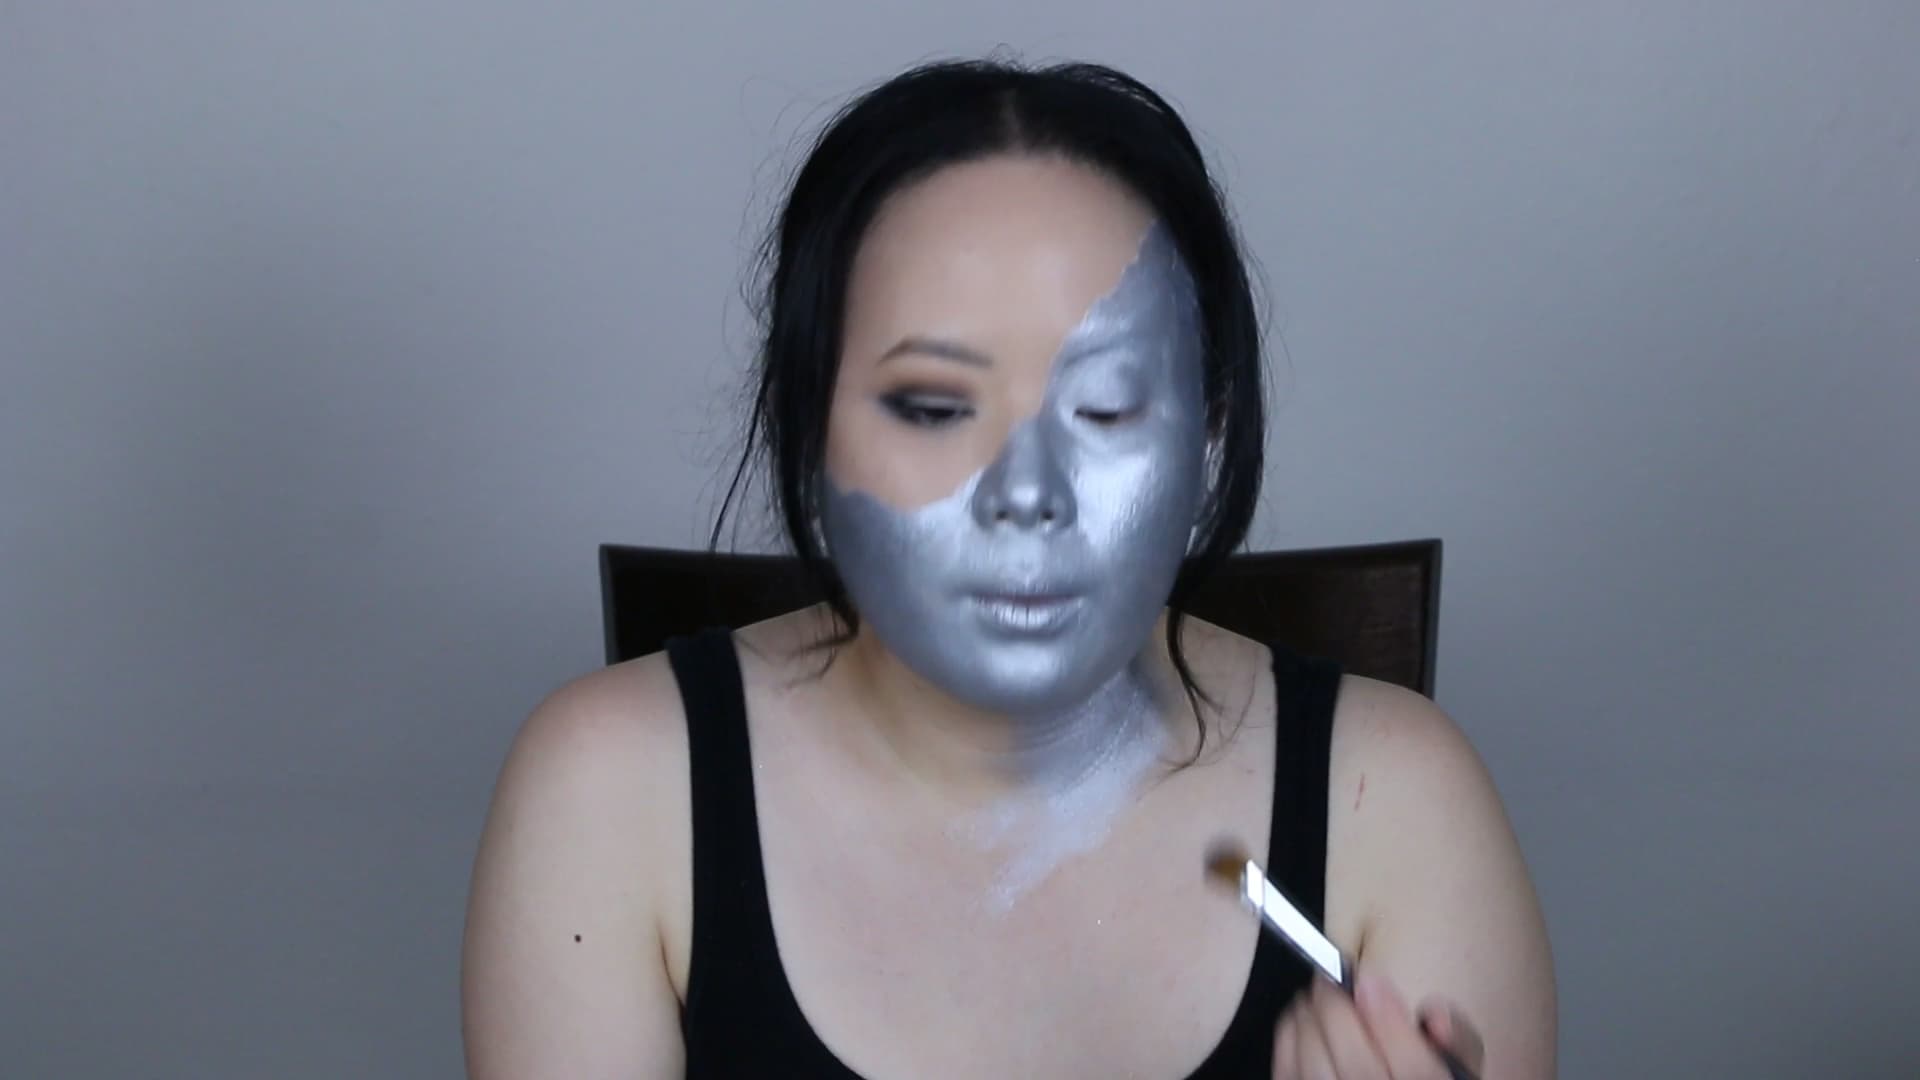
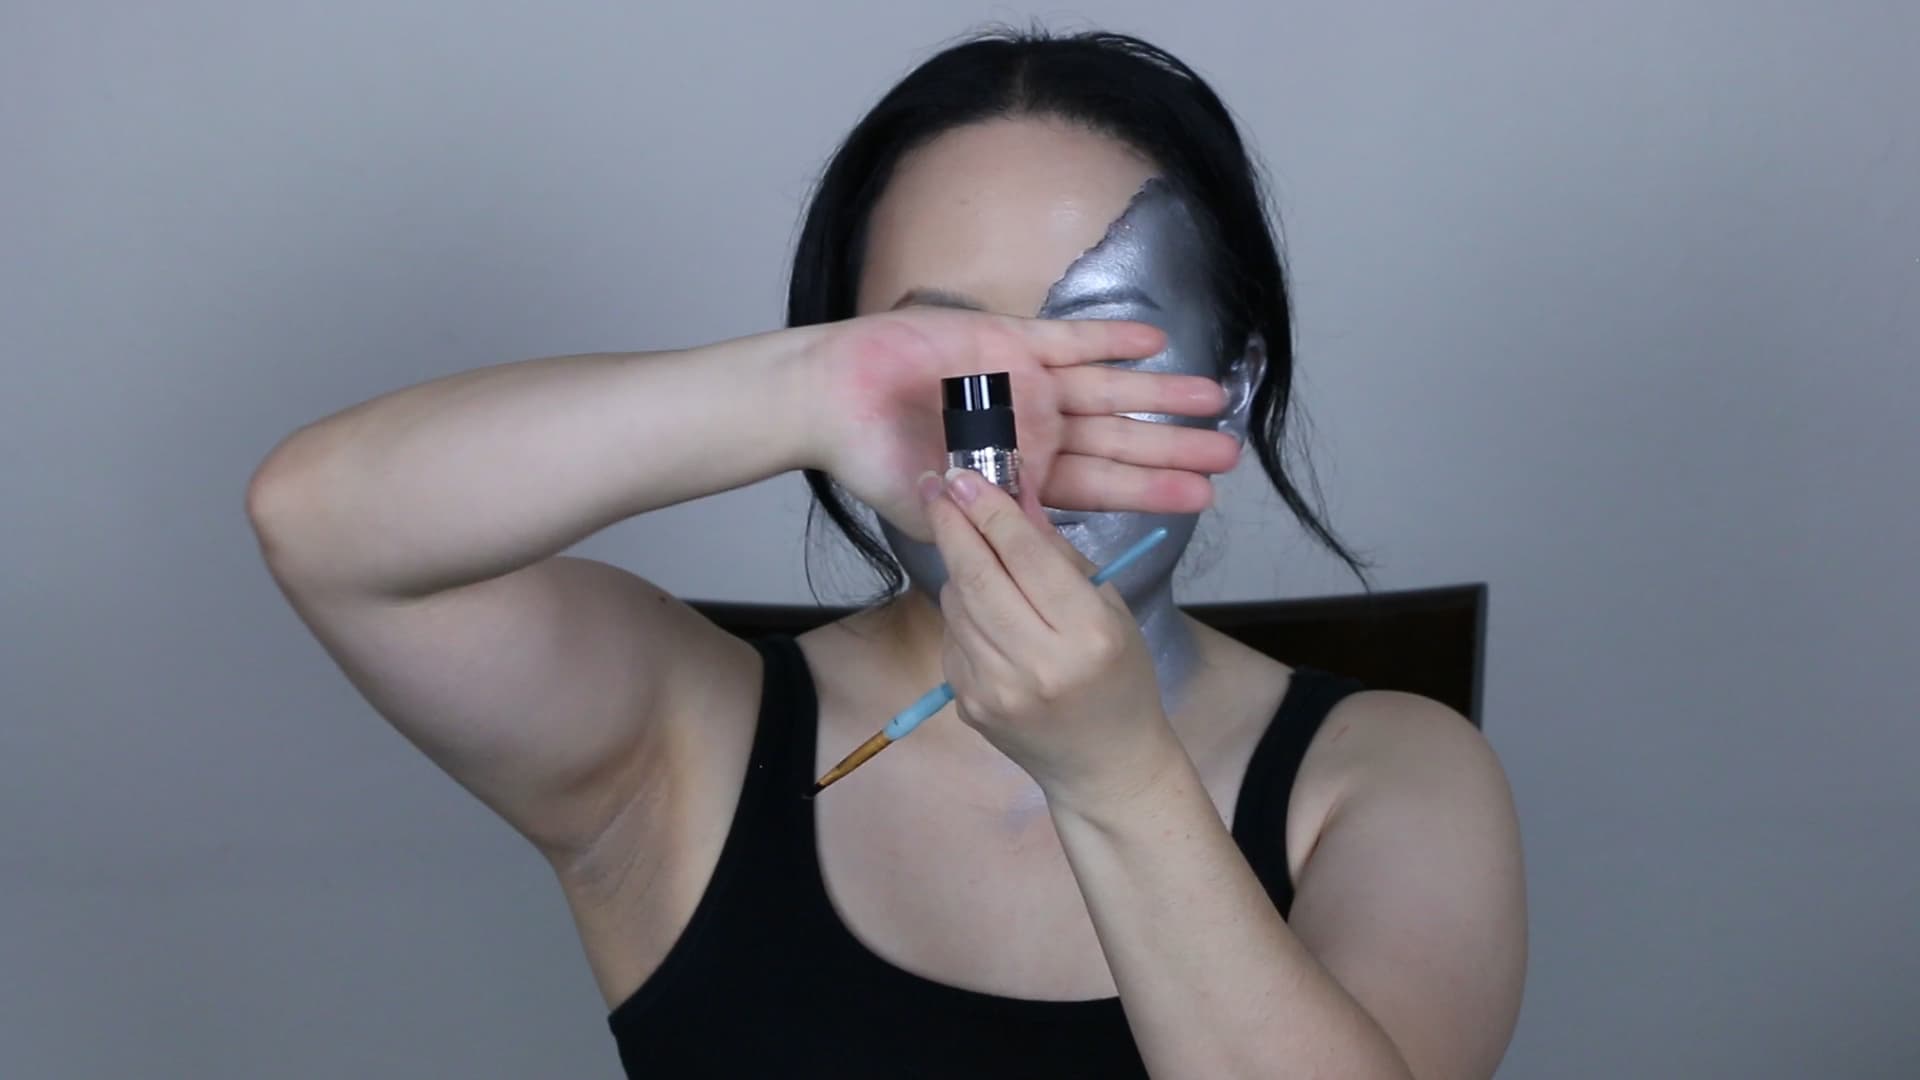
8. Use a water-based, silver body paint and a kabuki brush, which is a very wide, dense, round brush, dipped in water to paint the silver tone onto the skin. I use a buffing motion to get the color onto the skin quickly. You will notice that the paint will go on a little translucent. Don’t worry! The key here is to build up the color up in layers. Once the paint is dry, I will do a second layer and this time, I will bounce the brush onto the skin to press on the color.
HOT TIP: Don’t forget to paint your ears!
9. To define and fill in the edges that I sketched in with the white pencil, I will use a pointed, synthetic brush (like a paint brush) and activate that with water to create more precise lines.
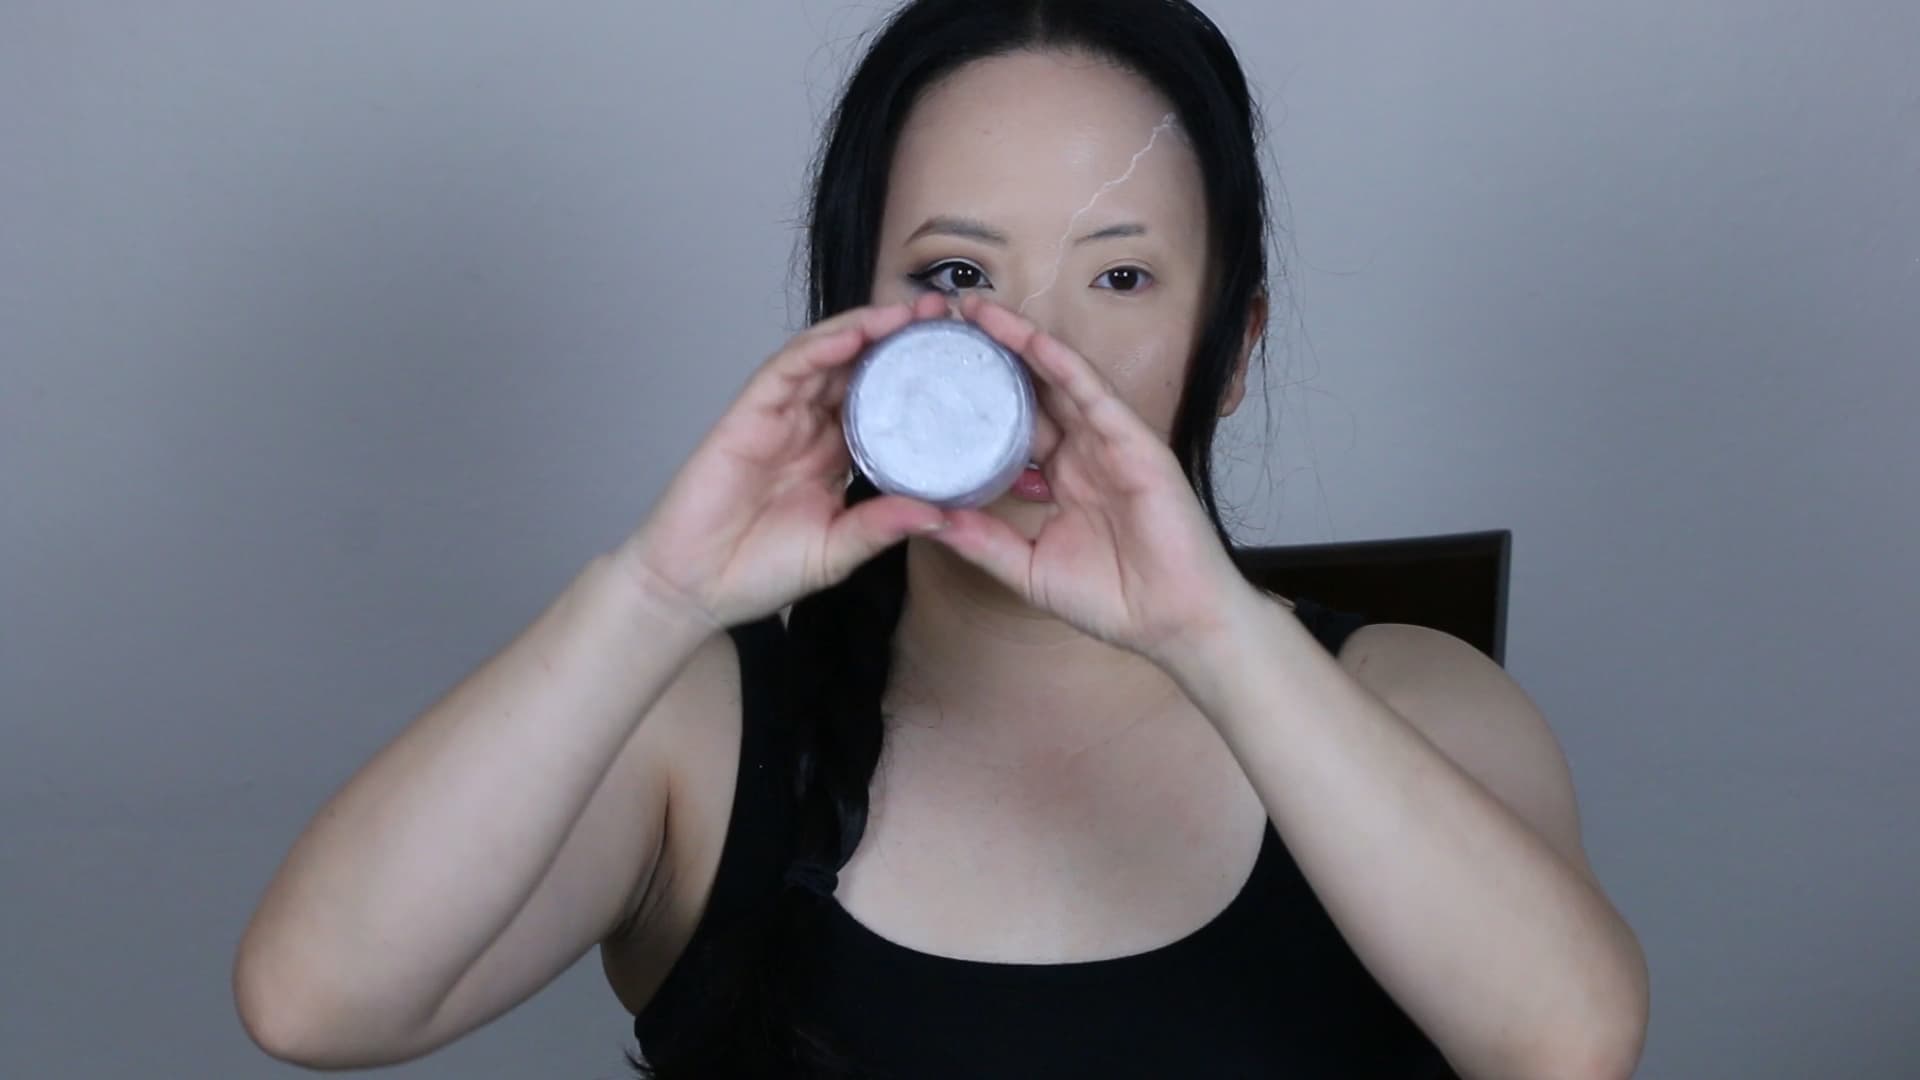
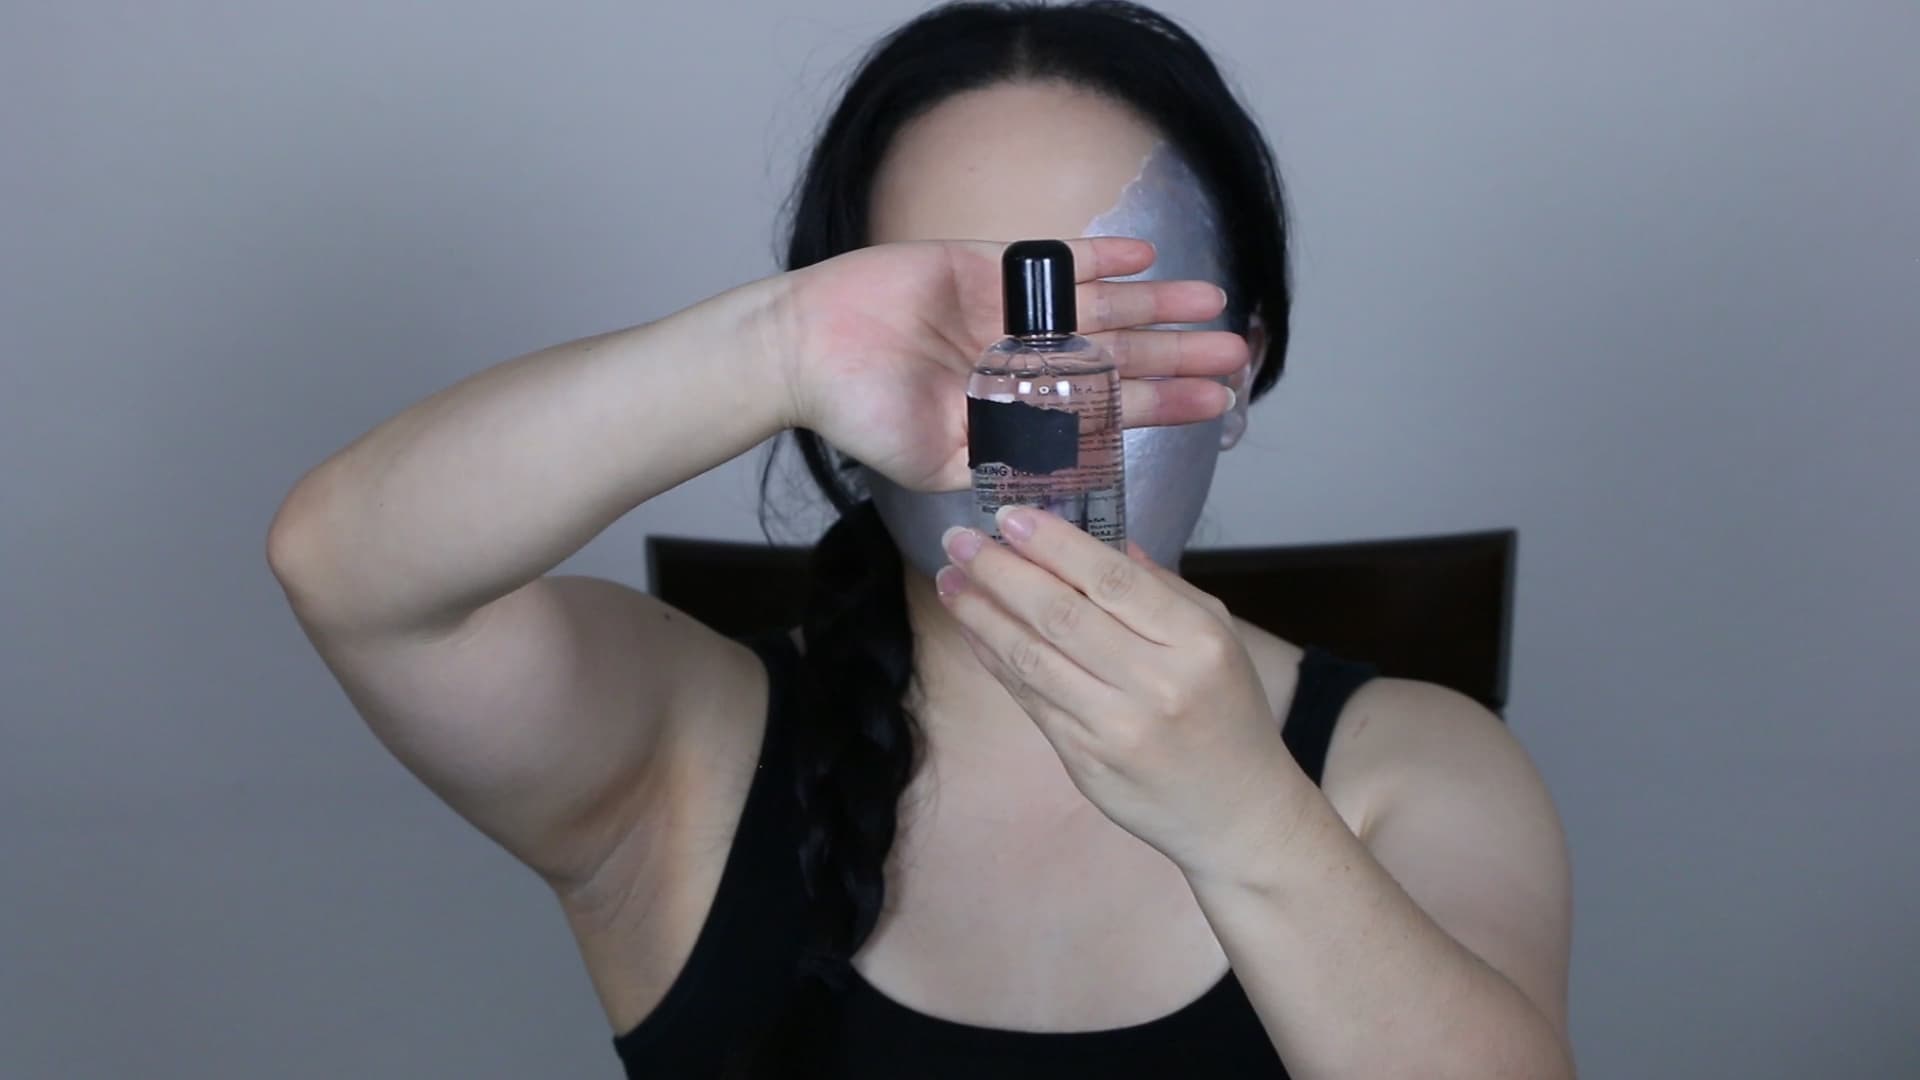
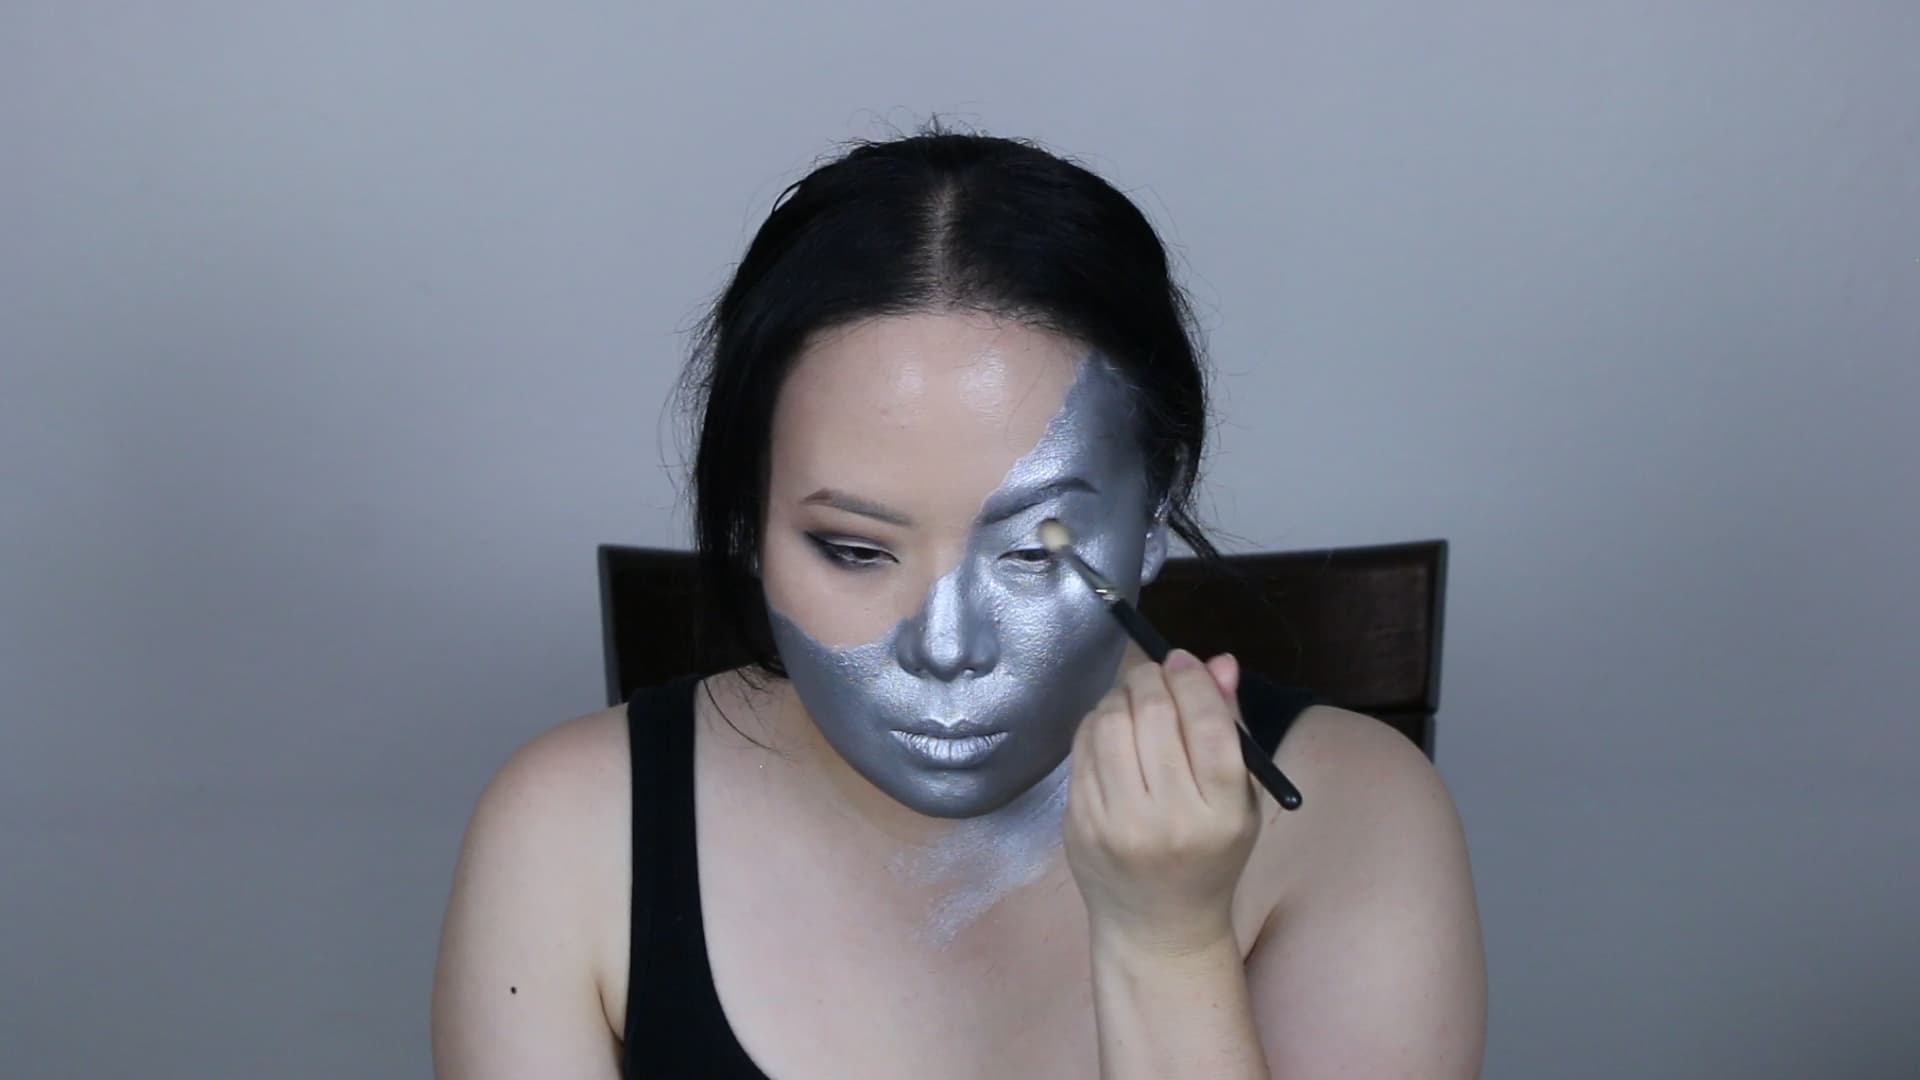
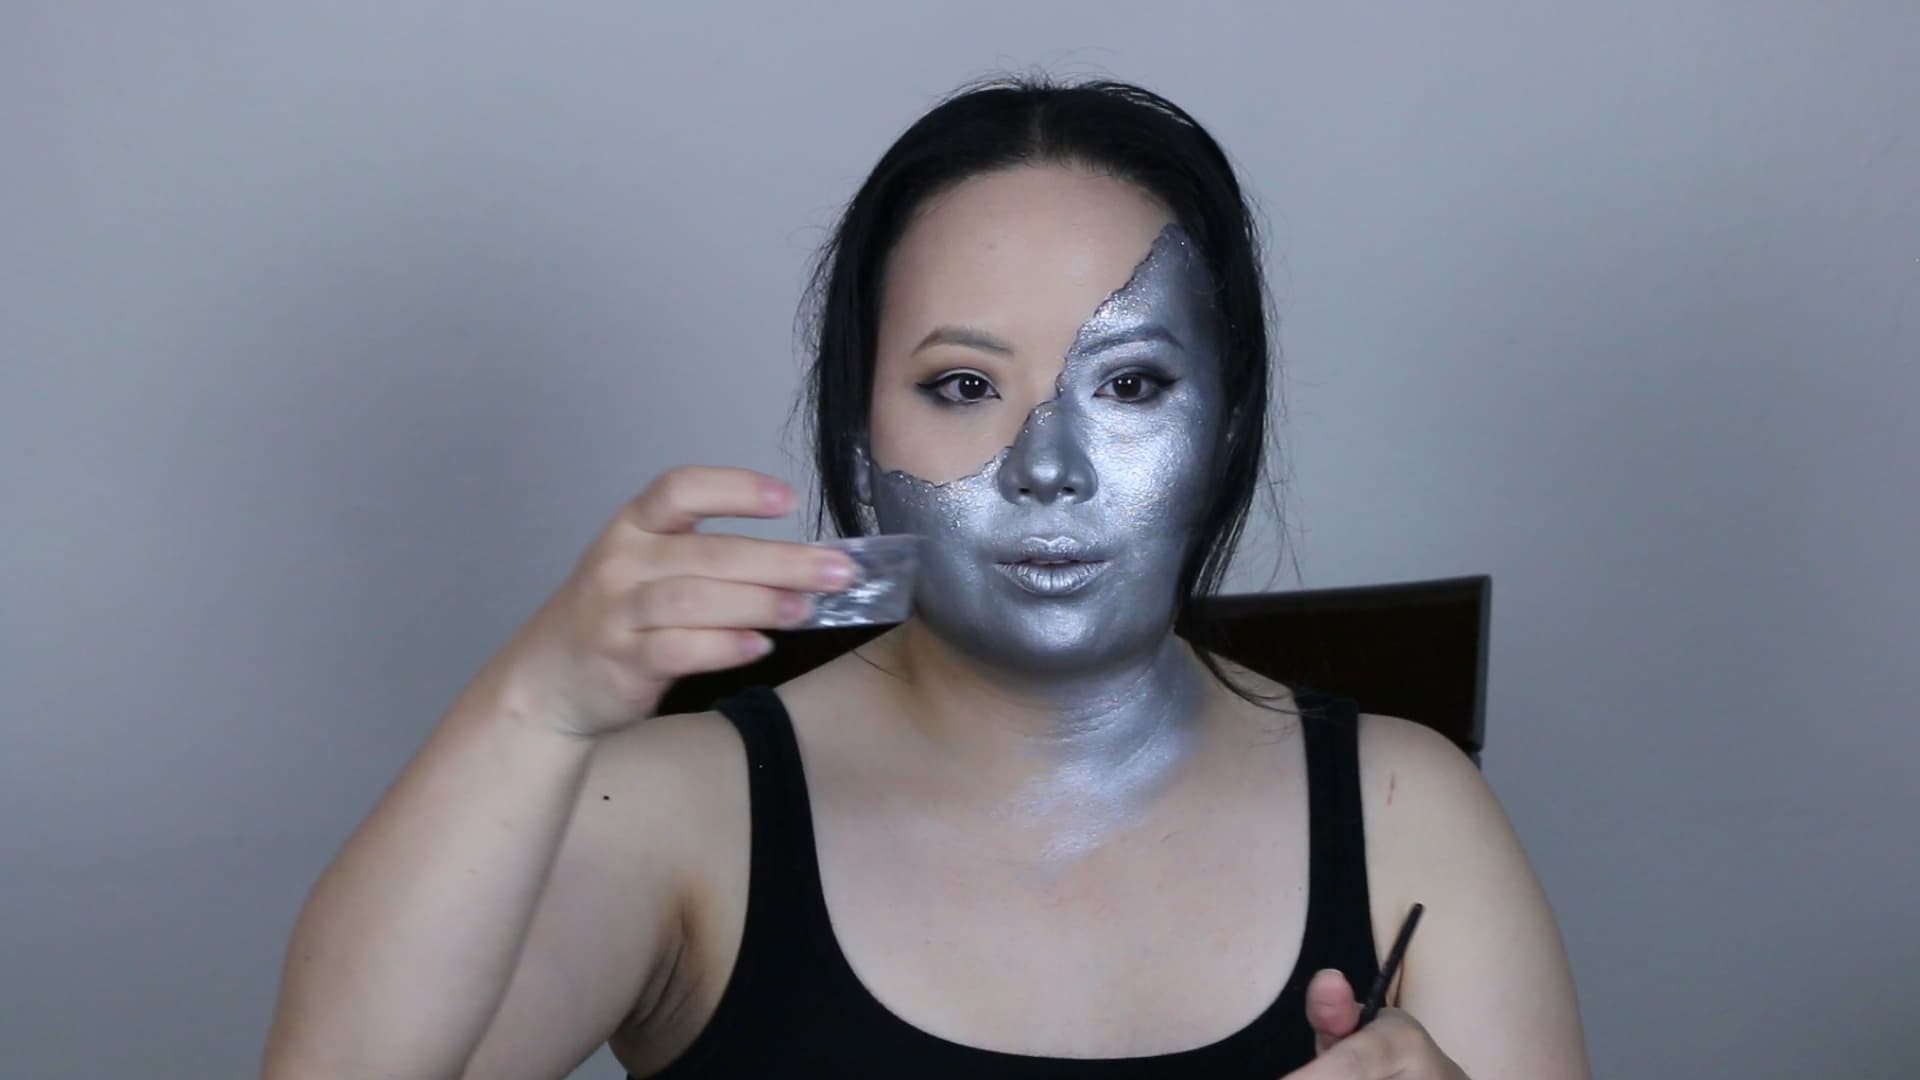
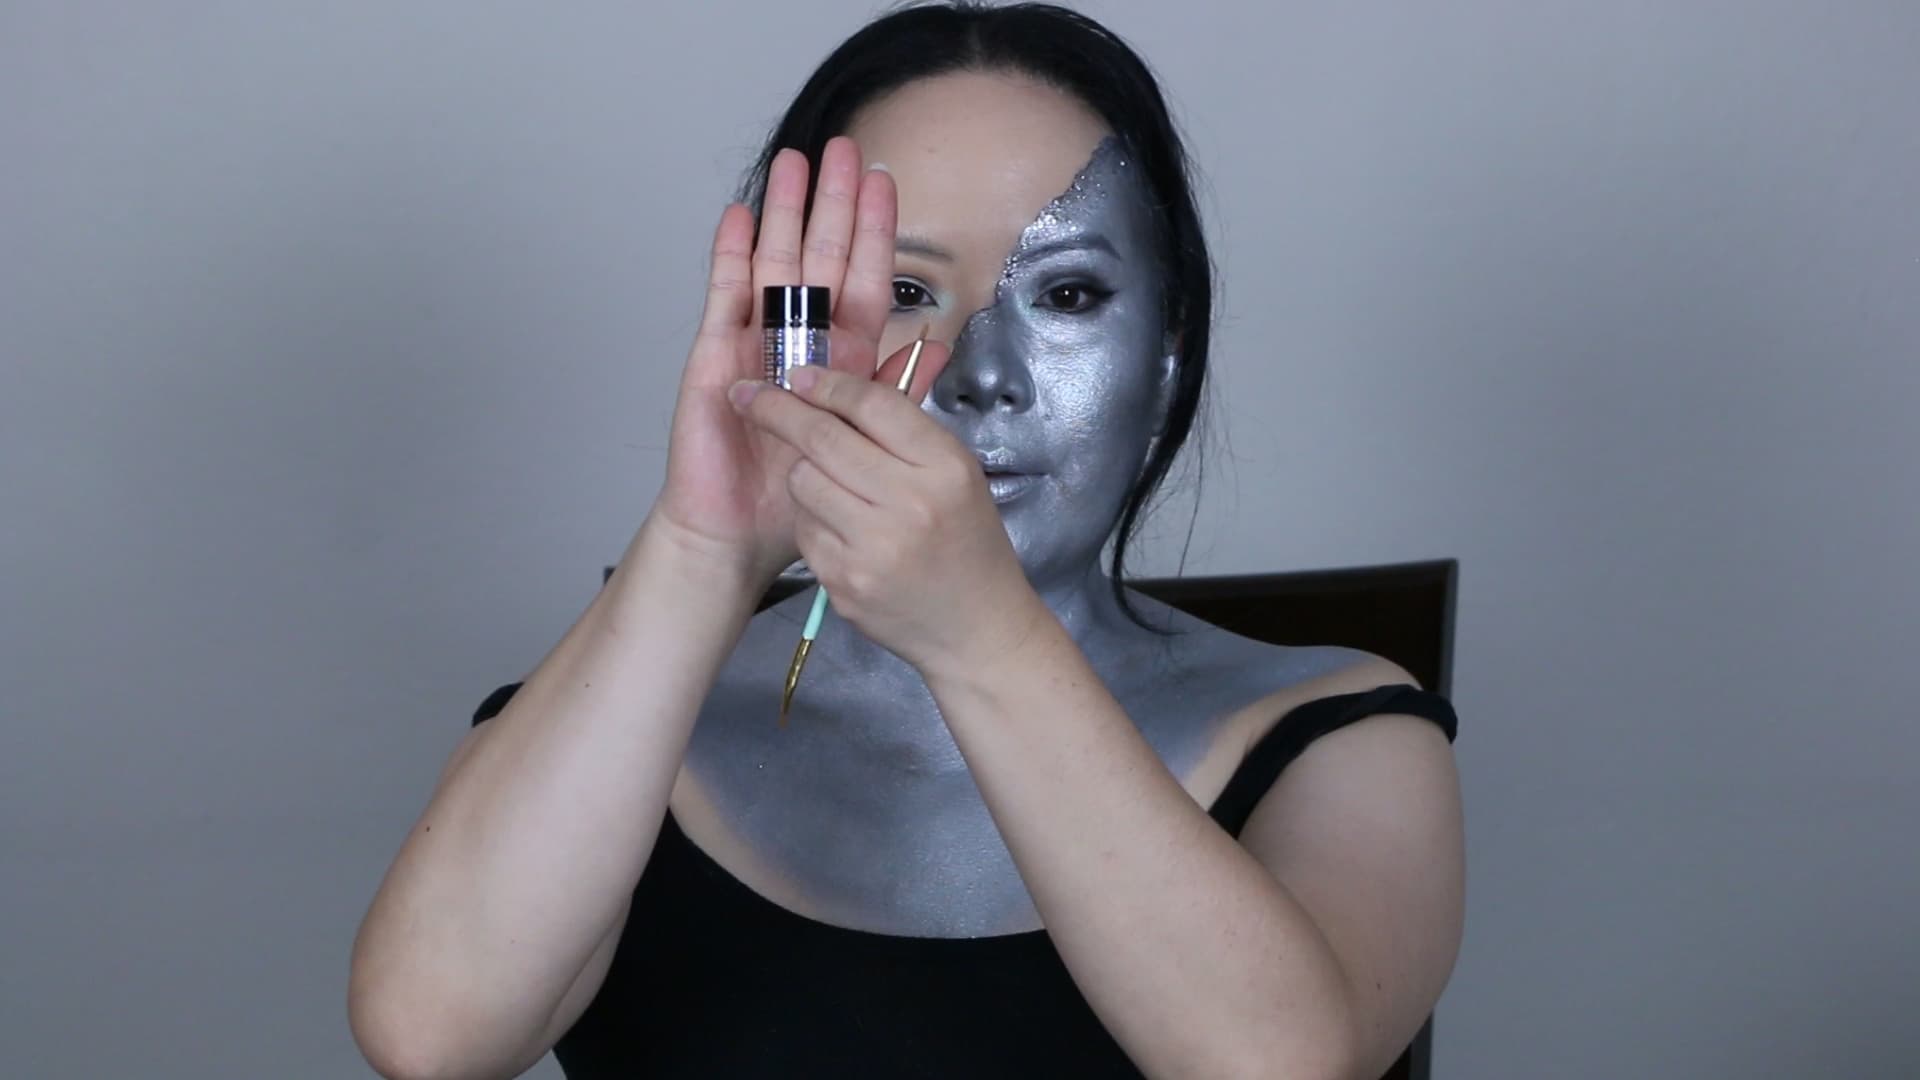
10. Remember what I said about layers? By now, you should have built up quite a good amount of color on the skin, but you will maybe notice some splotches where the color didn’t go on evenly. This is normal with water-based paints. To get that even skin tone, I will take a mixing medium and some silver pigment, and on palette paper, mix the two and apply the pigment with a stippling brush. Usually, you will only need a little bit of mixing medium to liquidize the pigment, but experiment and see what works best for you!
11. To set all the paint, I will take a large eyeshadow brush and press on the pigment dry all over the silver paint. Once I have the pigment pressed on, I will take the same eyeshadow brush and buff off the excess powder and make sure the pigment is really worked into the skin. Now you should have an even, pigmented, silver base!
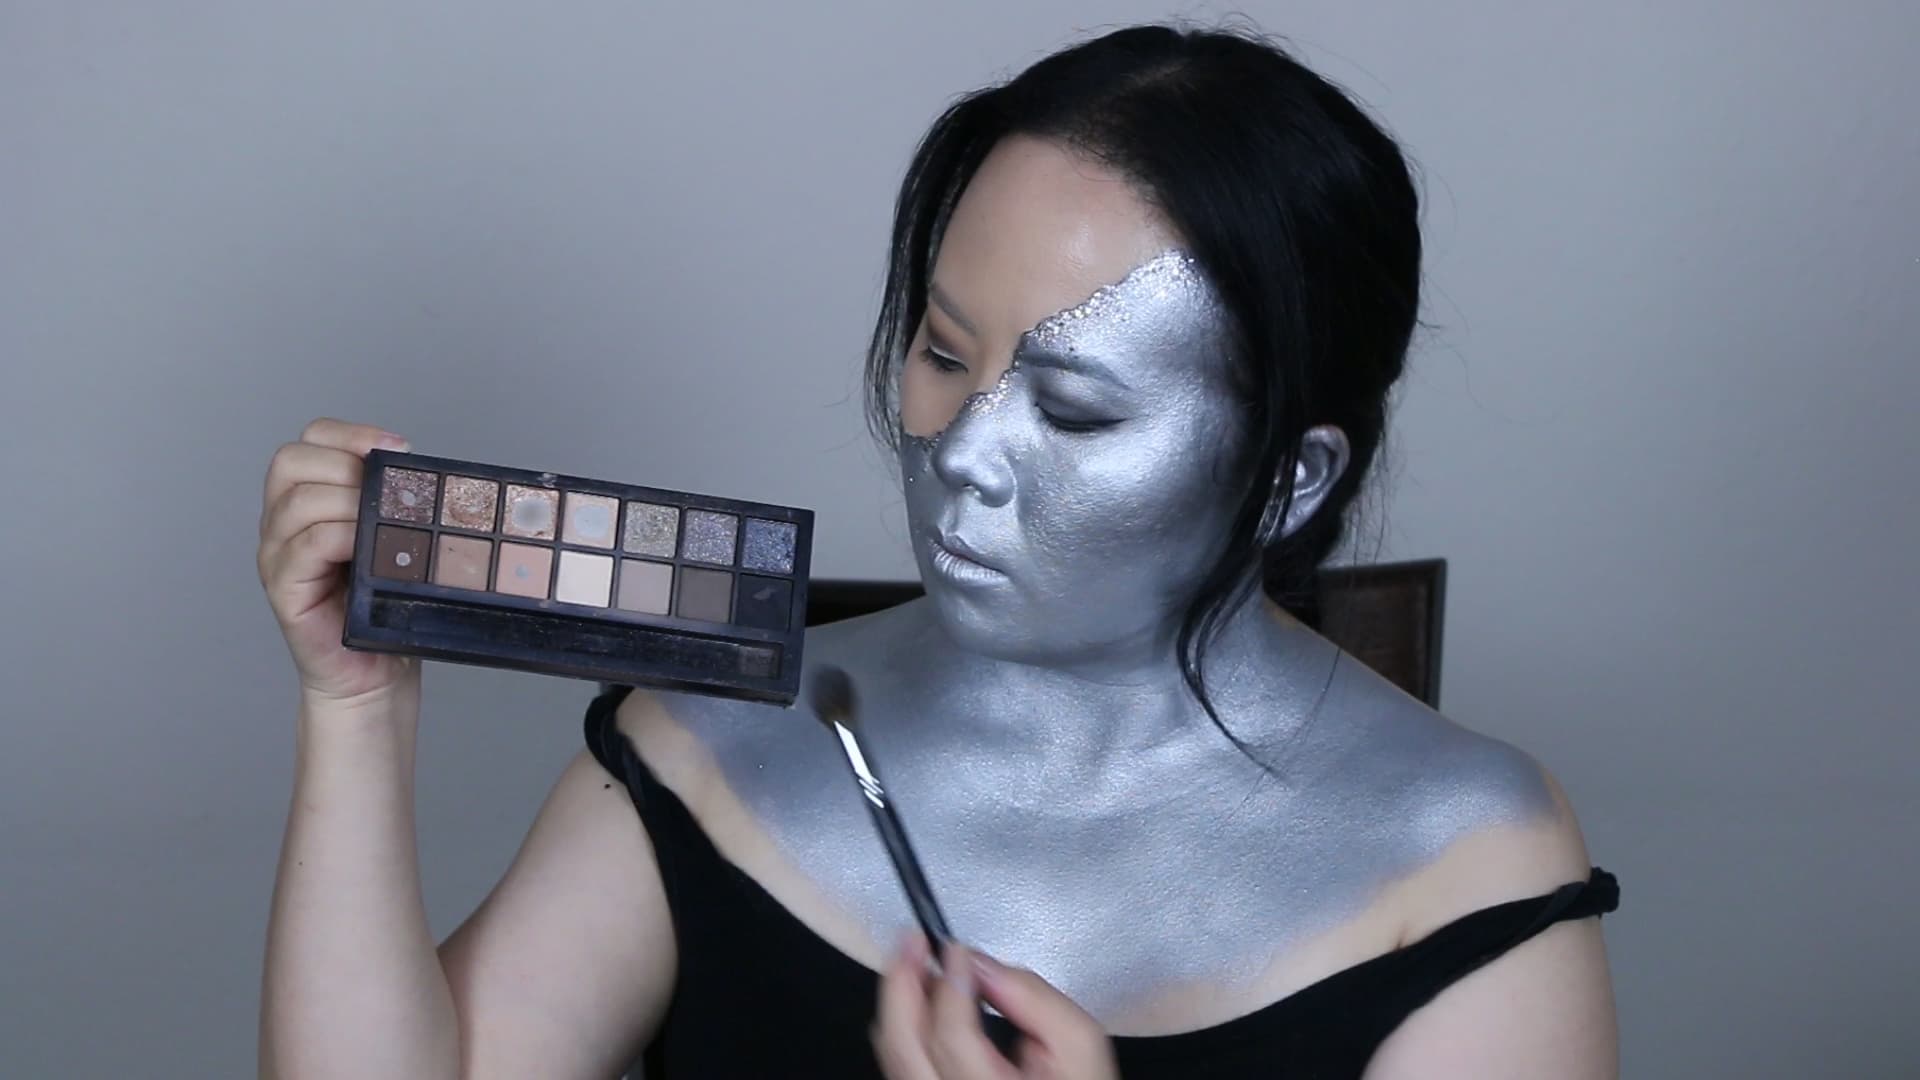
12. With the same dark gray eyeshadow that we used from before, take a large blending brush to define the contours of the face such as the hollows of the cheeks, temples, jawline, and on the sides of the nose bridge. Once you have placed the color with the blending brush, take a large blush brush and blend out any harsh lines.
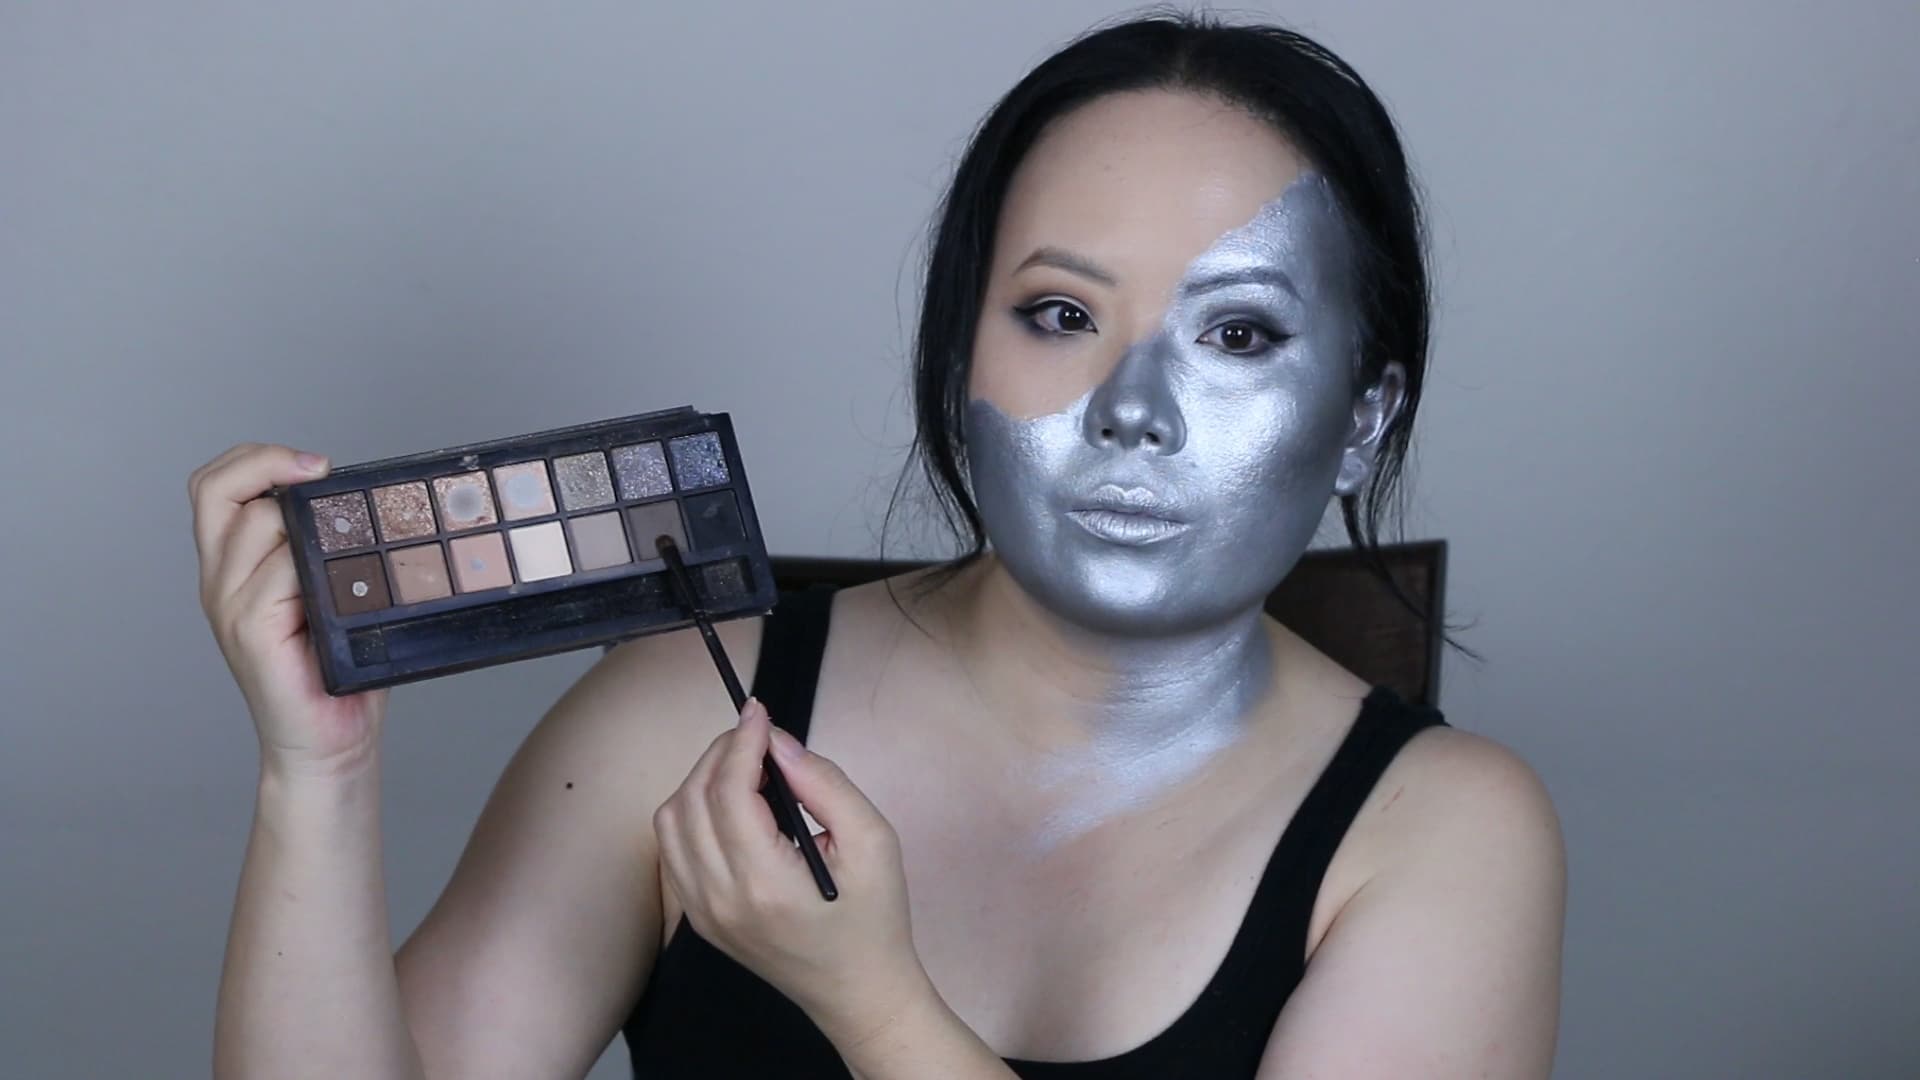
13. Next, is the eye makeup for the silver side of the face. Use the black eyeshadow and an angled eyebrow brush and define and fill in your brows. Use the dark gray eyeshadow and a blender brush and define the crease of your eye. Layer black eyeshadow on top of the crease to make it pop. To match the smokey look of your other eye, use a flat eyeshadow brush to fill in the outer corner of your eyelid in a “V” shape. Don’t forget to use the black eyeshadow to line your bottom lashline as well. Line your upper lashline with liquid liner the same way you lined your other eye, and curl your lashes and coat with mascara.
14. For the edges where we previously traced with the white eyeliner, we are going to define the shadow to create a more 3D effect. With your small, flat eyeshadow brush and a dark gray eyeshadow, deepen and blend out the edges of the transition line. Use black eyeshadow to layer and deepen the edges. Use a liquid eyeliner with a very fine tip to really define those edges.
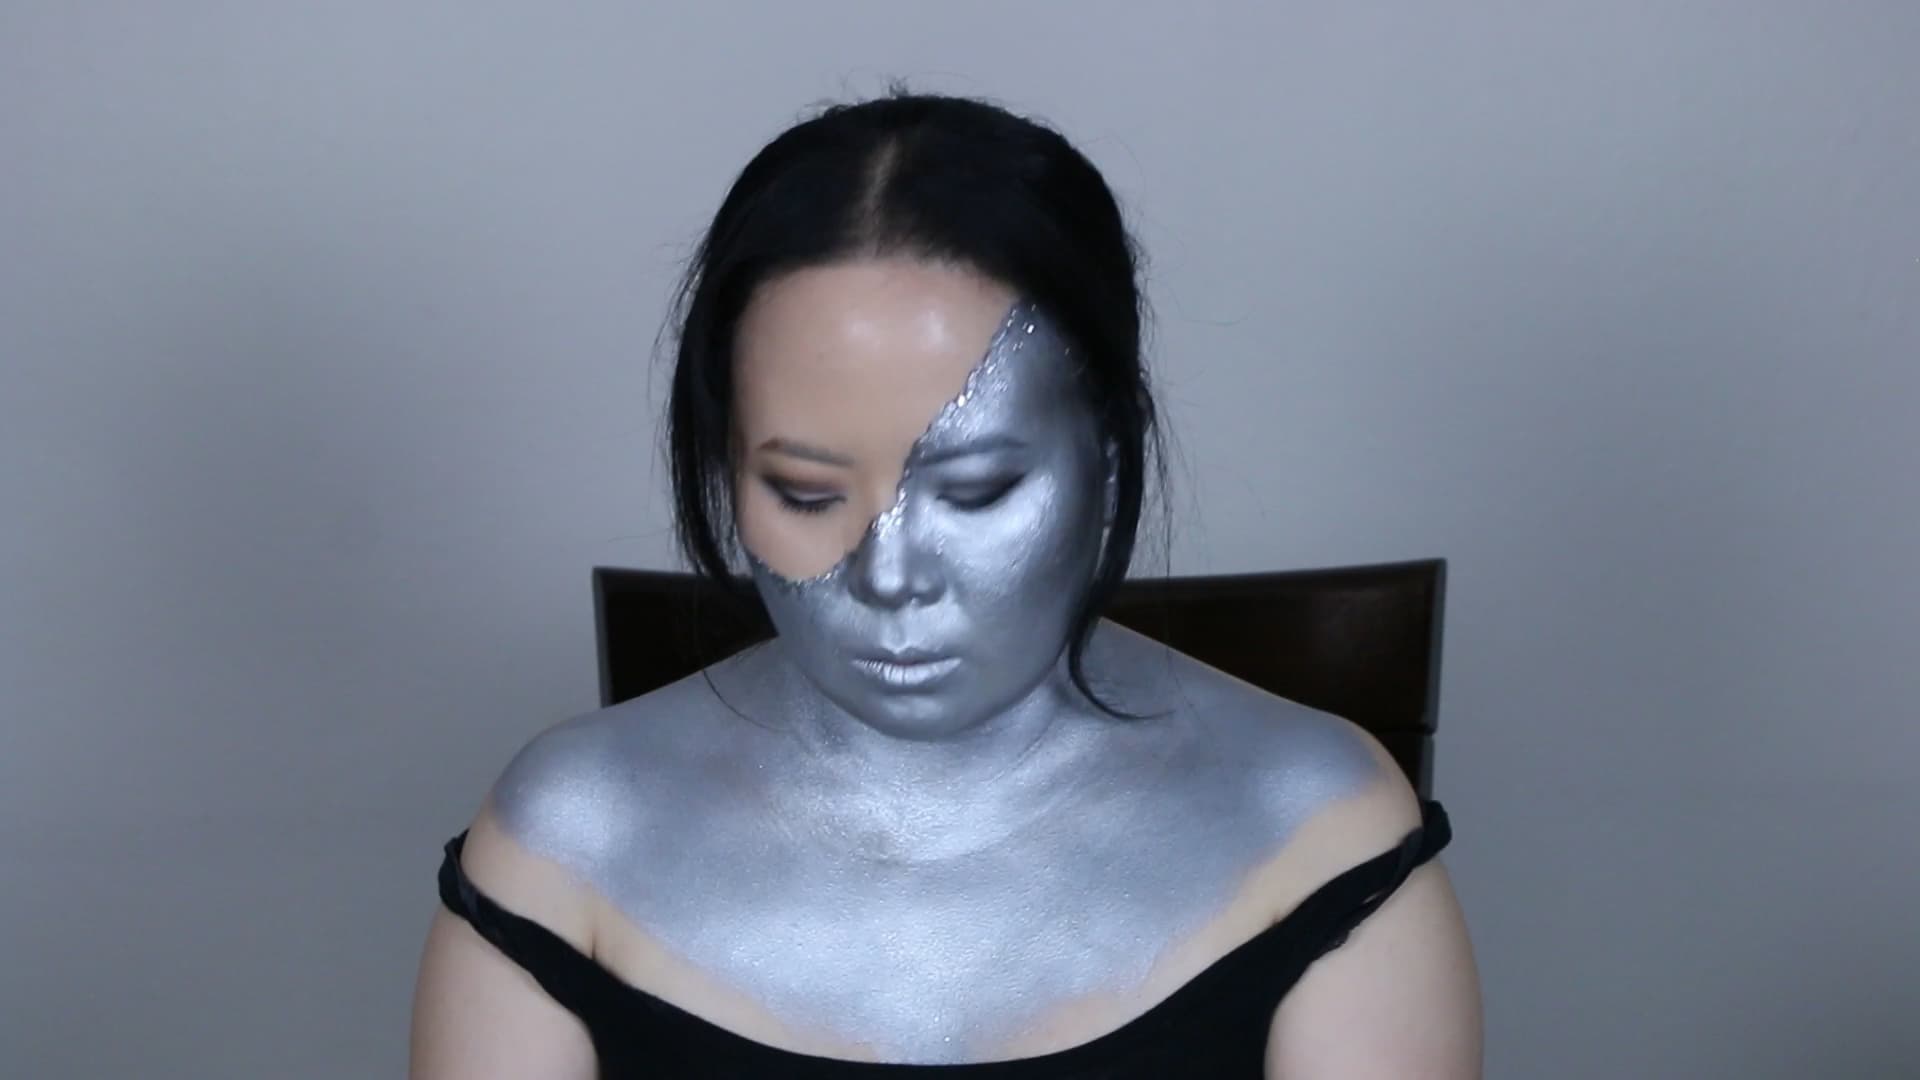
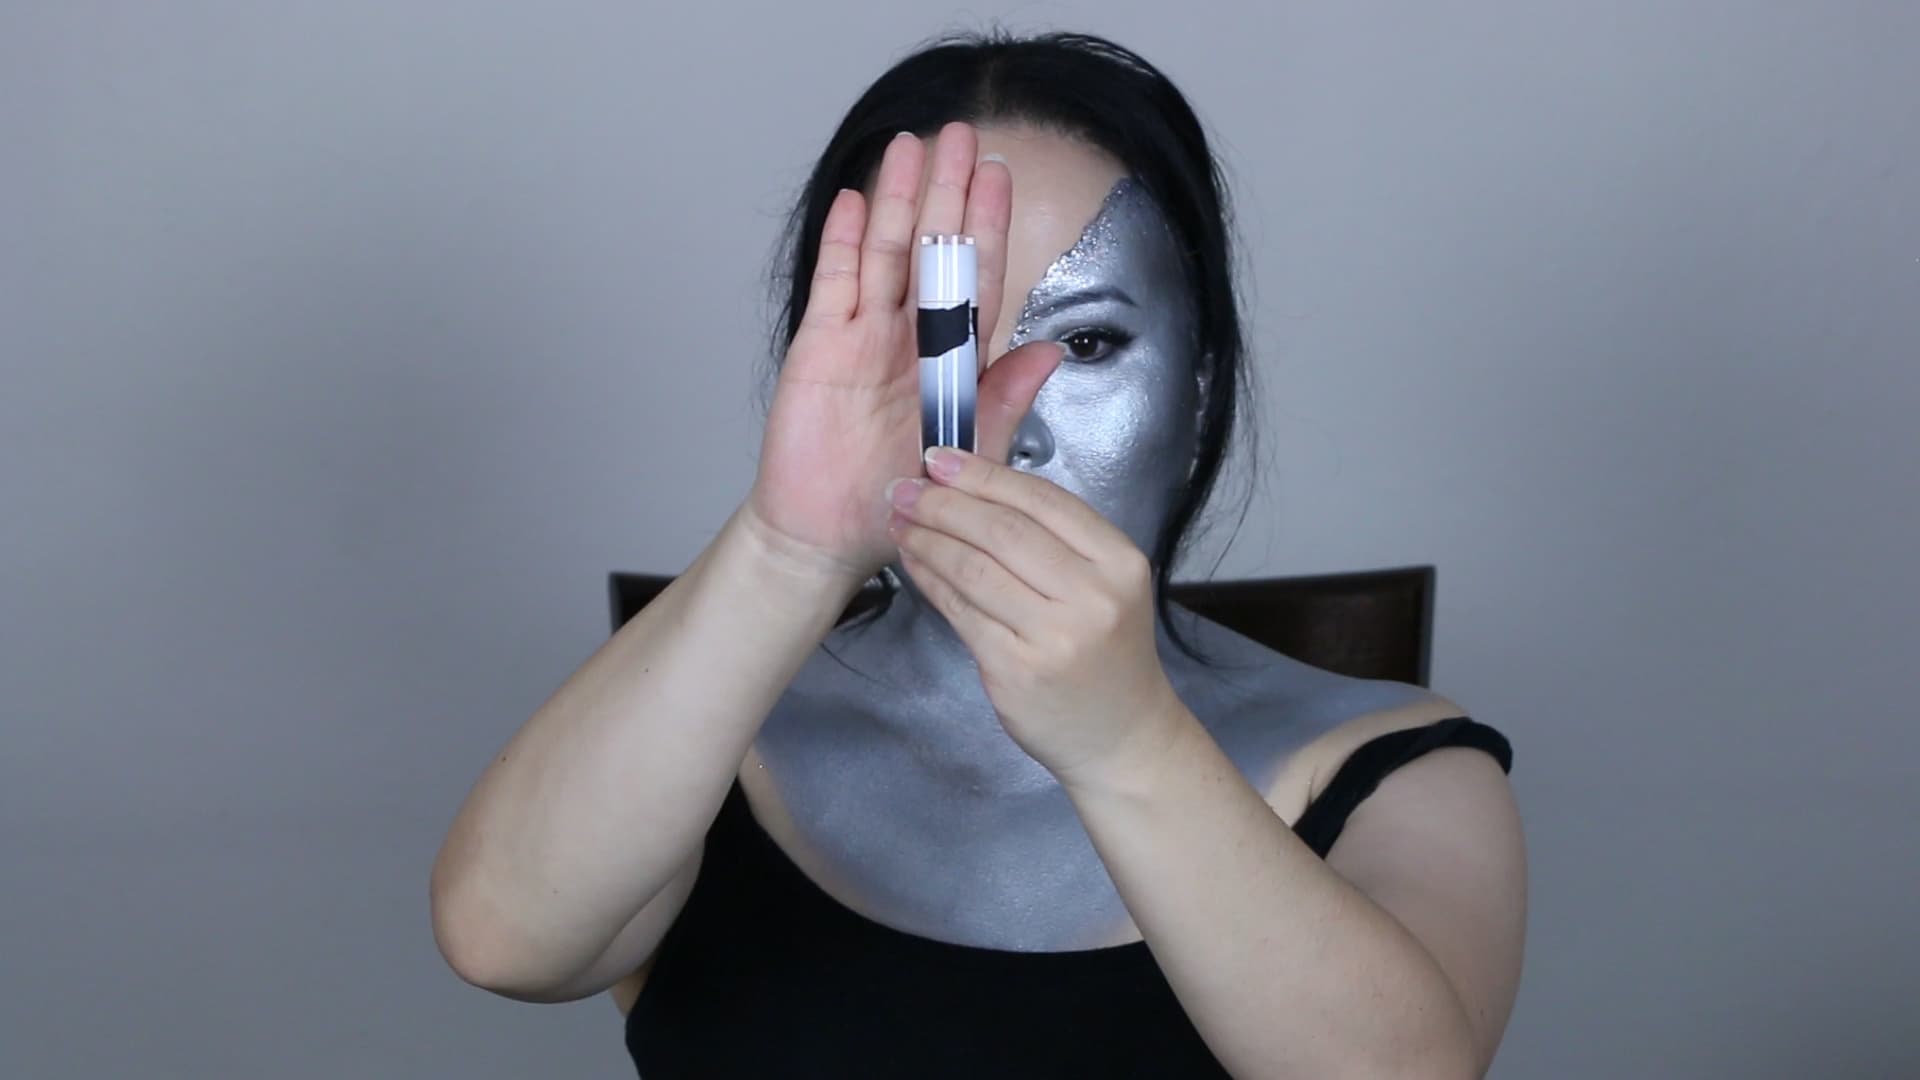
15. Now comes the fun part! Take some silver glitter and mix with some mixing medium to get it tacky and to adhere it onto the skin. Use a small, fine-point, synthetic brush to apply along the edges where you shaded with the eyeshadow. I like to use fine glitter and blend the glitter downwards.
16. To create more dimension, I will use a chunkier silver glitter and place it closer to the edges that we shaded.
17. Depending on your costume, you will want to paint your body as well. Since I am going to be wearing a long-sleeved top that is off the shoulder, I painted my neck and chest silver as well using the same steps that I used to paint the silver part of my face.
HOT TIP: Don’t forget to contour your body as well! I used the same dark gray and black eyeshadow to shade in my collarbones and neck.
18. To really make things pop and look a little more glam, I used an iridescent, pearly green pigment to highlight my collar bones, neck, nose bridge, chin, inner corners of the eye, and cheekbones.
19. Now for the finishing touches! On the silver/diamond side of my face, I took some prismatic glitter to use on top of my eyelid.
20. I never go without false eyelashes. It really finishes the eyes.
21. And finally, I finish the look with some dark blue liquid lipstick.
22. Add your blue or gray contacts (if you don’t have blue or gray eyes), a blonde wig, a white top, and some white gloves, and you’re done! A beautiful, at-home Emma Frost for Halloween. For extra pizazz, add some faux fur and a white cape!
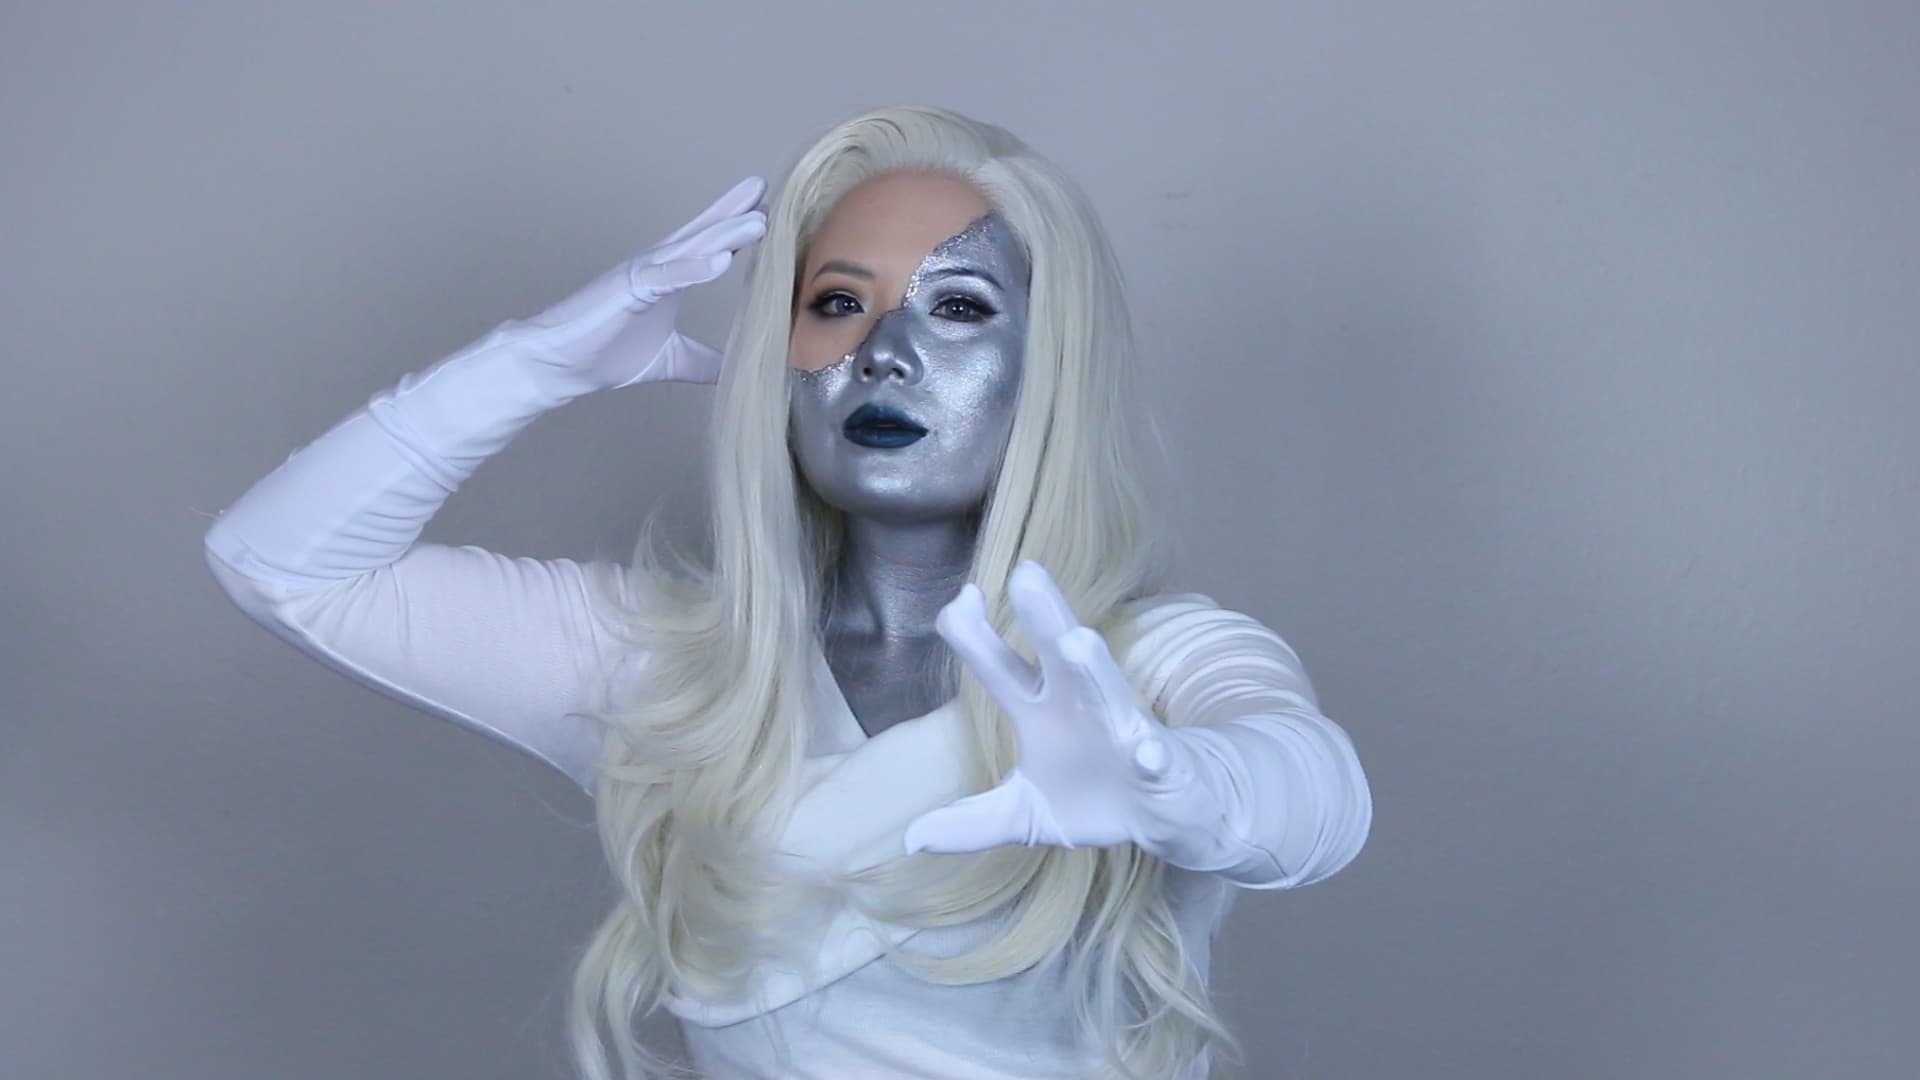
Happy Halloween, everyone! If you had fun transforming into Emma Frost, check out my Ghost Rider tutorial too!
The Daily Bugle
Can’t-miss news and updates from across the Marvel Universe!