Easy Steps to Look Like This One: Transform Into Mantis with This Step-by-Step Tutorial
Go green and get ready to pick up some vibes!
Hello Again, Marvel fans! I am back with another at-home Halloween makeup tutorial. This time, it's Mantis! Previously, I showed you how to transform yourself into Mantis as she appears in the Marvel Cinematic Universe, but this time I thought it would be fun to do the comics version since she is a completely different skin color.
This one is ready for a makeover, so let’s get started!
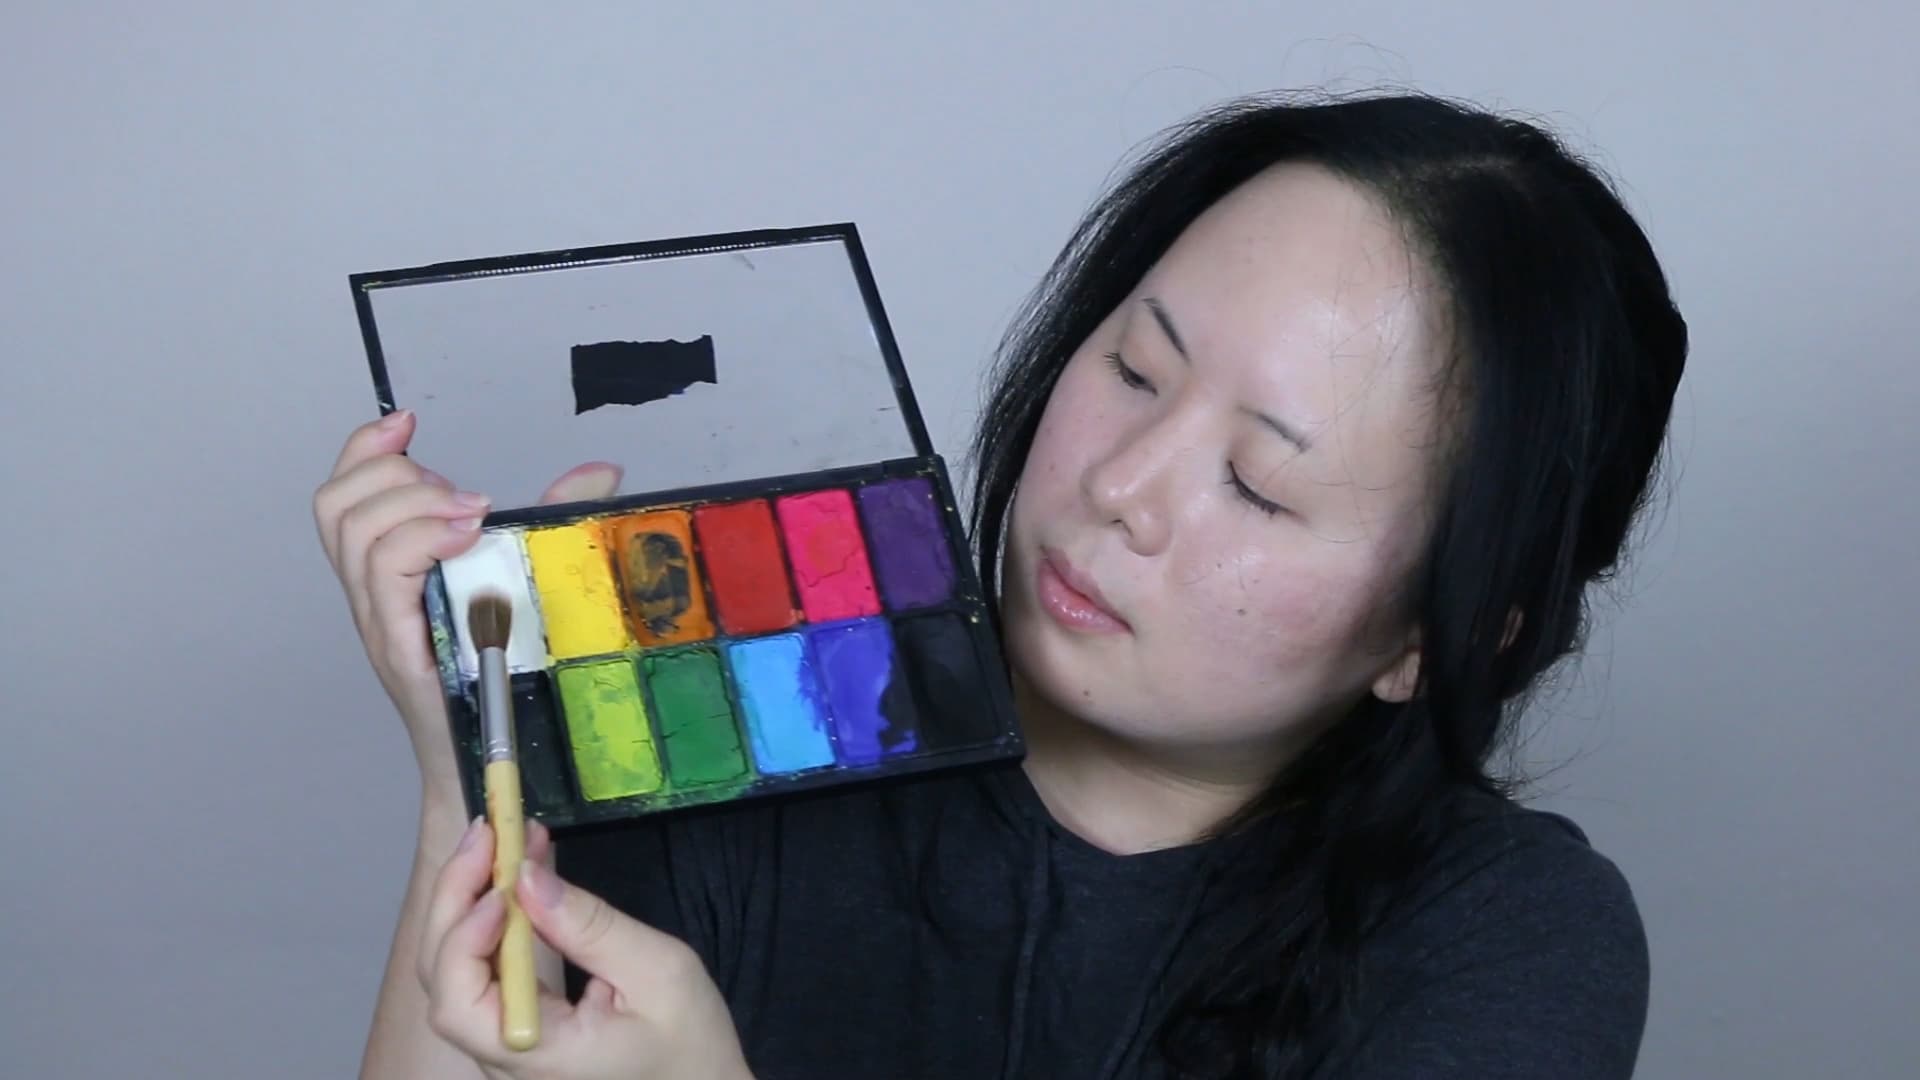
Here’s what you’ll need:
Tools:
Small stippling brush
Kabuki brush
Makeup sponge
Flat eyeshadow blending brush
Fluffy blending brush
Flat eyeshadow brush
Powder brush
Blush brush
Dense powder brush
Pointed synthetic brush
Angled eyebrow brush
Makeup:
Water-based paints in white, light green, and green
Grease paints in light green, green, and dark green
Eyeshadows in light green, green, dark green, light purple, and peach
Black liquid eyeliner
Dark green eye pencil
Dark green lipstick
Black liquid lipstick
Mascara
False eyelashes
Accessories:
Black chef’s coat
White gauntlet gloves
Dark green wig
Gold headband
Latex antennae
Here’s how to do it:
The trick to a really smooth and even body paint is layers. You will see that this tutorial is going to be a little repetitive because we are going to be building up the colors with different types of product, but starting out light in texture and building up as we go will make everything look less cakey and more even.
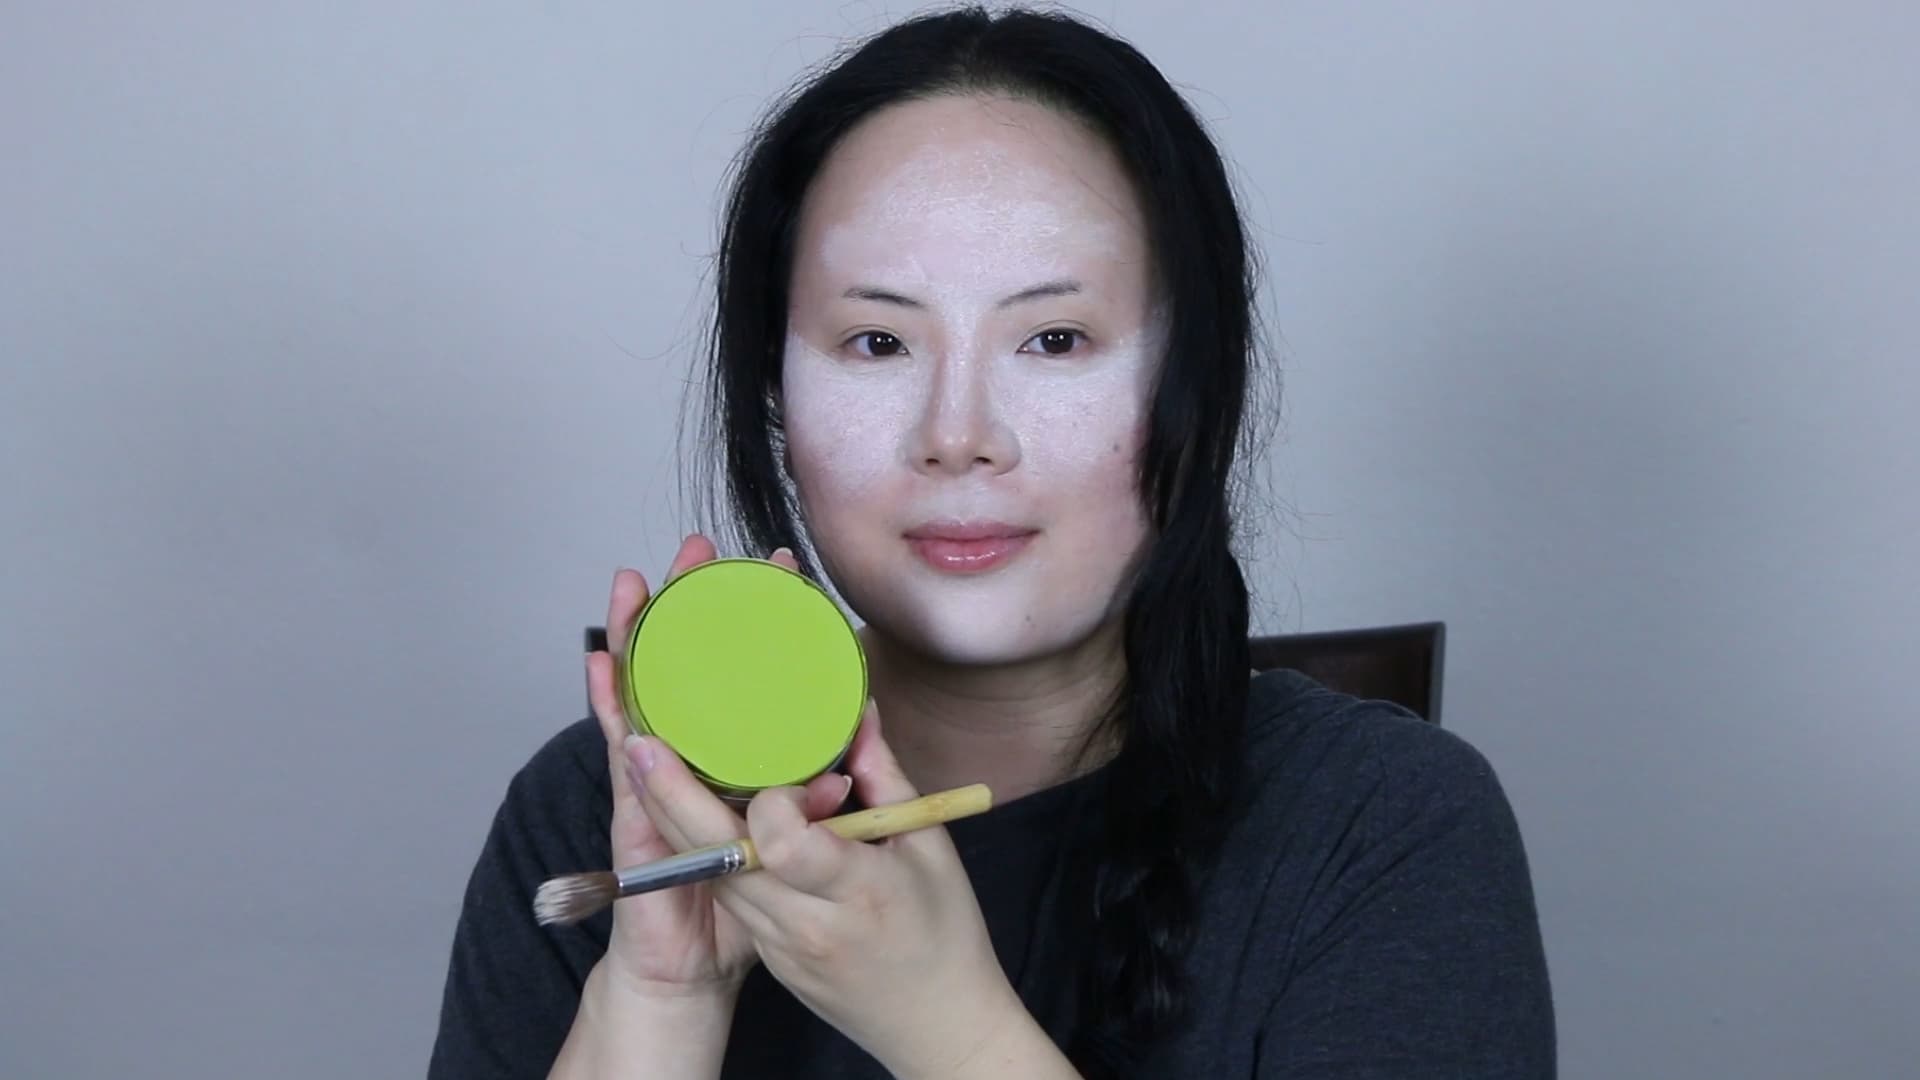
1. We are going to start with a small stippling brush and white water-based body paint. Don't saturate the brush too much in water, just make sure the brush is damp. You will get better color payoff; when the brush is too wet, it will thin out the paint and make it harder to build up the color. I use white first because it will really make the lighter tones pop. Place the white paint on the high planes of your face: the cheekbones, nose bridge, center of forehead, cupid's bow, and chin. Make sure to apply the color with a patting motion first and then buff out any harsh lines.
2. Use the same brush and a light green water-based paint and stipple over the white highlight that we painted on. Use the same application technique as before, pressing on the paint and then buffing out the edges. If you are looking a little weird, don't worry! Things will start to come together as soon as we get the base green on.
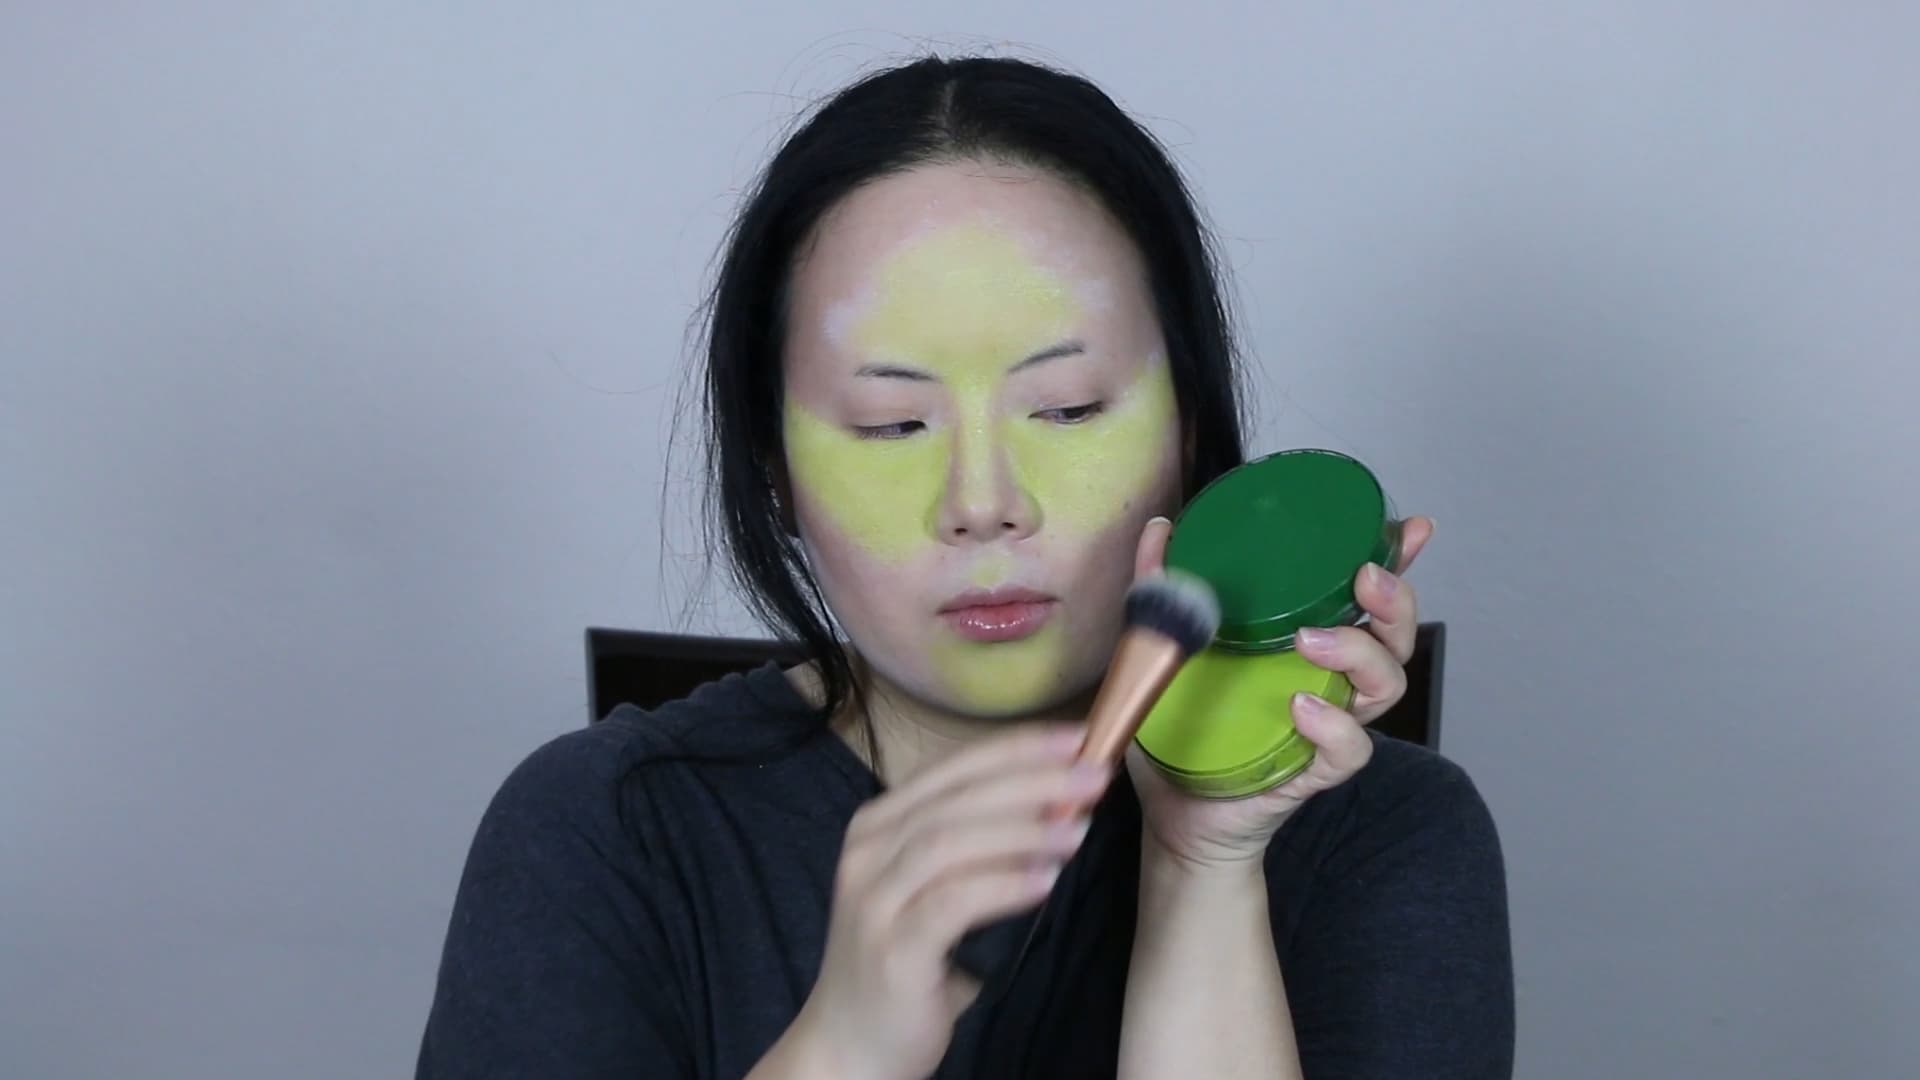
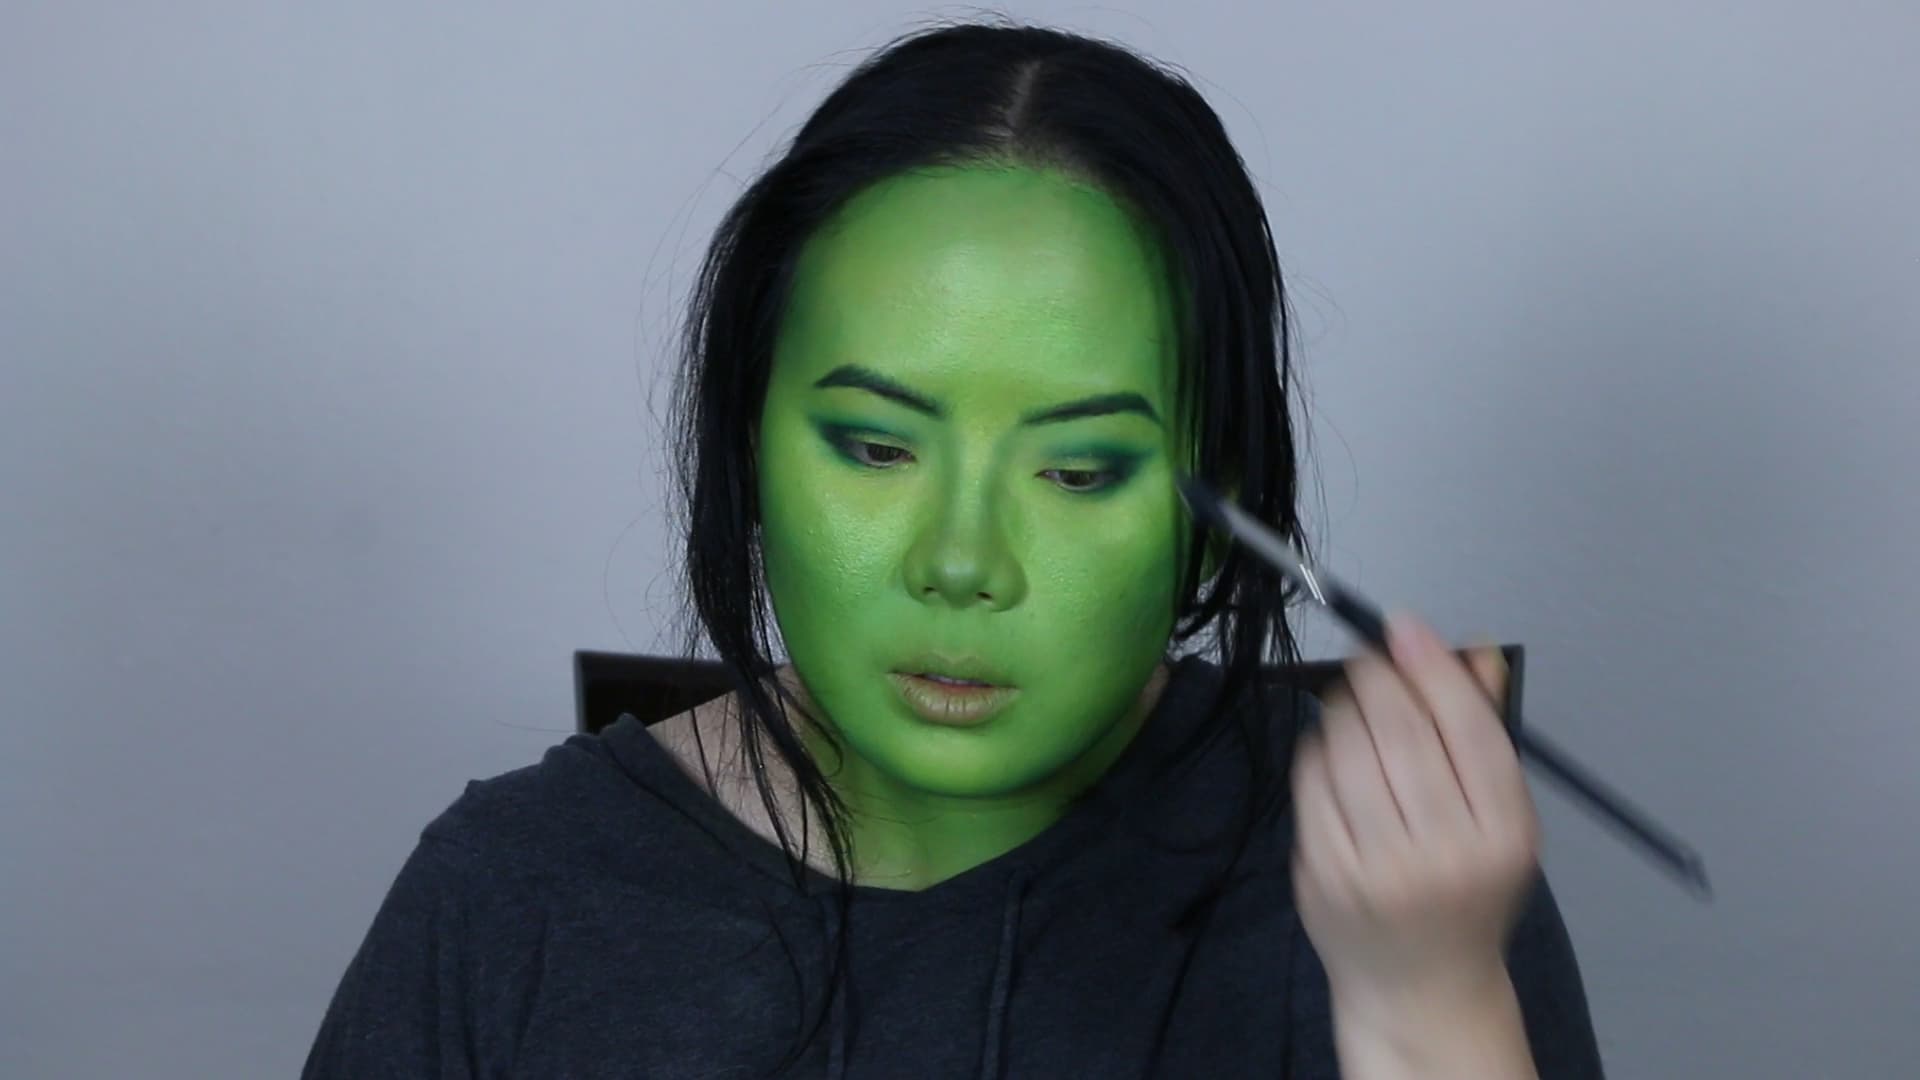
3. Now we are going to brush on the base color which will be a primary green. I didn't want to go too dark, so I mixed the light green color that I had with the darker green and used a damp kabuki brush to stamp the color onto my face. I used a larger and denser brush this time to get the color on quickly. Once I have all the green on, I’ll start to blend into the edges where I highlighted. You will want a smooth transition between the highlight and the base color, so blending is key. I will also paint my neck and ears, basically all the skin that will be showing when I am in costume. Don't worry, take your time getting that smooth and even application.
HOT TIP: Make sure you stamp the color on with your brush first to get a good saturation of color. I rarely swipe the brush because it is much more difficult to get an even application of color.
4. Set all of your makeup with a translucent powder. I used another large, dense brush and I pressed the powder on all over. Make sure to really work the powder into your skin. Afterwards, take a large, fluffy brush and buff out any excess powder off your face. Hopefully, by this point, you will feel like you are looking a little less weird than before.
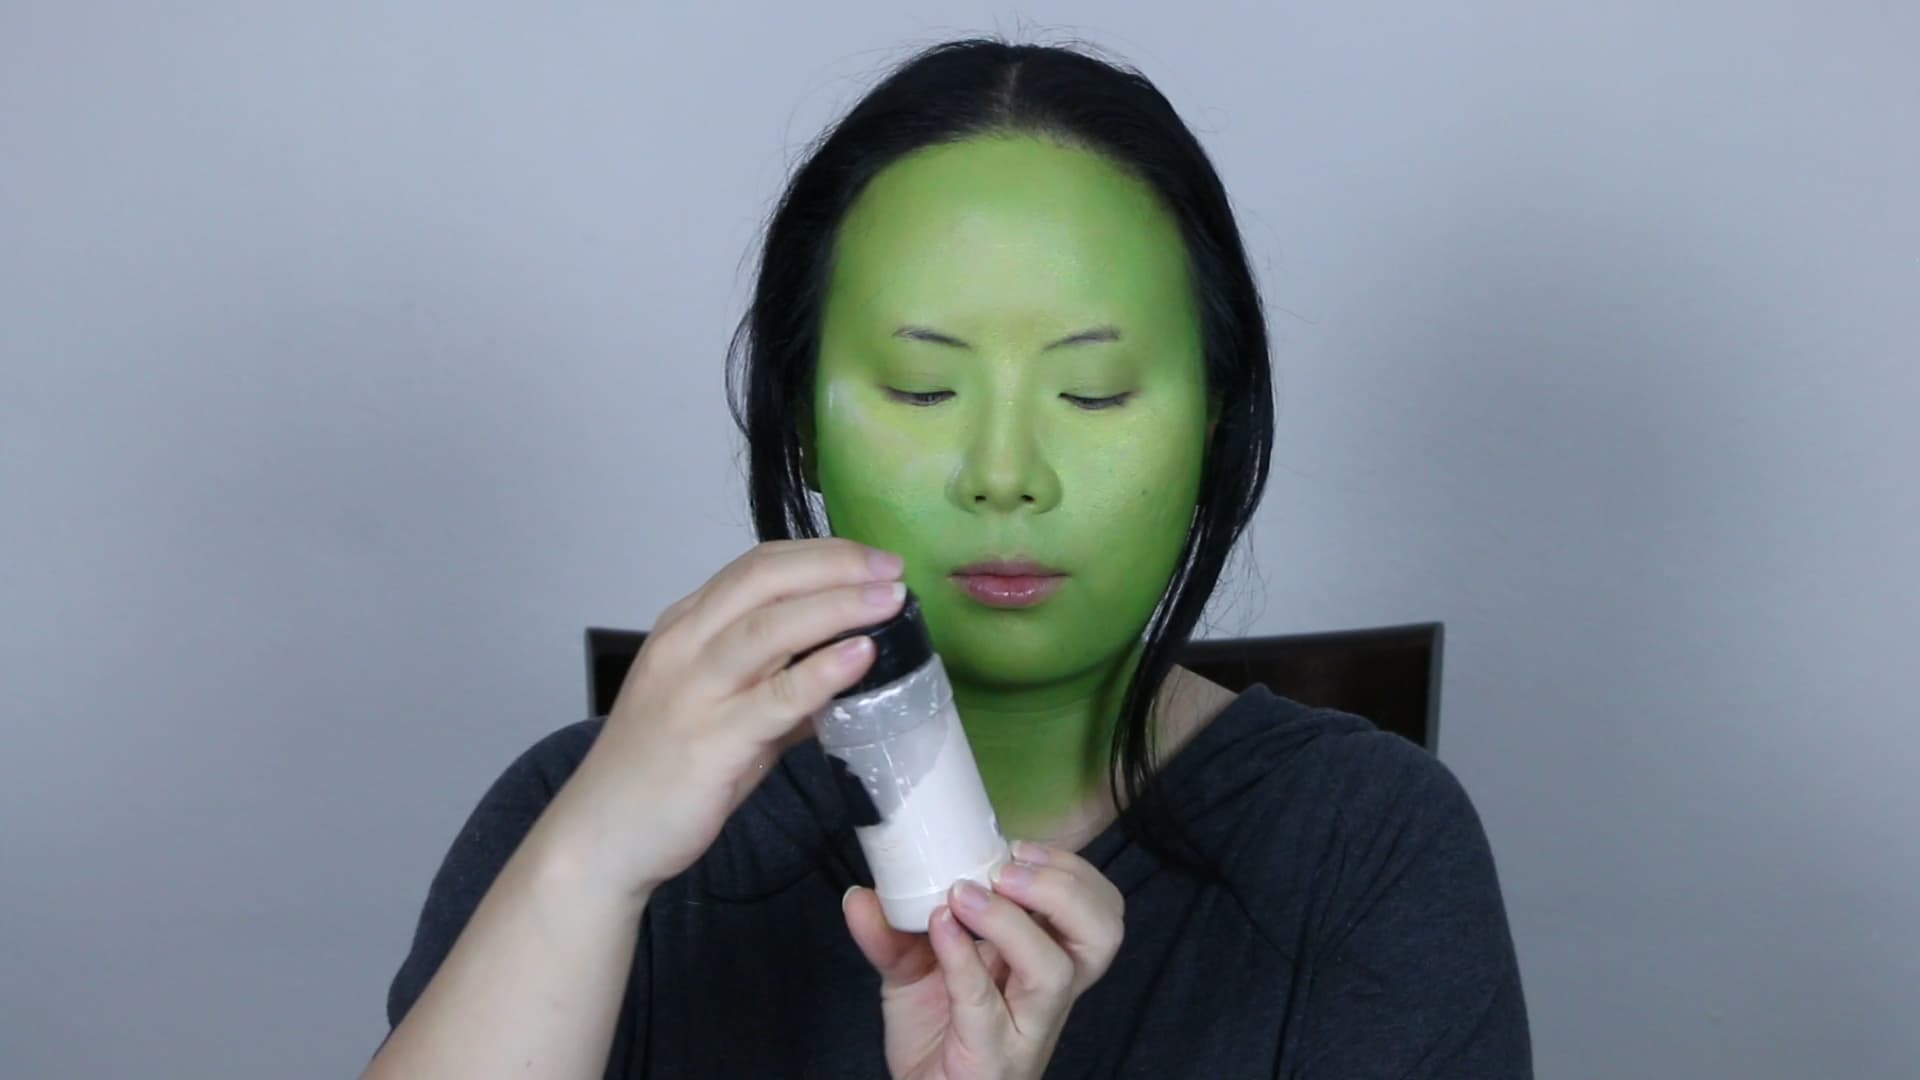
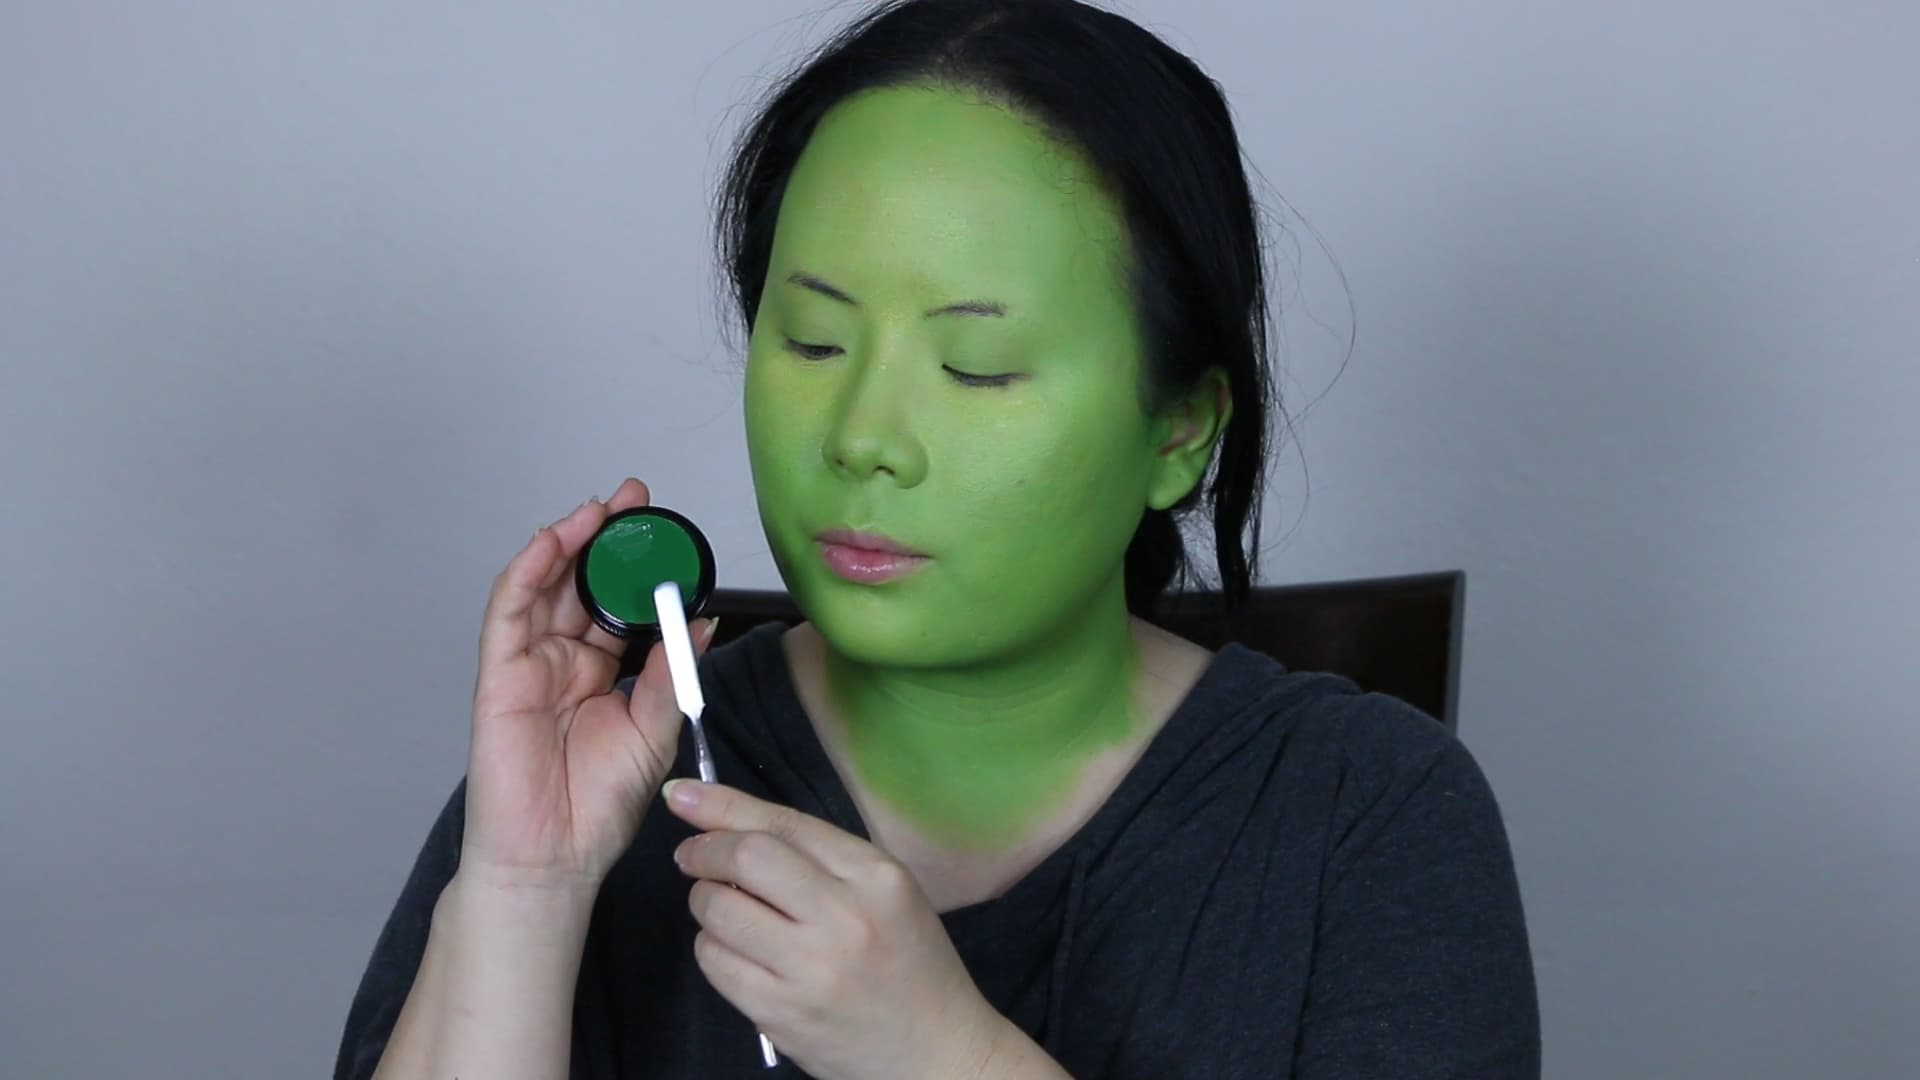
5. Now here comes the bit about working in layers. The next grouping of products that we are going to use is grease paints. Grease paints will create a nice, smooth application of color that is less difficult to buff out than water-based paints. The reason why I used water-based paints underneath the grease paints is to get a really nice, rich intensity of color. I took a cream makeup palette and mixed the green, yellow, and a dash of white to get a similar tone to the green water-based paint that we used earlier. This time, you will want to use a damp makeup sponge and bounce the makeup over the green.
6. Next, we are going to get contouring! Contouring is one of my favorite things to do when it comes to makeup because you can really shape your face. I used a dark green grease paint and the same tear drop-shaped sponge to carve out the hollows of my cheeks, my temples, the perimeter of my forehead, the sides of my nose bridge, and along my jawline. For contouring, you will still want to blend out any harsh lines, but minimally.
HOT TIP: For better control, I used the pointed end of my sponge. Set everything again with translucent powder. For grease paints, it is especially important to set with powder because the oils in the grease paints will start to move throughout the day.
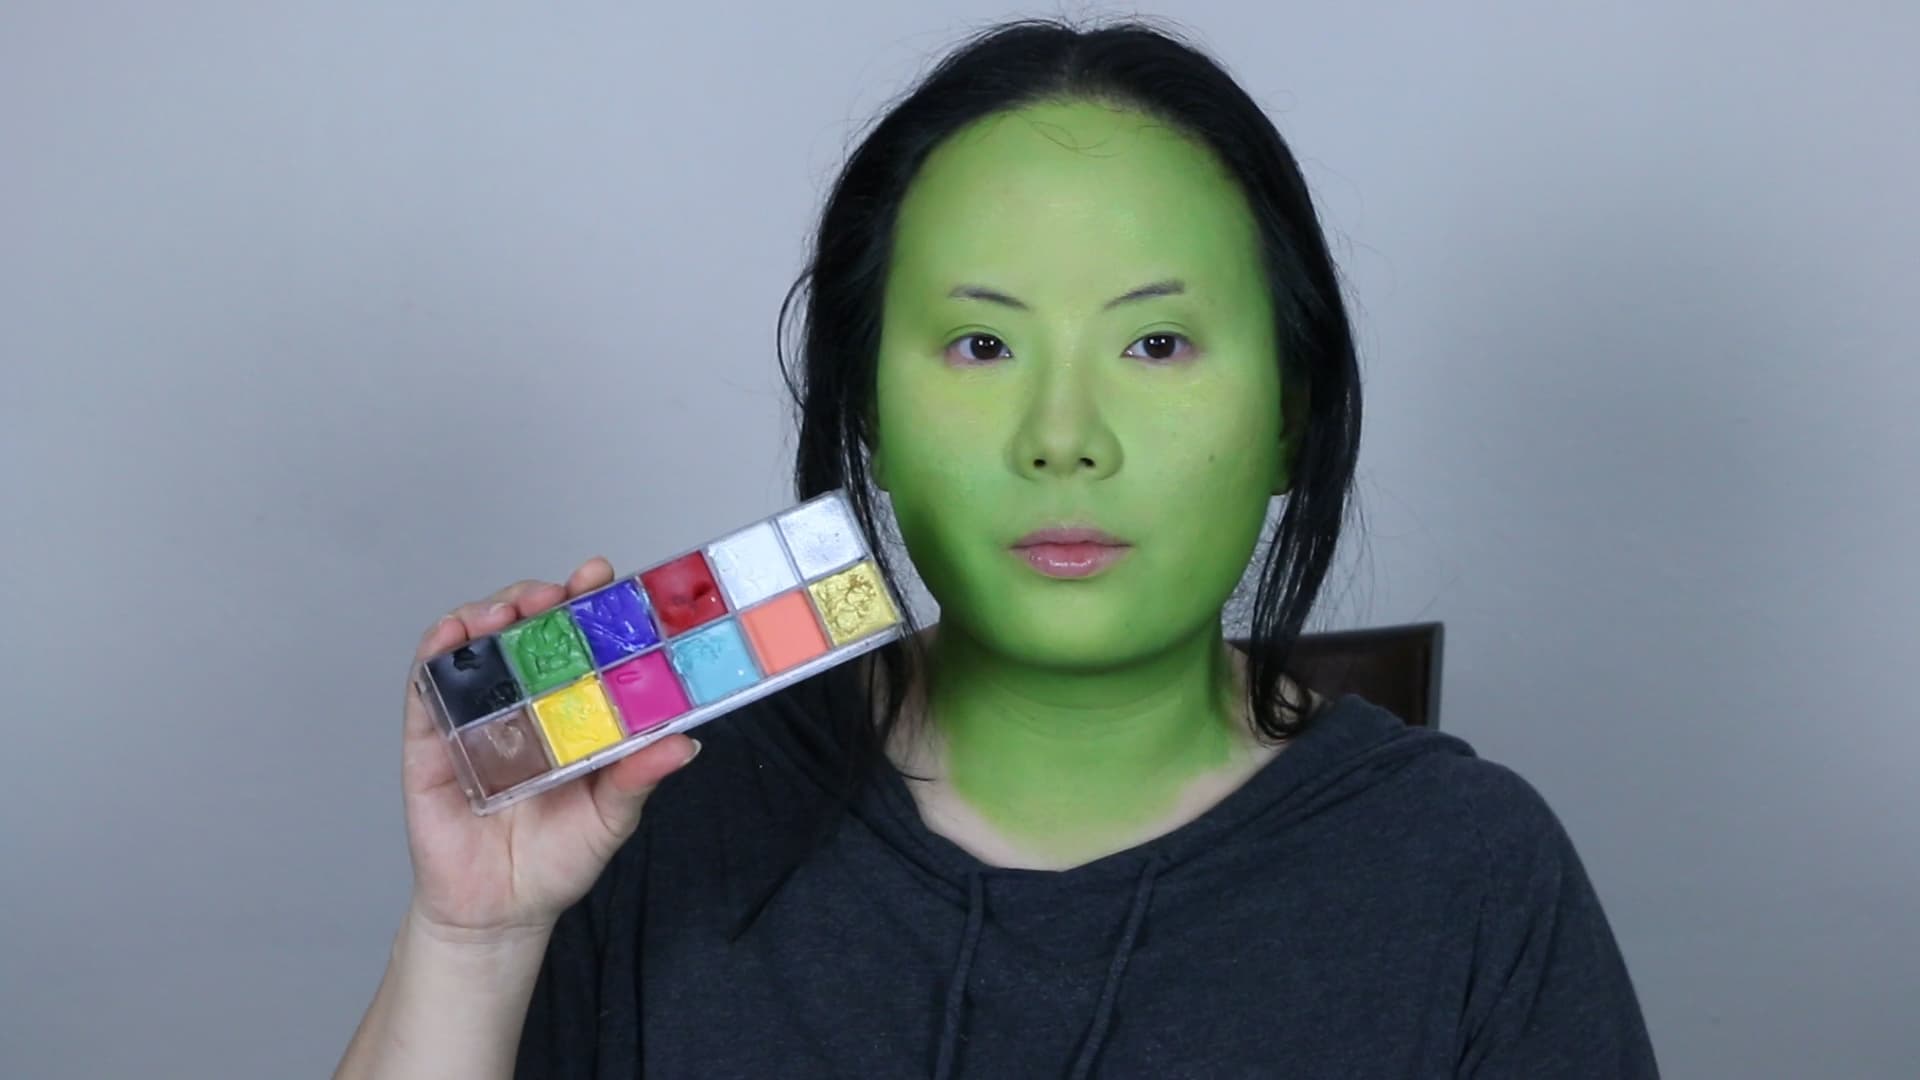
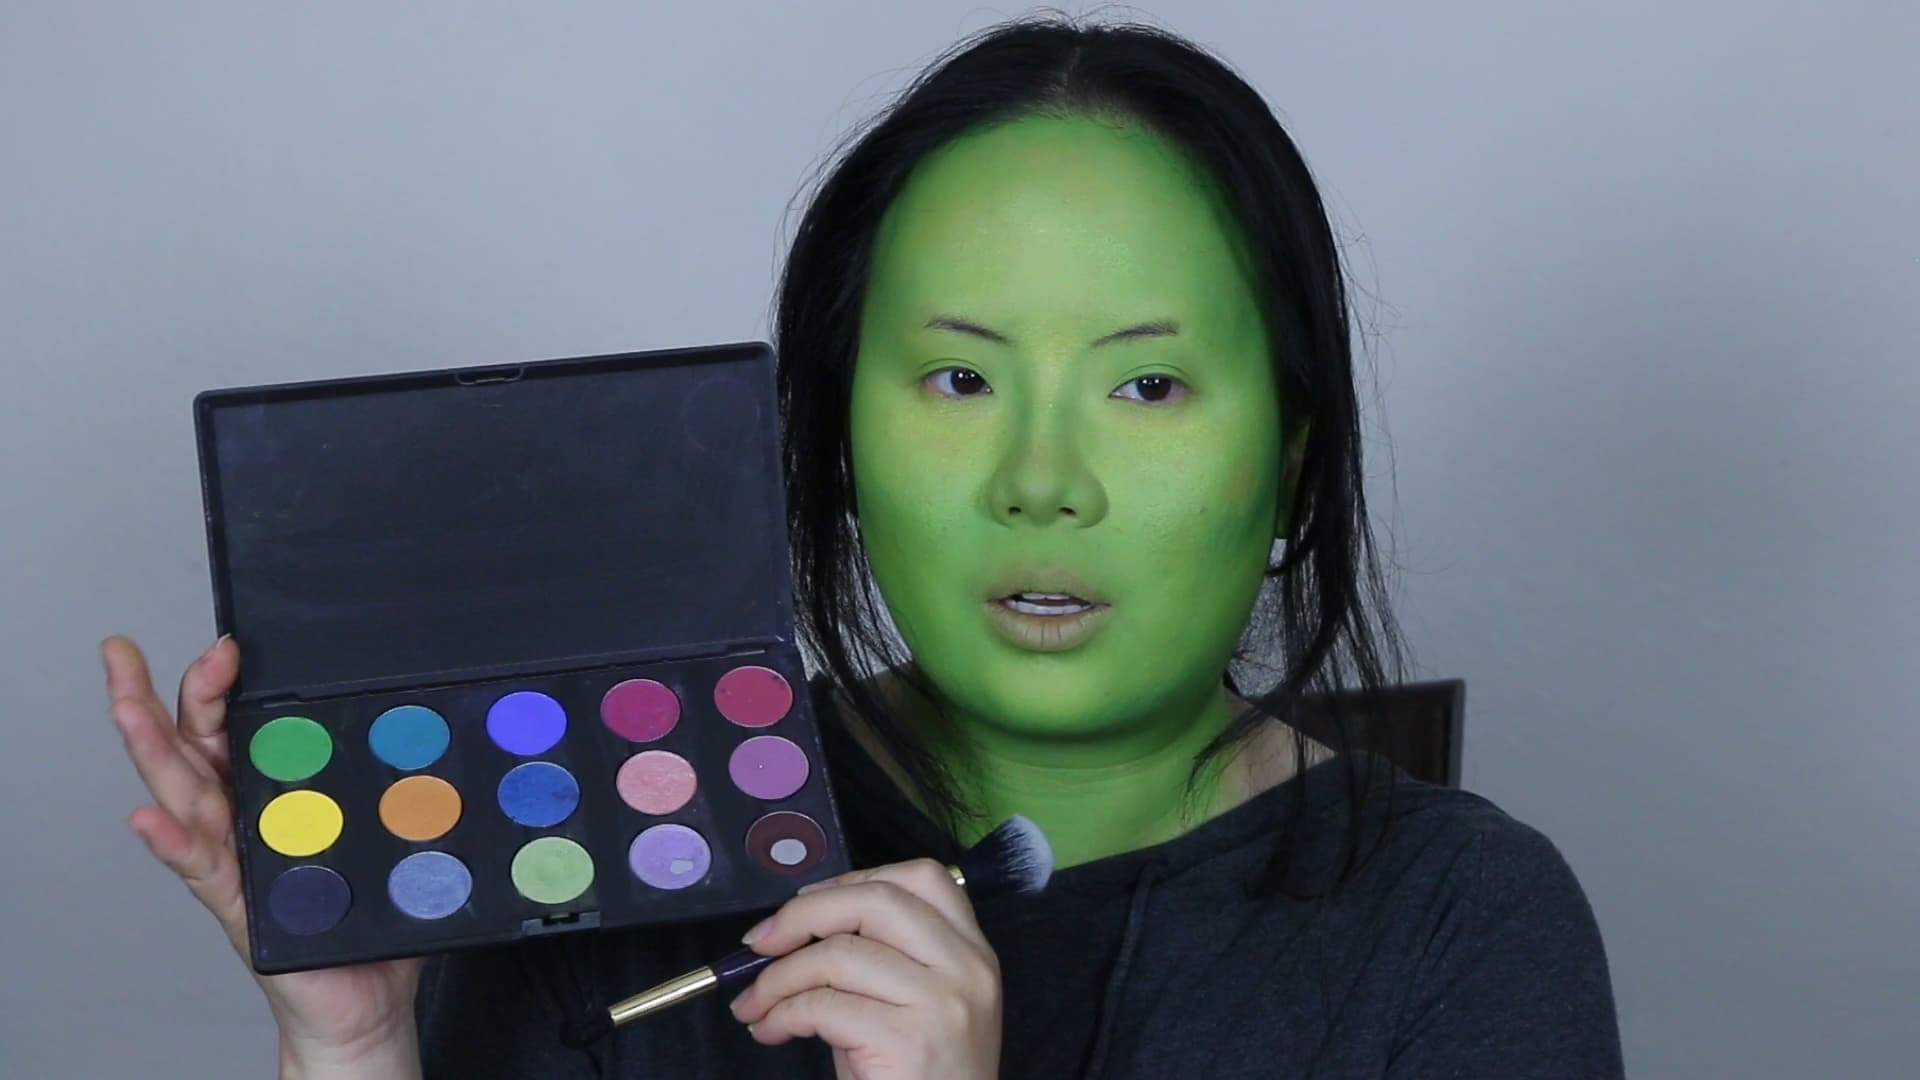
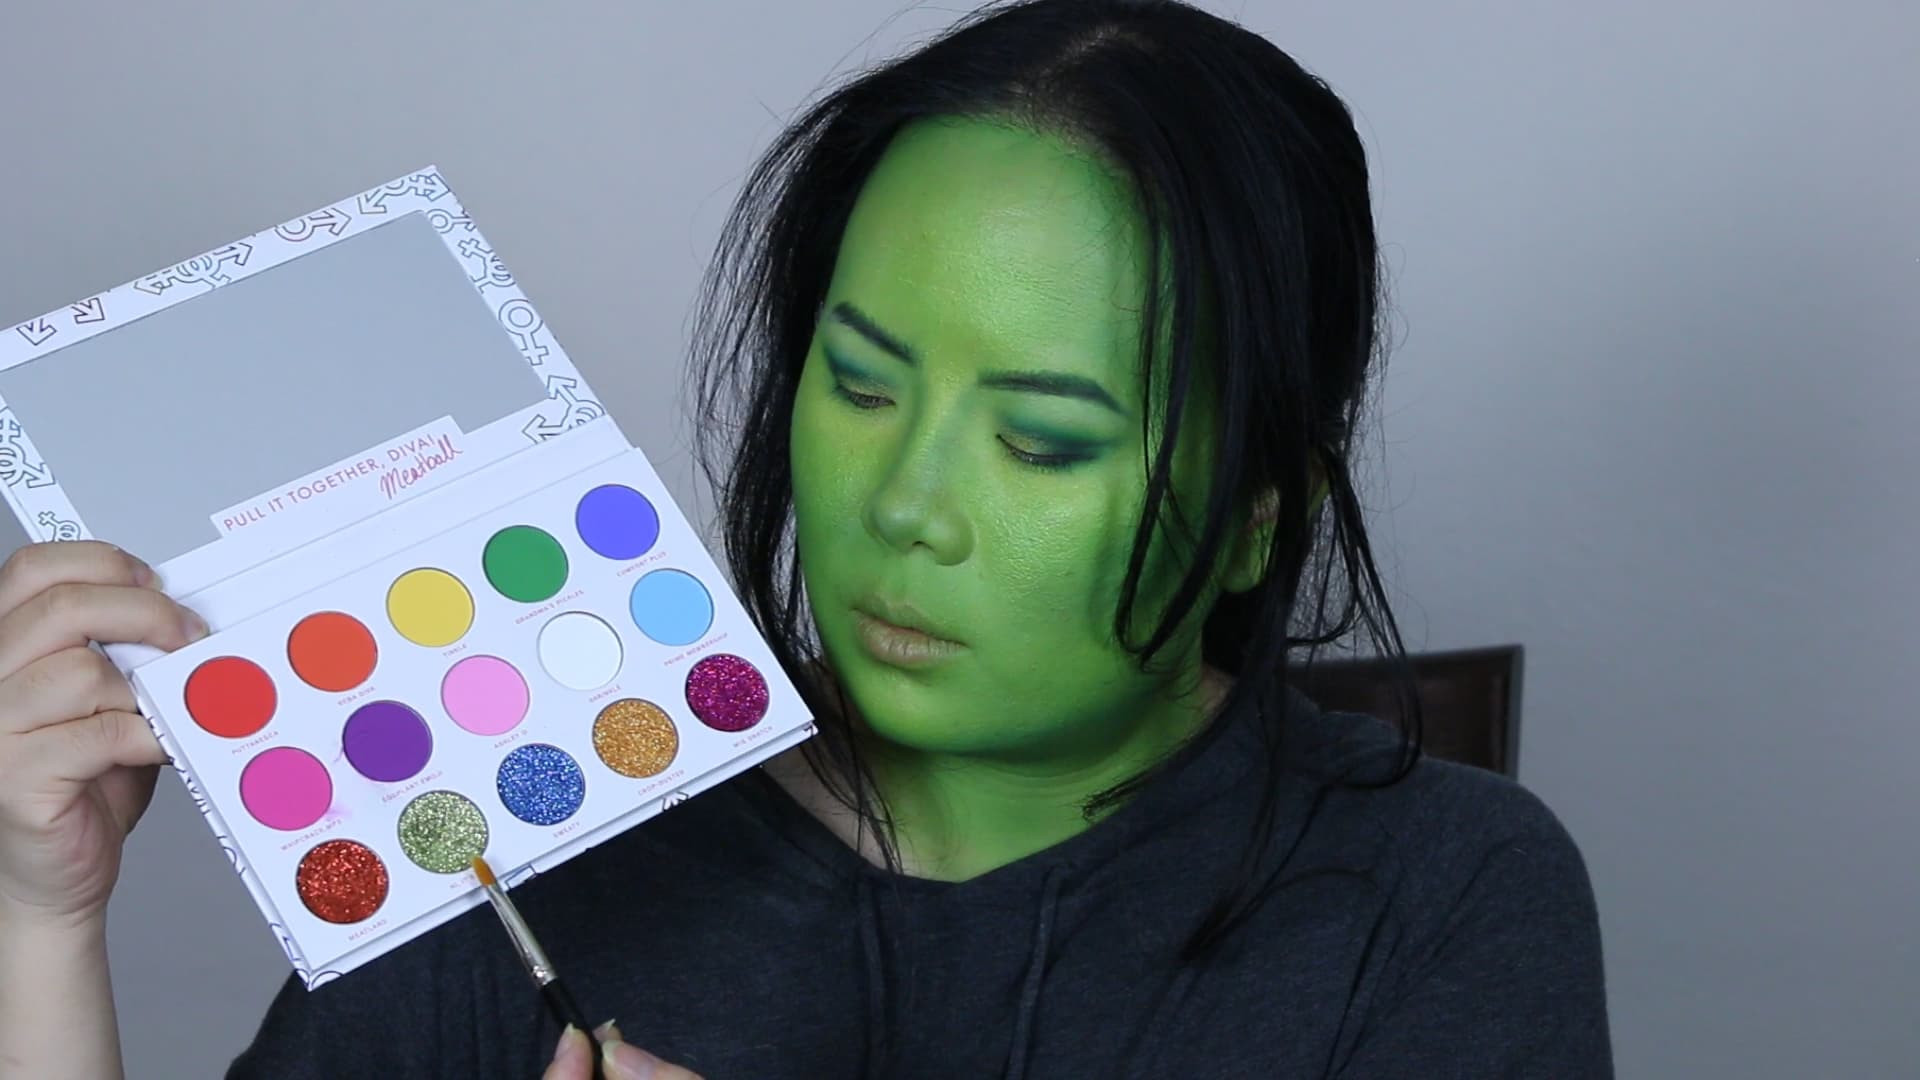
7. More layering! Everything we did with the water-based paints and grease paints we are now going to do with powders. I used eyeshadow powders since so many shadows come in a variety of bright colors. I took a green eyeshadow that matched the base green that was using and a large powder brush and stamped it all over my face. Once I distributed the color all over, I used a swiping motion to buff everything together. Remember, by pressing the color on first, you will ensure good color intensity. I used a light green shadow to set the highlight tones, and dark green eyeshadows and a smaller, dense powder brush to apply over the grease paint contour.
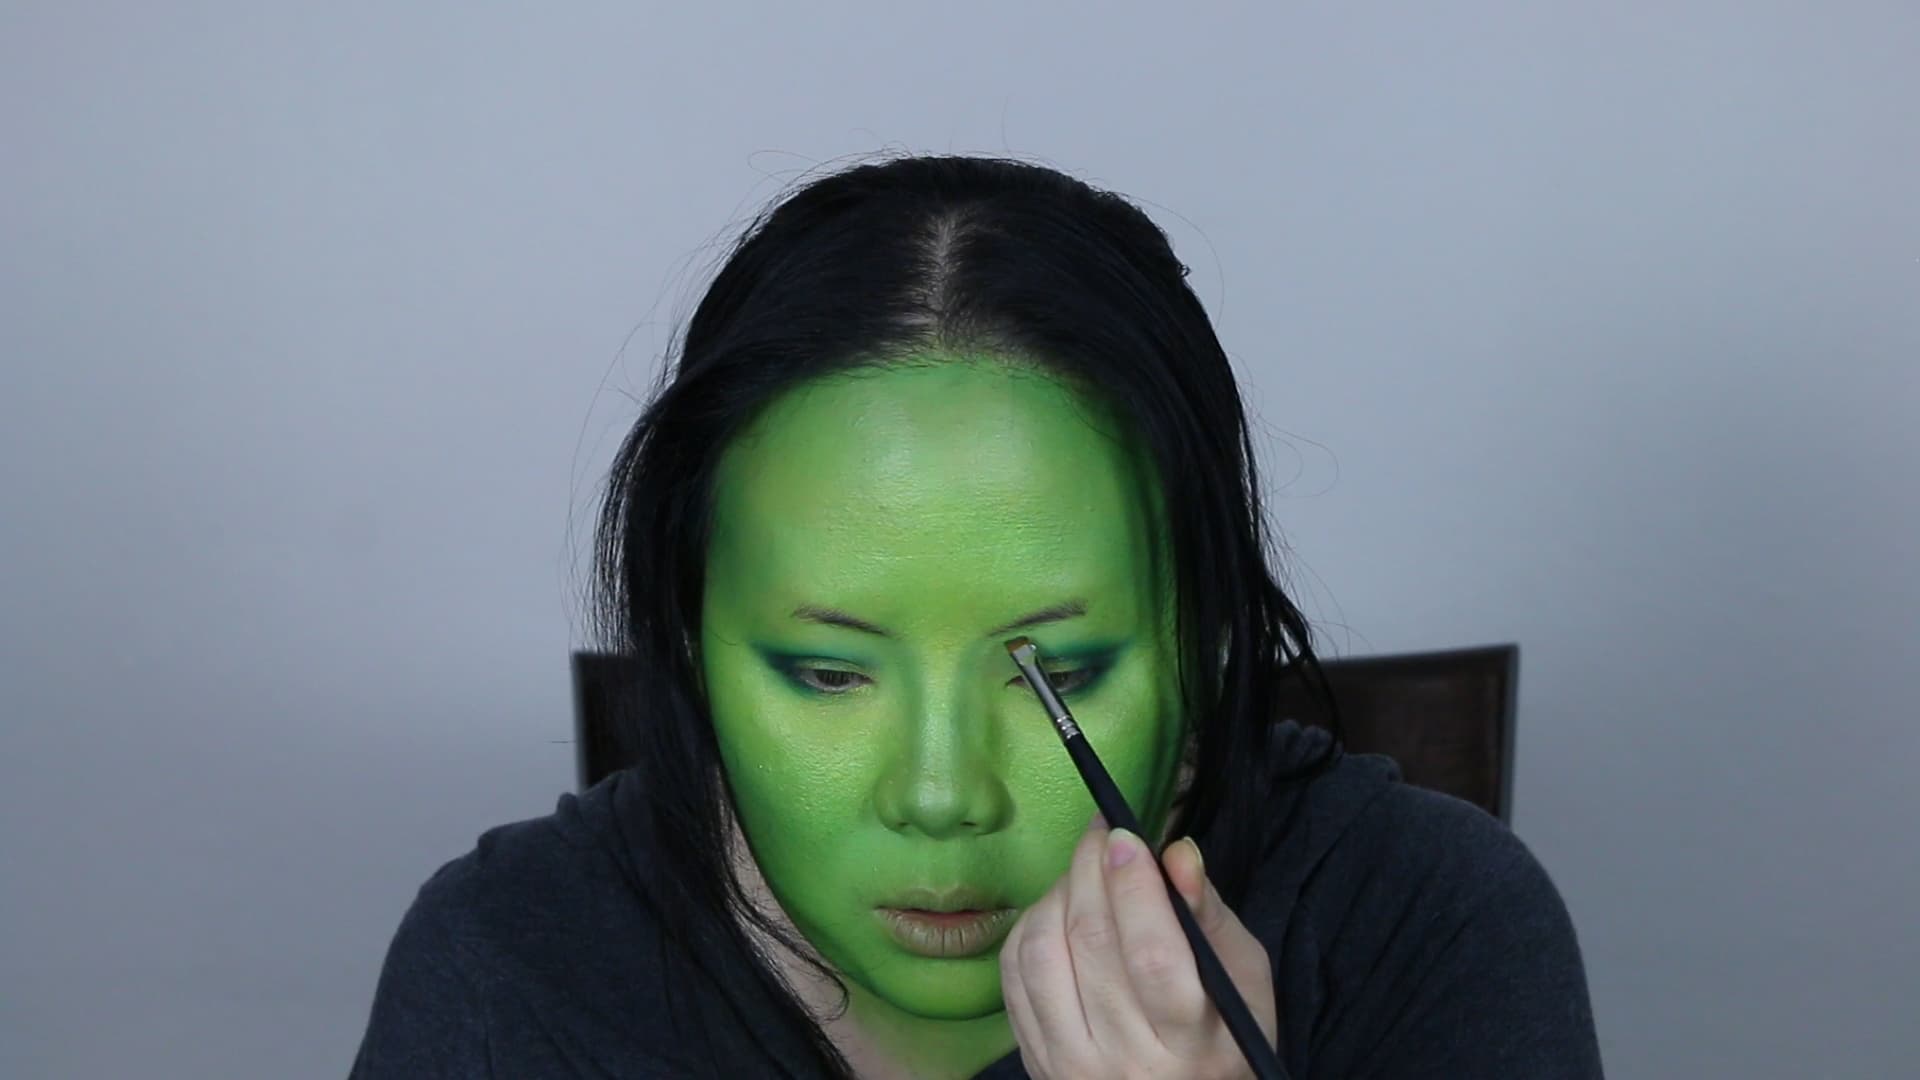
8. Now that we have the face paint all set, we can move on to the eye makeup. I would apply the eye makeup in whatever way is more flattering for your eye shape. I picked out a few different green tones that I applied in my crease with a flat blending brush. I will usually start out with light green tone and build up the intensity with a medium green eyeshadow to eventually a dark green eyeshadow. I will also apply the colors on the outer crease of my eyelids in a “V” shape. I like to give myself a pretty extreme wing shape to extend the eye. I will also repeat these steps on my lower lash line. I used a shimmery olive green eyeshadow with a flat eyeshadow brush and applied it onto my eyelid. Using shimmer will break up the monotony of all the matte colors we’ve been using.
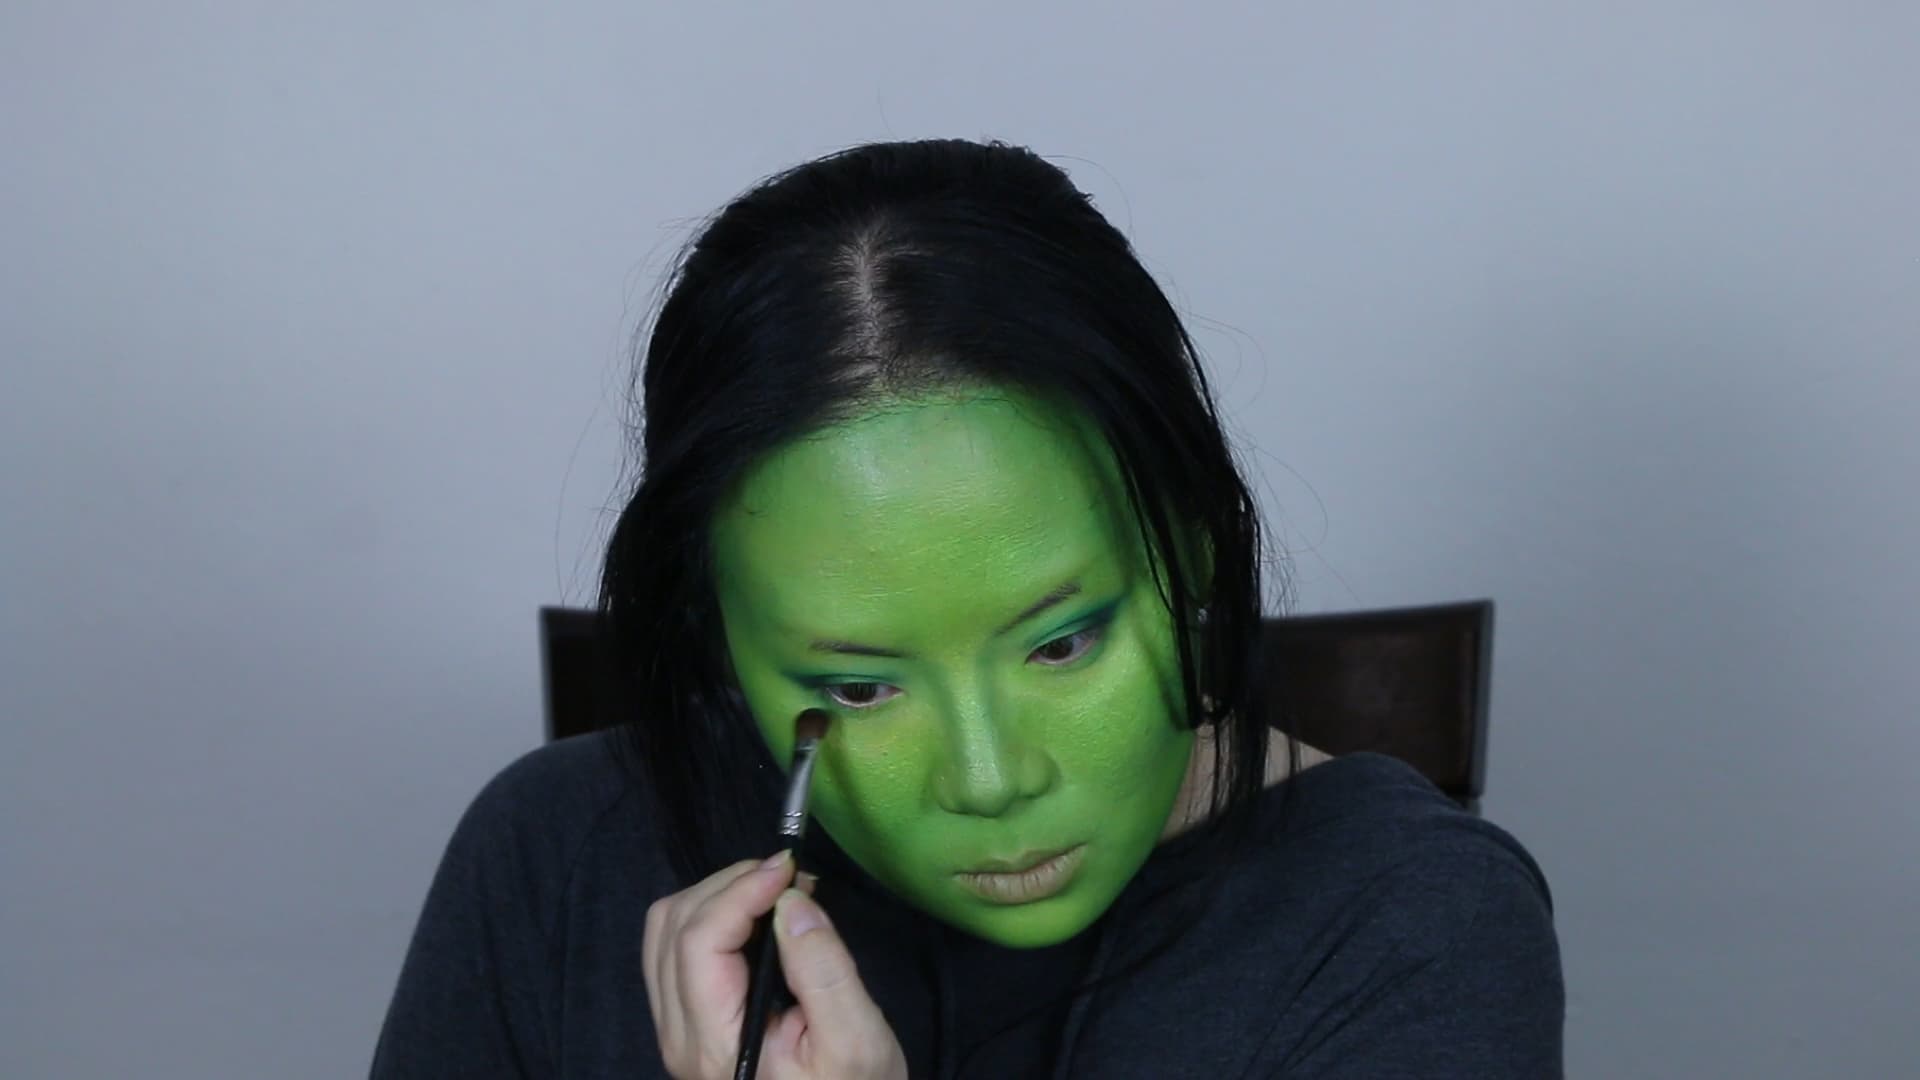
9. Don’t forget the brows! Use an angled brow brush and the same dark green eyeshadow to fill in your brows. Brows really frame the face and will help to make your look more complete.
10. For some finishing touches for your eye makeup, take a white eyeshadow and a fluffy blending brush and apply the color underneath your brow and inner corners of your eyes. This will give your eye a little bit of a lift and make it appear brighter and more awake.
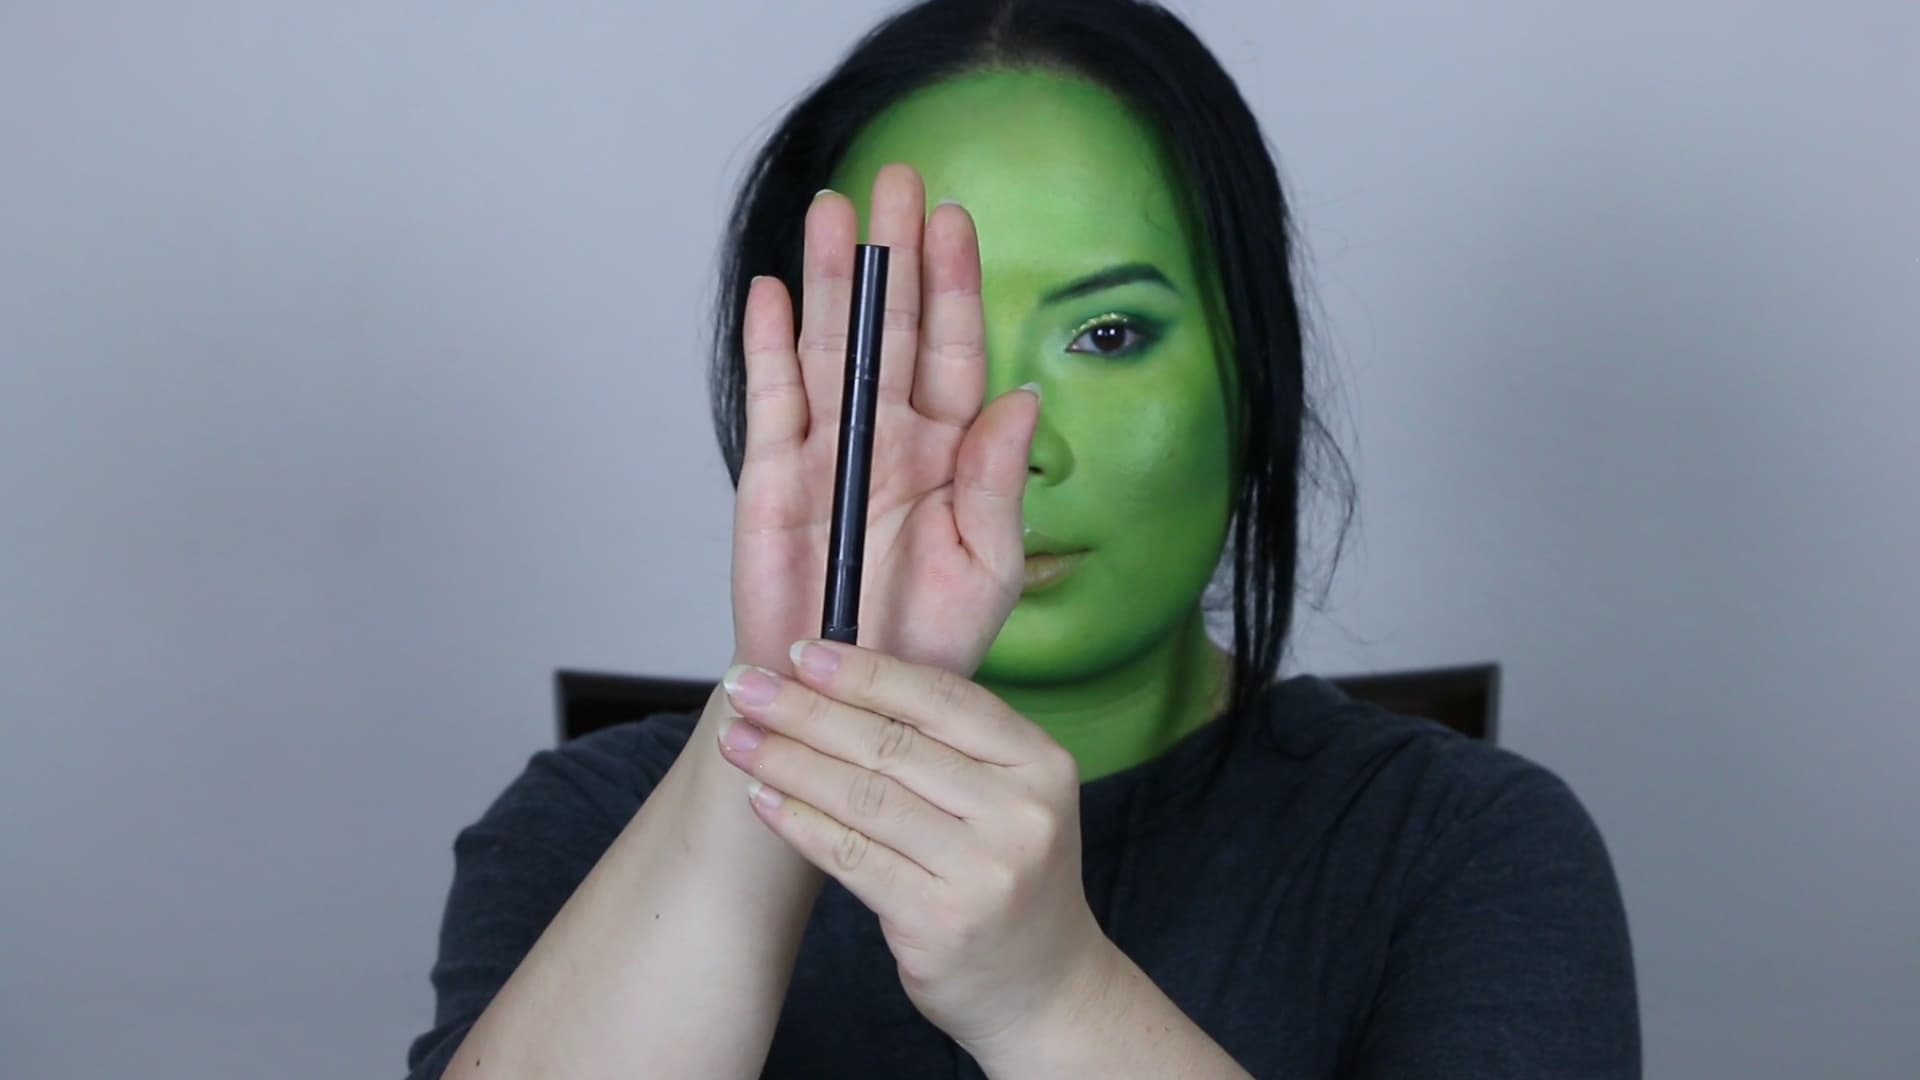
11. For extra pizazz, we are going to add some glitter! I took a glitter eyeshadow in the same olive green tone that we used on my eyelids and a pointed synthetic brush and applied the glitter on top of my eyelids. We are also going to really pop the highlights. I used a holographic white-green pigment to pop under my eyebrows, the inner corners of my eyes, the tip of my nose, and my cupid’s bow.
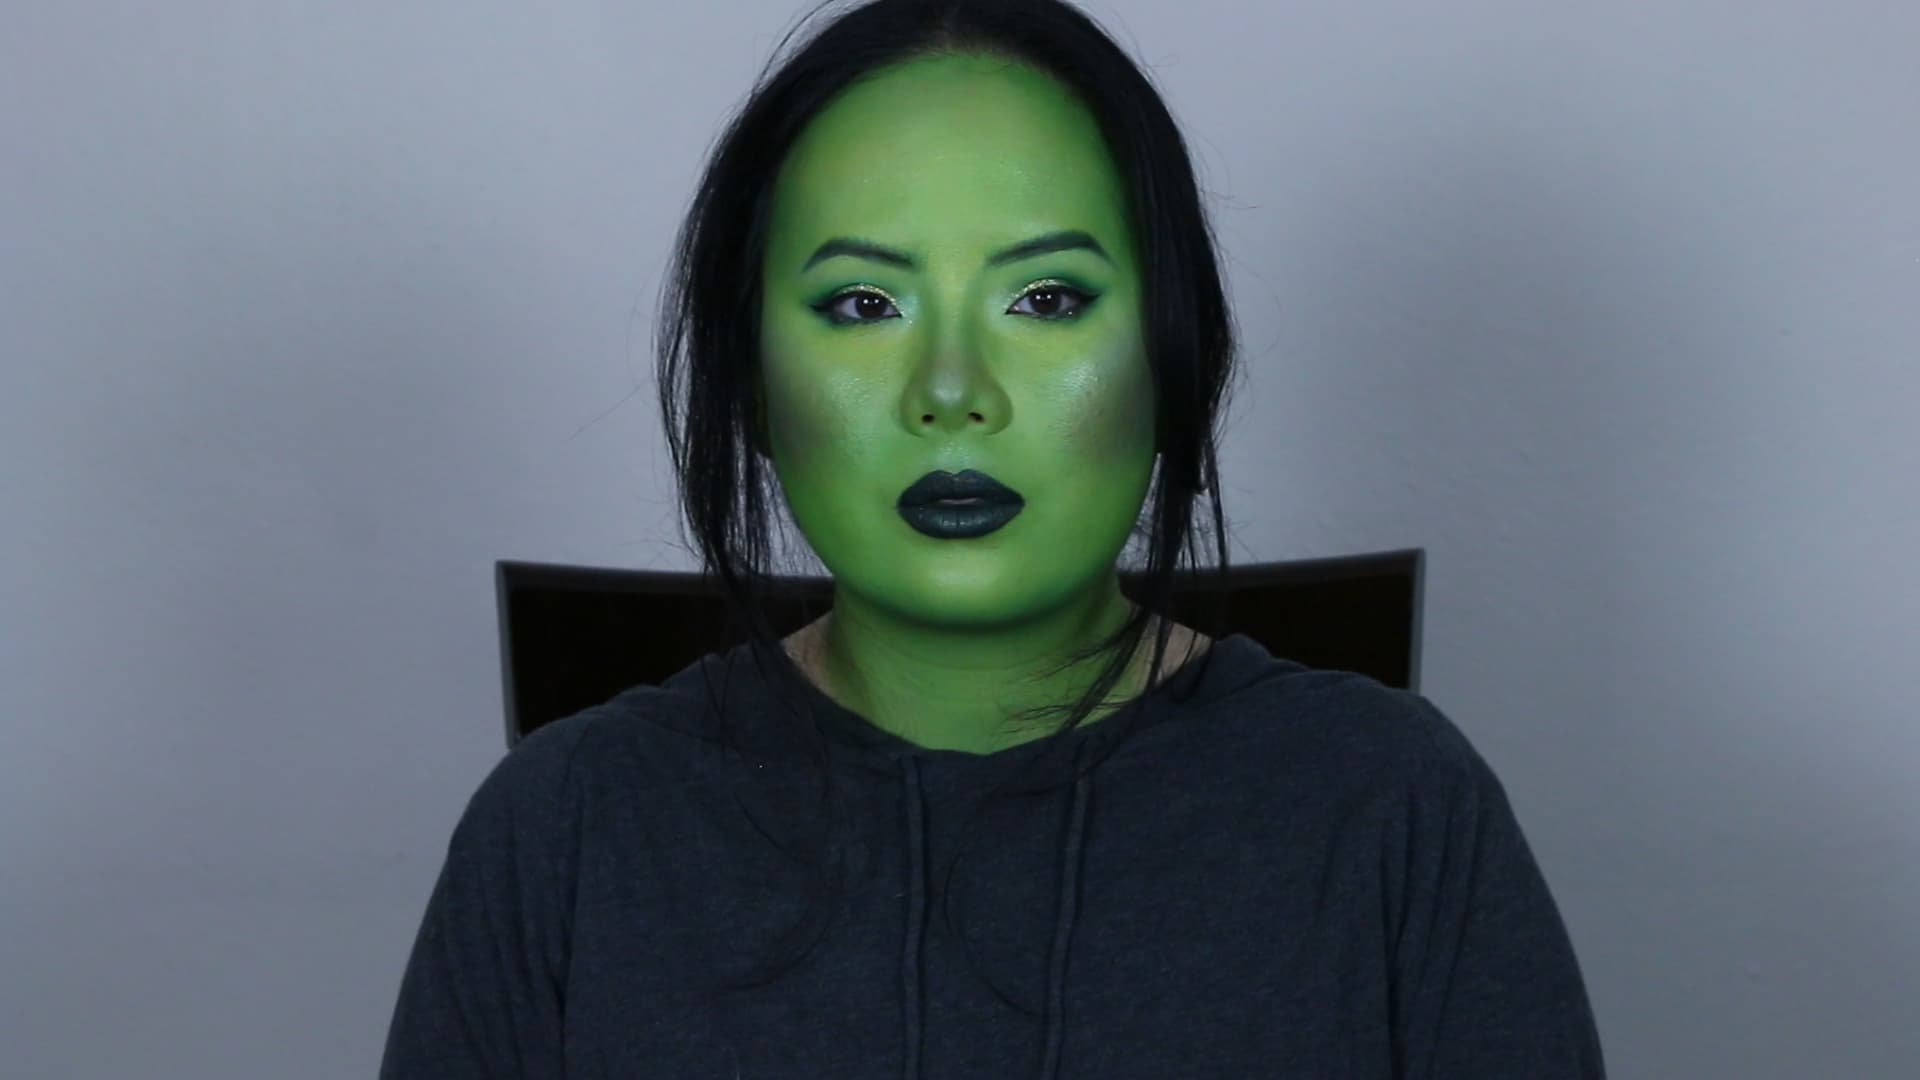
12. Line your eyes with a black liquid eyeliner. Again, I prefer the cat-eye look on myself so I gave myself a wing, but line your eyes in whatever manner you feel is most flattering. Curl your lashes and apply mascara.
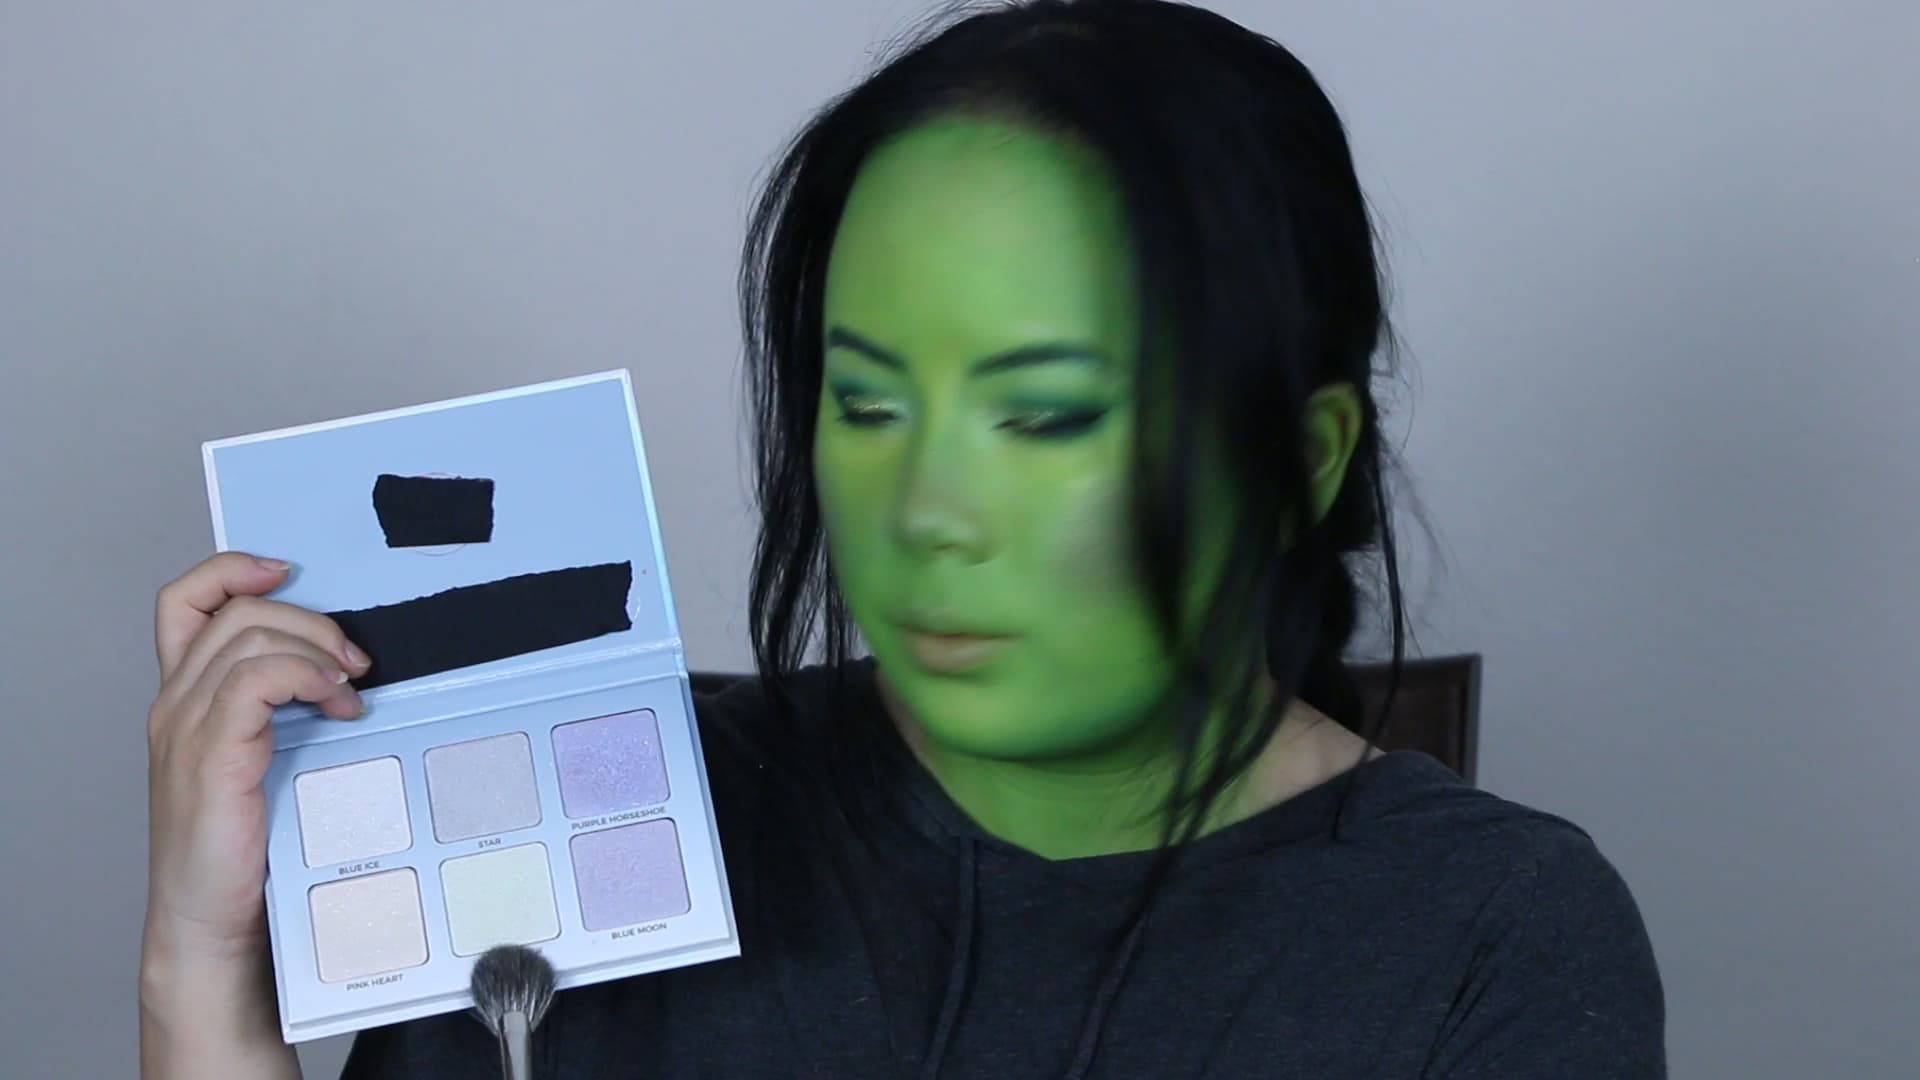
13. Blush! Since Mantis is green and quite obviously not a human skin tone, I took the liberty of using a light purple eyeshadow as blush instead. I layered it with a coral/peachy shadow to give the blush a little bit of warmth.
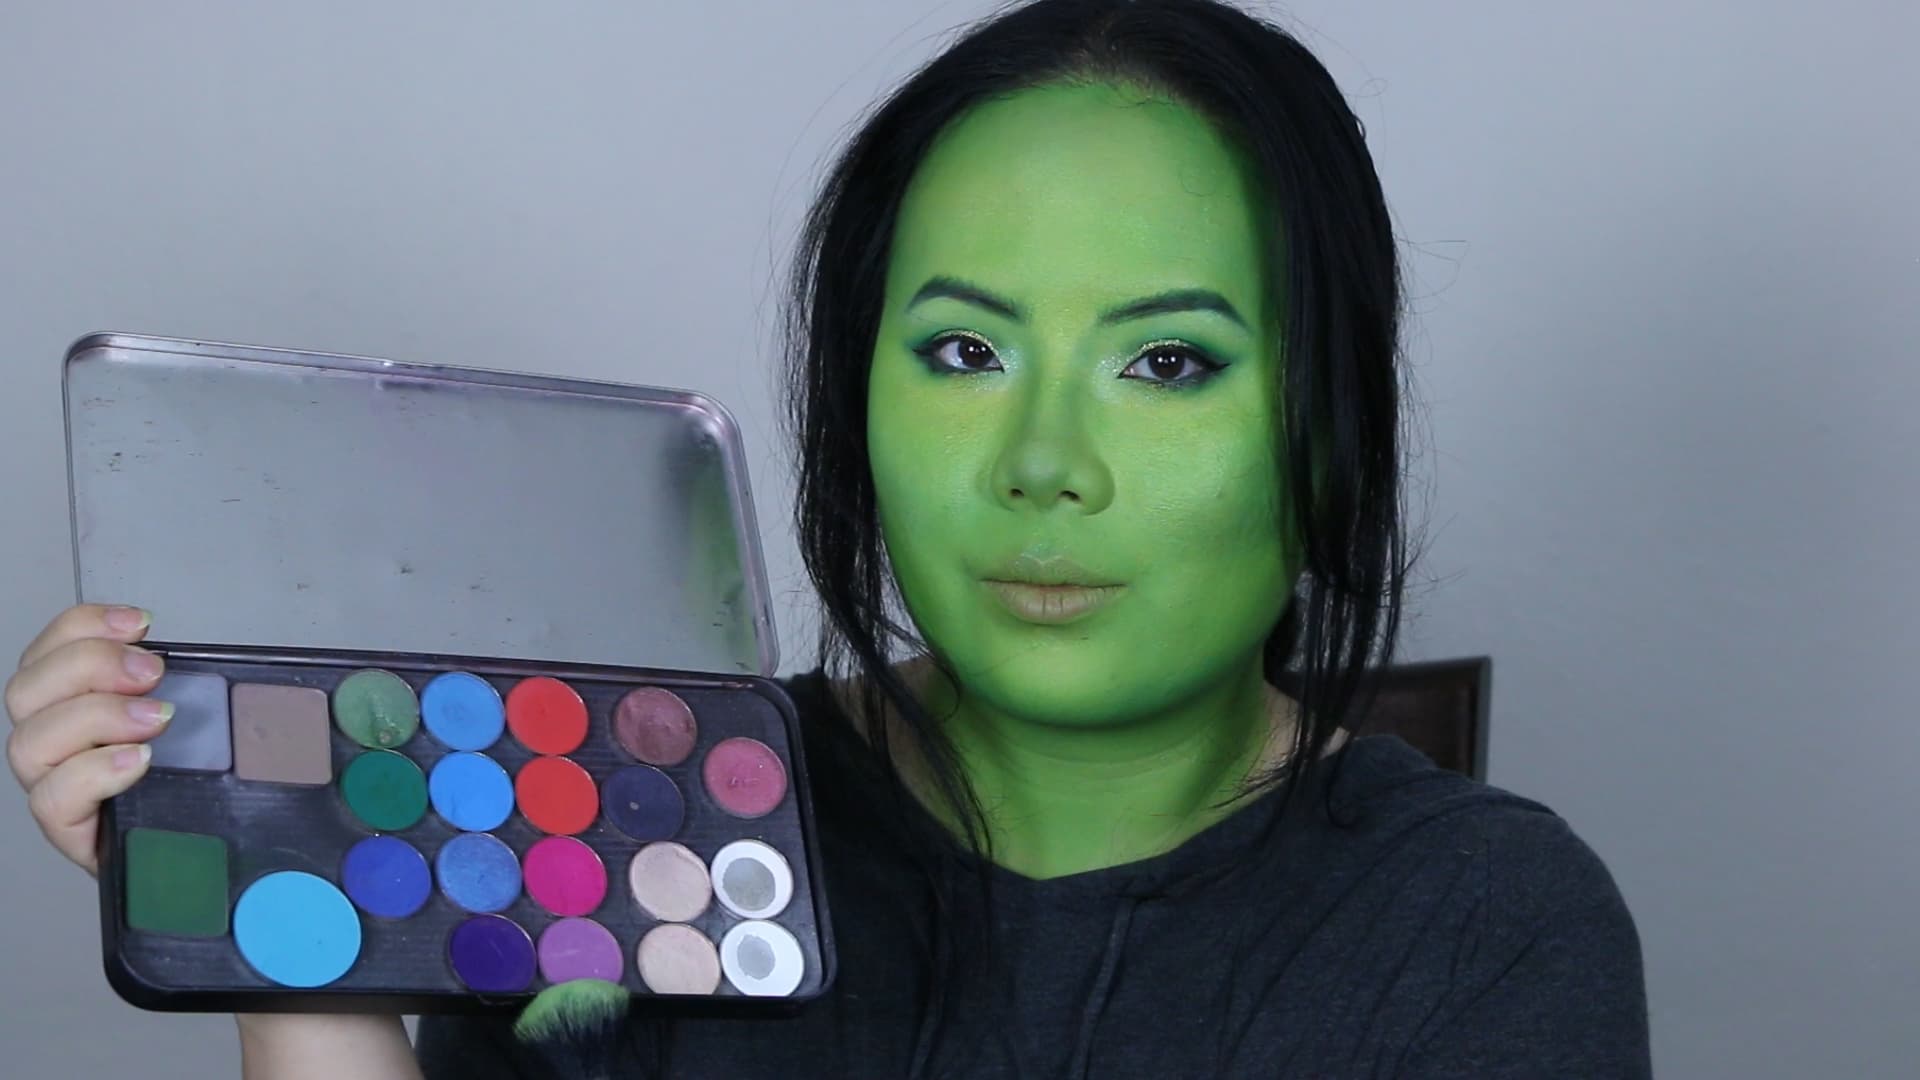
14. I wanted to look a little bit more glowy and ethereal so I added a highlighting shimmer powder. This one had green reflects in it so I was still staying within the same green theme. I applied the highlight on top of my cheekbones, down the bridge of my nose, on my cupid’s bow, and very lightly on my chin and the arches of my brow.
15. Time for some finishing touches. I am going to line my lips with a dark green liner and fill them in with a dark green lipstick. Remember what I said about layering? We are going to do the same with the lipstick too! I am going to apply a black liquid lipstick on top of the green. The green glitter will peep through, but I applied some more of the green lipstick on top of the black for a duochrome effect.
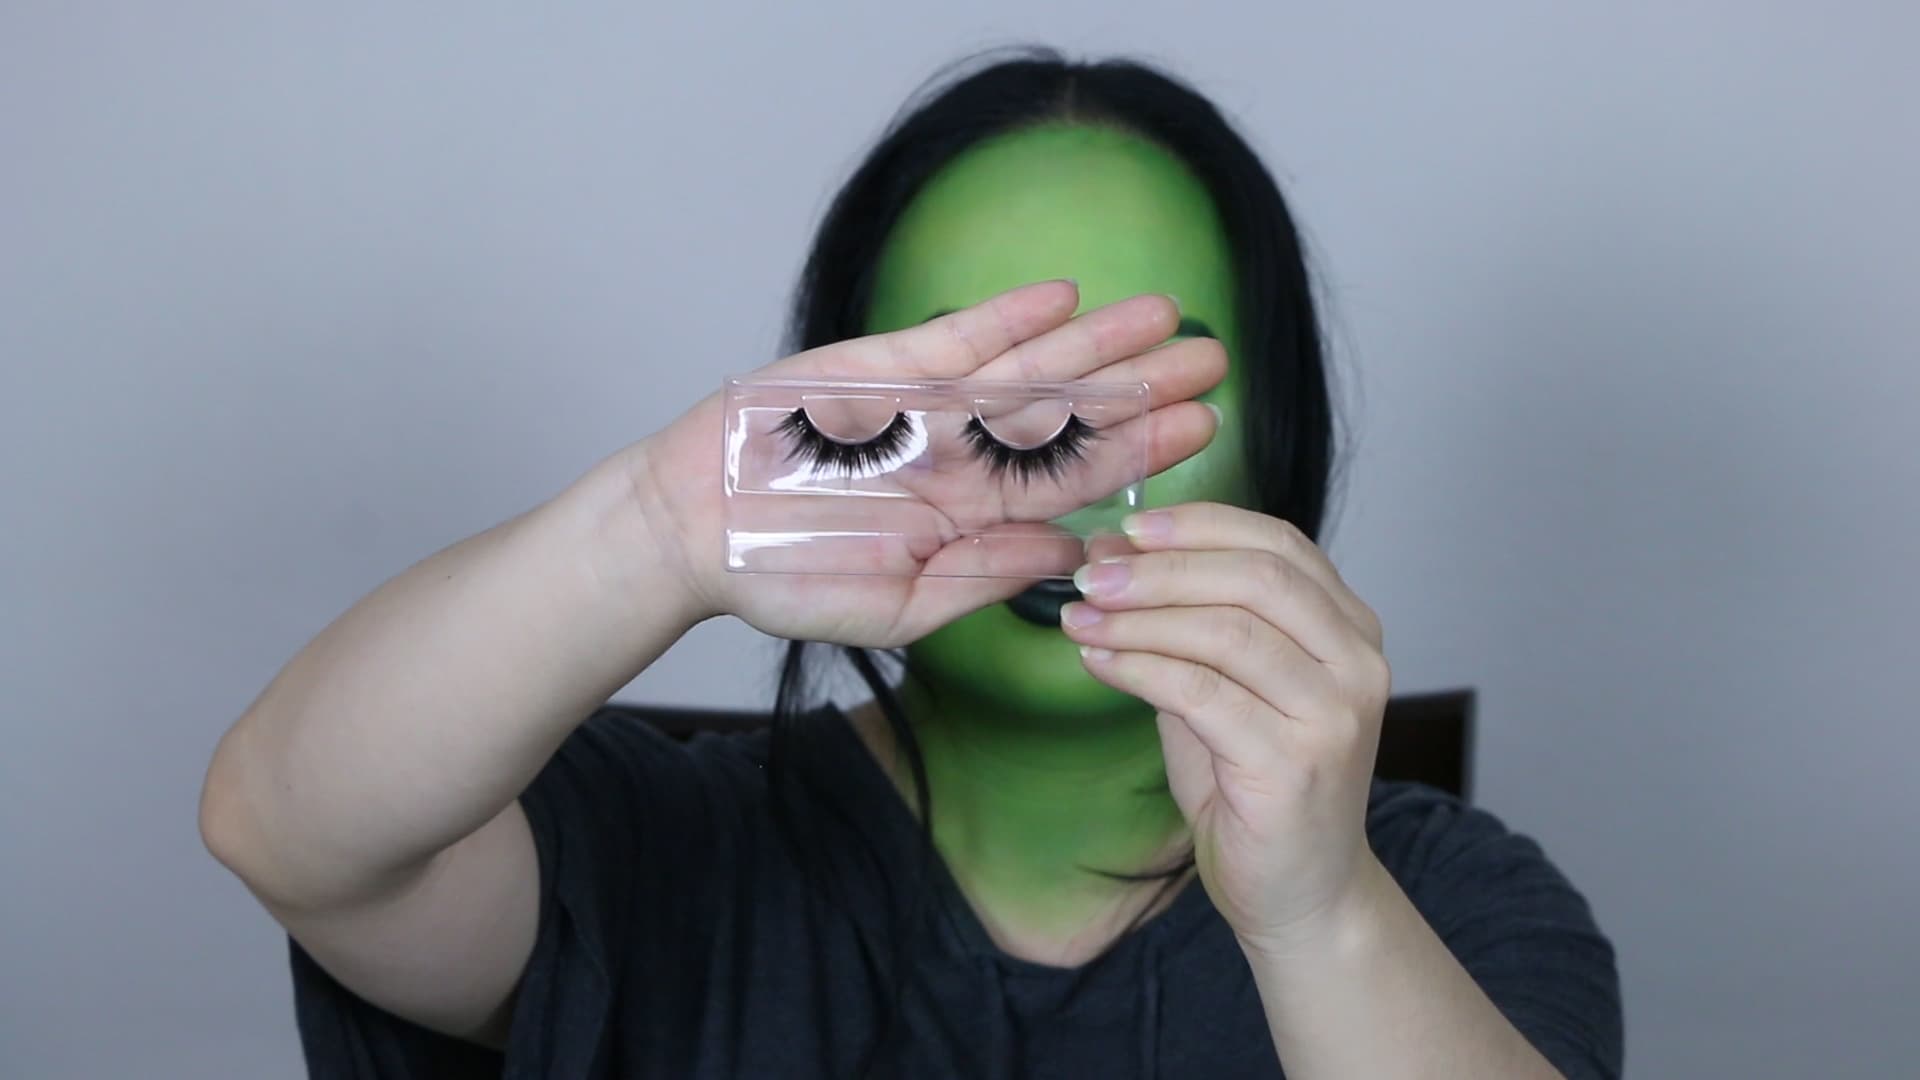
16. Lastly, we are going to apply false lashes!
17. Costuming time! I applied light brown contacts to give my eyes more dimension. I put on a black chef’s coat, but a military jacket or a Chinese-style kung fu top will work just fine. Once I have the top on, I put on a dark green wig with a gold headband and some antennae that I painted green to match my face paint. For the final piece de resistance, I put on white leather gauntlet gloves. All of these costume pieces were really easy to find online for a very reasonable price.
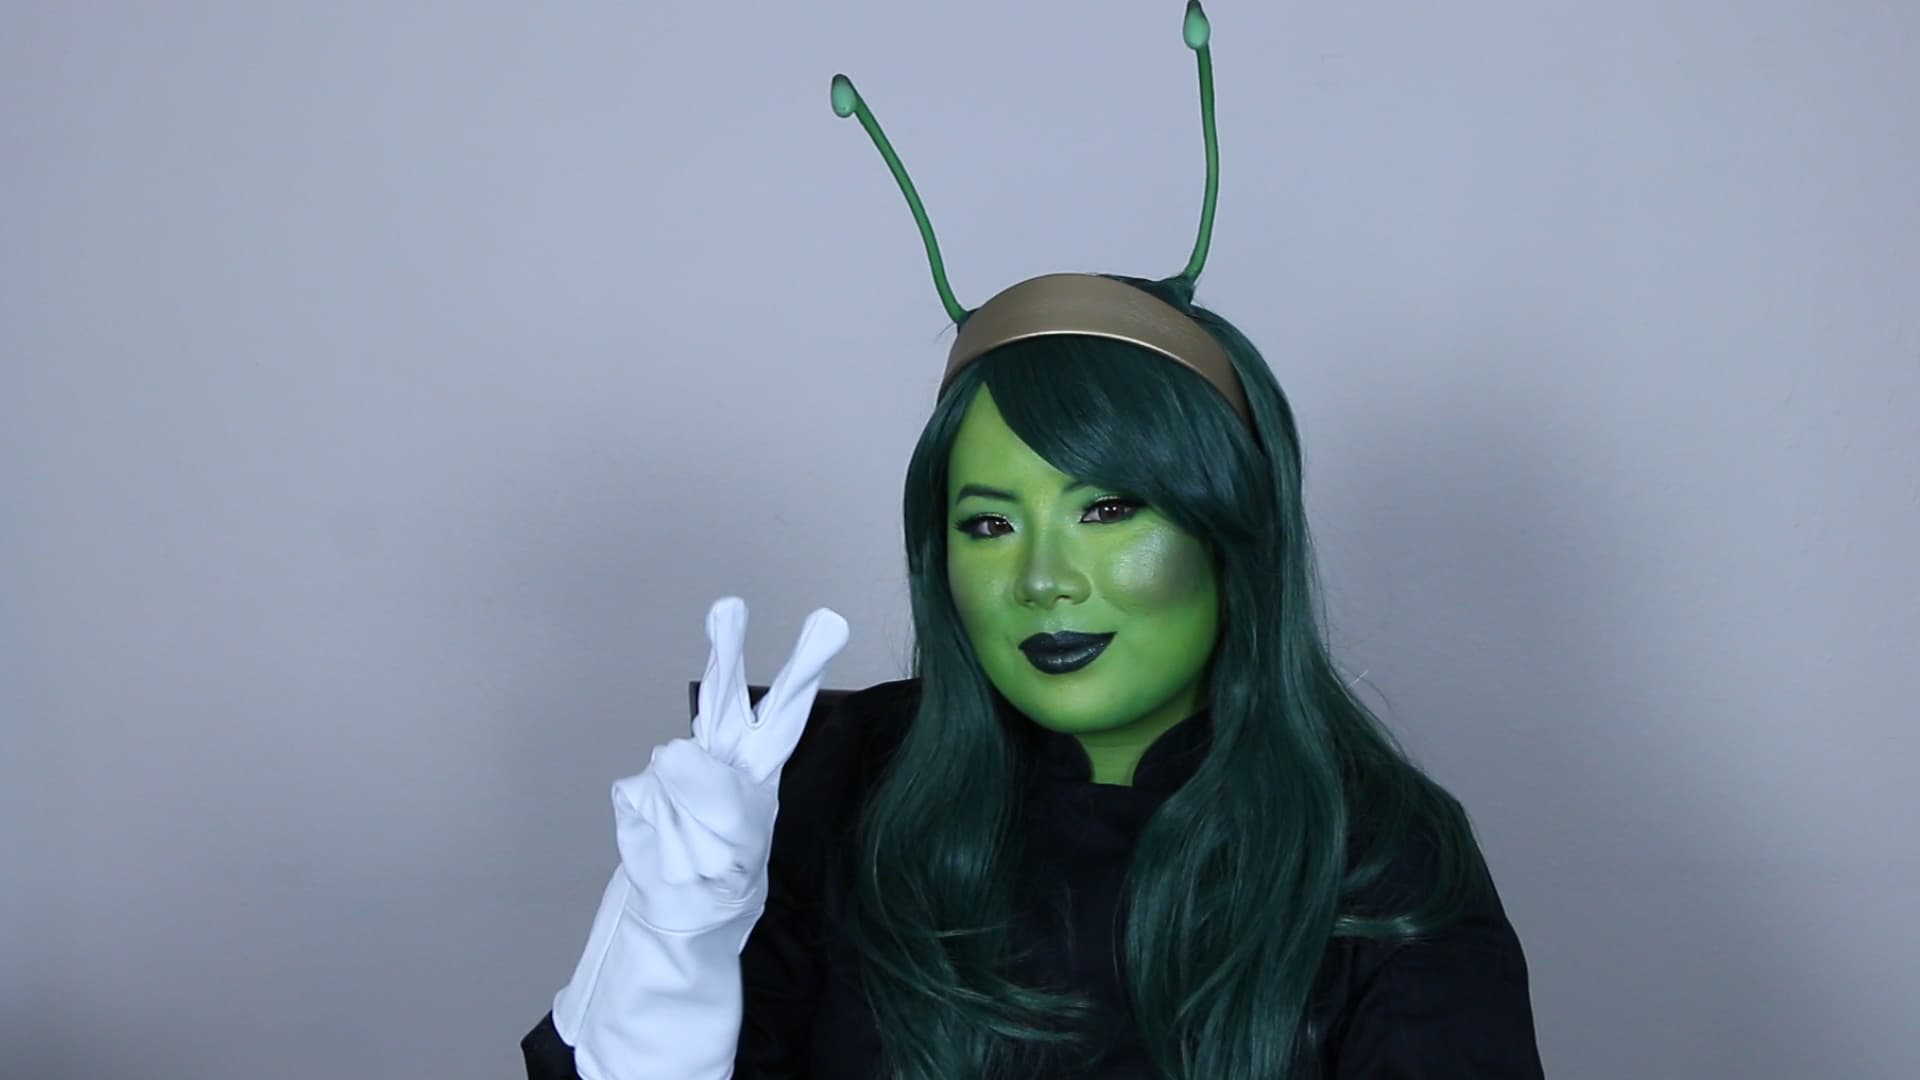
And you’re done! Now you’re ready to be our favorite, powerful empath. Happy Halloween! I can’t wait to see your versions of Mantis.
If you had fun transforming into Mantis, try my Emma Frost and Ghost Rider tutorials too!
Did you try this legendary look? Share your pictures on Marvel's social channels -- Twitter, Facebook, and Instagram!
The Daily Bugle
Can’t-miss news and updates from across the Marvel Universe!